iMessage Not Working? How To Fix iMessage On an iPhone, iPad & Mac
Are you facing trouble sending or receiving iMessages on your iPhone, iPad or Mac? Is your blue speech bubble turning green?
If so, there is no need to panic about it. The iMessage not working is a common problem that could happen due to a slow internet connection or unconfigured iMessage settings.
Besides this, we have unveiled all the common solutions to fix iMessage not working on iPhones, iPad and Mac. So, let’s get started.
Things to Know About iMessage
- iMessage service is only available for Apple users on iPhone, iPad and Mac. If you try to send iMessage to android or Windows devices, it will not work, and the message will be sent as a regular SMS.
- Both parties must have their iMessage activated to receive or send messages.
- On Apple devices, iMessage, SMS and MMS are sent from the same app.
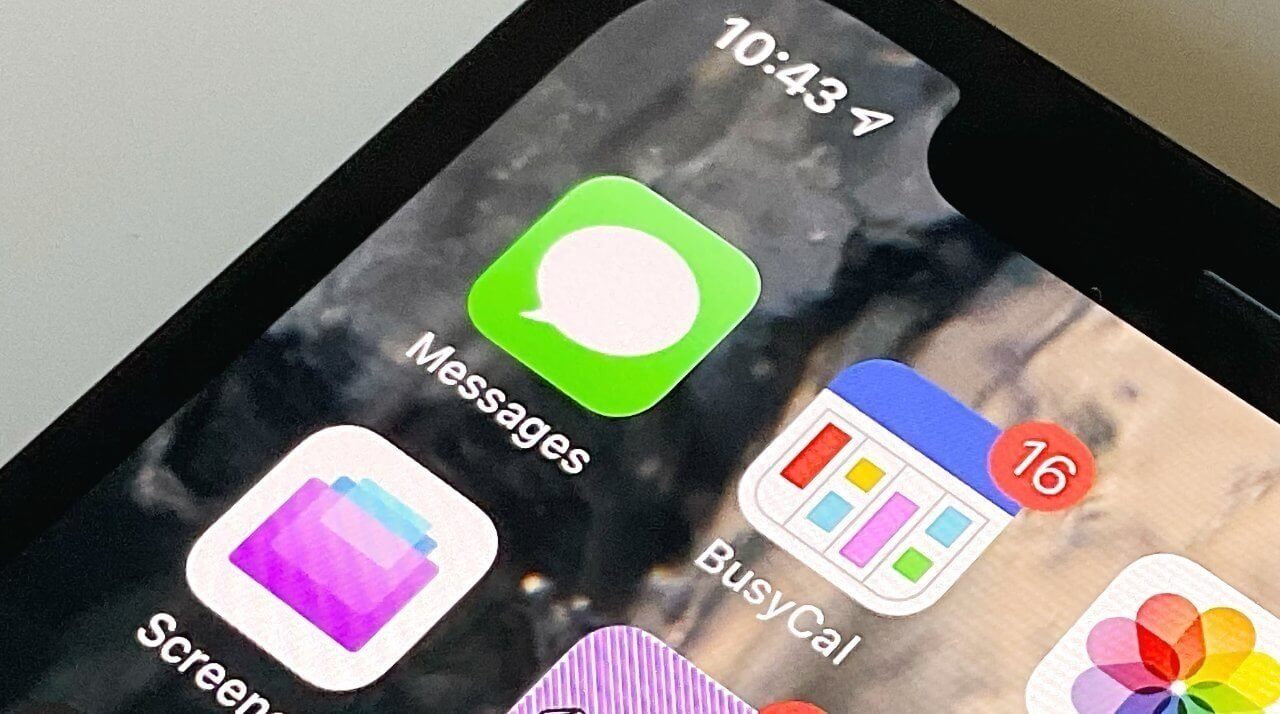
- When the chat bubble turns blue, it means the message recipients have Apple devices, and you just have sent them an iMessage.
- When the chat bubble is green, it shows the recipient doesn’t have an Apple device or has turned off the iMessage. Green chat symbolizes a regular SMS.
- iMessage is a free service that requires a cellular or WiFi connection.
How to Fix iMessage Not Working On iPhones, iPads or Macs? (15 Solutions)
There could be several reasons behind iMessage not working on your Apple devices. Based on the common causes, solutions to fix iMessage not working are:
Solution 1. Ensure iMessage Is Enabled
First, ensure that the iMessage service is turned on your device. To do so, follow these steps:
Step 1. Open iPhone Settings and tap on Messages.
Step 2. Turn the toggle next to iMessage to green if it isn’t already green.
Step 3. Tap Send & Receive and ensure all the settings are properly configured. You can also disable or enable selected emails and phone numbers for iMessage.

Solution 2. Enable or Disable Airplane Mode
If iMessage is not working due to network issues, you can simply turn on and off Airplane Mode to fix this problem. Just go to your Apple device settings and click on Airplane Mode to turn it off. Then, wait for 30 seconds to tap again on the Airplane Mode and turn it on. This will probably make iMessage work again by fixing temporary network glitches.
Solution 3. Force Quit the Messages App
Force Quit can also fix bugs in the Messages App. If you use Face ID on your iPhone, swipe up from the bottom of the screen and hold. If you use an iPhone with a Home Button, drag the Messages app to force quit it. Then, wait for a few minutes to reopen the Messages app and try to send an iMessage.
Solution 4. Restart Your Device
So, the simple solution to fix iMessage not working on your iPhone, iPad, or Mac is to turn off your device and restart it after some time. This will also fix several system issues and might fix iMessage. You can press the device turn-off button for a few seconds until the screen goes blank. Otherwise, go to Settings > General > Shut Down.
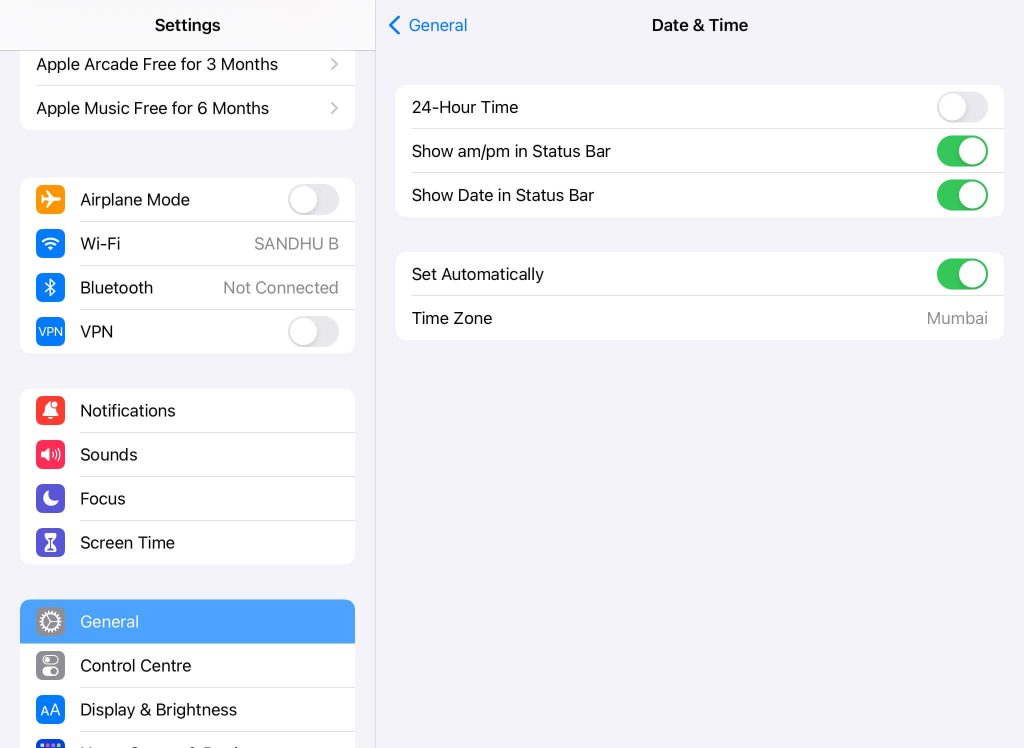
Solution 5. Set the Correct Date and Time
If the correct date and time are not showing on your device, iMessage will not work properly. Thus, go to Settings > General > Date & Time to configure settings. Also, enable the Set Automatically and restart your device to make iMessage work again.
Solution 6. iMessage to Someone Else
Yes, if you are unable to send iMessage to a particular contact, try to send it to someone else. There is a possibility that the person has turned on iMessage services on their devices or has some issues with their iMessage.
If iMessage is working fine on all your contacts, except one. In that case, open the Messages app and delete the entire conversation with them. However, it will delete all your past messages with this person. So, if you have any important messages in the thread, you will lose them all.
After deleting the conversation, open the contact in the phone app, take a screenshot and save it in the Notes app. Next, delete this contact from your iPhone.
Now, restart your iPhone and save the contact details again. Also, try to send an iMessage to the contact.
Solution 7. Use Different Network
If you are using cellular data to use the iMessage service on your phone, you can switch to WiFi for better reception. Sometimes due to network issues, cellular data might not deliver your iMessages accurately. So, you can switch to WiFi or connect to a different WiFi network from Settings.
You can also borrow personal hotspots from your friends’ or family members’ phones to send iMessage. Remember to always use VPN solutions like ExpressVPN when you are using public or unauthorized WiFi networks.
Solution 8. Check iMessage Server Status
iMessage not working is possible due to the server being down from Apple’s end. In addition, sometimes Apple has some issues with the iMessage services, which can lead to iMessage not working on your device. Therefore, visit Apple’s official system status page and check if iMessage is working or not.
If it is working properly, there will be green dots next to it. Unfortunately, if the iMessage server is down, you can do nothing else than wait for Apple to fix the issue.
Solution 9. Unblock the Person
Once you block a contact on your iPhone, they cannot send messages, make calls or FaceTime you. Therefore, if you are not getting iMessage from a certain person, you can ensure that you have not accidentally blocked them.
Just go to the Phone app, open the contact details and scroll down to ensure you have not blocked the contact. If it is blocked, unblock to receive an iMessage from the person.
Solution 10. Update Your Device
If iMessage is not working on your device due to any system bugs, you can fix this issue by updating your iOS or MacOS version. To update your iOS devices, simply go to Settings > General > Software Update.
To update MacOS, navigate to System Preferences > Software Update > Update Now.
Solution 11. Turn Off iMessage in iCloud
You can also disable iMessage in iCloud to make it work again. If your iCloud space is full, you might face a problem in receiving iMessage as every message is backed up to iCloud. Here is how to turn off iMessage in iCloud:
Step 1. Go to Settings > tap on your name from the top.
Step 2. Tap iCloud and switch off Messages > Disable and Download Messages.
Step 3. Restart your device, and hopefully, iMessage will work now.
Solution 12. Log Out of Your Apple ID
If the problem is related to your iCloud account and Apple services like FaceTime or iMessage, logging out of your Apple ID is the best solution. This will clear all the system glitches. To do so:
Step 1. Go to the Settings > Tap on your name.
Step 2. Scroll down to the bottom and tap on Sign Out.
Step 3. When a prompt asks to keep or delete calendars, contacts or other data, select to keep them. It is no issue if you don’t select the keep option; your data will sync again when you sign in to your iCloud account.
Step 4. Restart your iPhone or iPad.
Step 5. Open Settings and sign in to your iCloud account. Now, try to send an iMessage.
Solution 13. Reset Network Settings
You can also tweak your network settings when iMessage is not working. This will fix all network-related problems. Here’s how to reset network settings:
Step 1. Go to Settings > General.
Step 2. Tap on Reset iPhone > Reset > Reset Network Settings.
Solution 14. Delete Some Messages
If your Messages app has several photos and videos stored on it, this can reduce its performance. Therefore, delete unwanted messages from your iPhone message gallery. Here are some methods to delete iMessages:
Swipe to the left on a message in the Messages app and select Delete. Tap on the Edit button from the top and select messages or chats to delete them.
You can also change your settings and keep only low-resolution images that consume less space. To do so, go to Settings > Messages > Turn the toggle on next to the Low-Quality Image Mode.
Solution 15. Conduct Full Reset
If none of these solutions makes iMessage work on your iPhone, iPad or Mac, as a last resort, you can do a full reset. Obviously, this method will delete all your iPhone content. However, if you have already created iTunes or iCloud backup, you can easily retrieve your data after resetting your device.
Simply go to Settings > General > Reset and reconfigure your all device settings.
Parting Note
iMessage is an excellent service for sharing videos, audio and other text messages. However, iMessage not working on an iPhone, iPad, or Mac is not a difficult situation. As you have already seen, using some simple solutions, you can easily fix iMessage not working.
However, if none of the above-mentioned solutions works to fix the iMessage service on your device, you can contact the Apple care center near you. Or, you can contact Apple‘s online support.
So, that’s it for now! Keep on following this website for iPhone, iPad or Mac solutions.
Popular Post


Recent Post
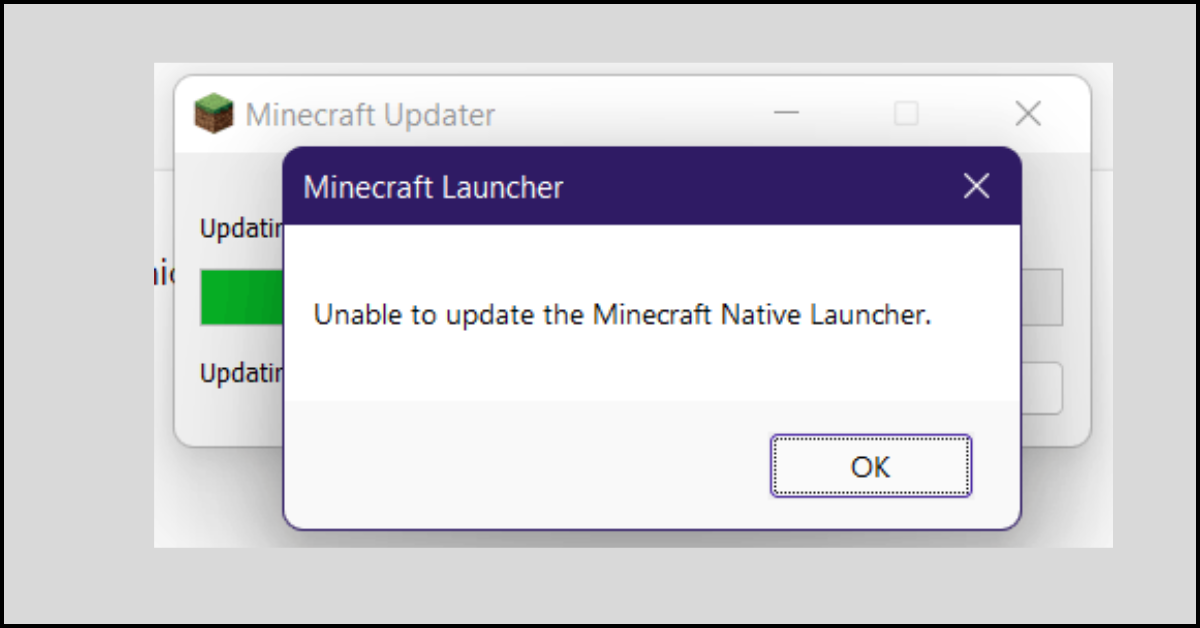
How to Fix Unable to update the Minecraft Native Launcher Windows 11
The “Unable to update the Minecraft Native Launcher” issue can be frustrating. However, there are many ways to fix it. Here, we will discuss some effective ways to fix this problem.

Troubleshooting Guide: How To Fix Copy And Paste Not Working On Windows 10/11
Fix the copy and paste not working issue on Windows 10/11 hassle-free with this comprehensive guide. Here you’ll find effective tried and tested methods that can troubleshoot and permanently resolve the problem.
How to Force Quit on Windows 11 and Windows 10
Encountering unresponsive programs or frozen applications on our Windows devices can be a frustrating experience. When a program hangs or stops responding, it can disrupt our workflow and hinder productivity. This is where the ability to force quit a program comes in handy. Here, we will explore different methods to force quit on Windows 11 […]

How to Enable Secure Boot Windows 11 and Windows 10
One of the key features that can significantly enhance the security of your Windows operating system is Secure Boot. By enabling Secure Boot on your Windows 11 or Windows 10 system, you can protect your device against malware and unauthorized operating systems. Benefits of Enabling Secure Boot in Windows 11 And 10 1. Protection Against […]

How to Change Administrator on Windows 10 and Windows 11
In Windows operating systems, the administrator account holds the highest level of privileges and control over the system. Sometimes, you may need to change the administrator account for various reasons such as security, ownership transfer, or simply to give someone else access to the system. Here, we will explore different methods to change the administrator […]

How to Open BIOS Windows 11 and Windows 10
Here are the best ways to Open BIOS Windows 11 and Windows 10. These steps are very easy.

How to Convert HEIC to JPG on Windows 11 and Windows 10
Learn the best ways to convert HEIC to JPG on Windows and Windows 10 computers.

How to Fix Valorant not uninstalling Windows 11 – Remove Valorant Completely
Online gaming has become increasingly popular, with many gamers enjoying multiplayer games. One such game that has gained a significant following is Valorant. However, like any software, Valorant is not immune to technical issues, and one common problem that players encounter is the difficulty in uninstalling the game, particularly on the Windows 11 operating system. […]
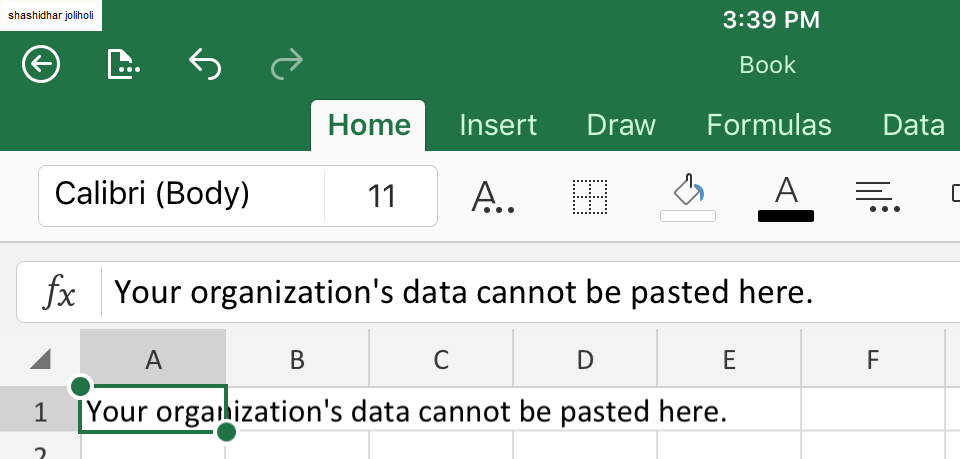
Your Organization’s Data Cannot Be Pasted Here: 7 Ways to Fix It
Encountering the “Your organization’s data cannot be pasted here” error can be frustrating, but armed with the right knowledge and troubleshooting steps, you can quickly overcome this hurdle.
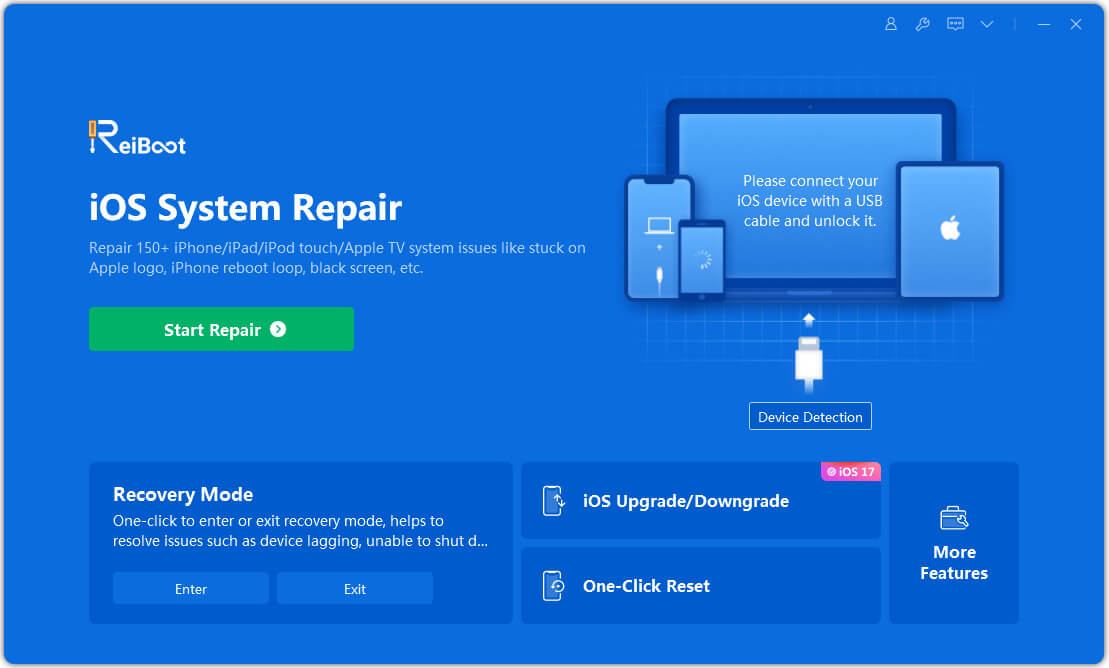
Tenorshare Reiboot Review 2024 [Fully Unbiased]
Read The Complete Unbiased Review of Tenorshare Reiboot

