How to Factory Reset Macbook?

Having a Macbook can be one of the best experiences. You may have been using it for years but just like change is the rule of nature, you may have to reset it due to any of the reasons. Mac works on the specialized MacOS that is not easy to reset like any other Android device. Resetting Macbook is easy and can be achieved in simple steps only.
Factory reset is the in-built option in any smart device that lets the existing user delete all existing data and make it like new. Let us start with the top reasons that may ask for the need to factory reset your Macbook.
Why factory reset Macbook?
Multiple reasons may call for doing a factory reset on Macbook. While it is the primary need of the seller while looking for a potential buyer for your Macbook, it ensures data privacy. It becomes easy to strike a profitable deal for your Macbook when you’re sure about data safety.
Many times, your Macbook’s data may have exceeded the storage limits and you feel like it is easy to reset after saving the necessary data. Reset gives the quick option to free up all memory and get to the factory settings to make your data-filled Macbook like a new one. Let us now move to the quick steps to factory reset Macbook.
Steps to factory reset Macbook:
Whether you’re having a Macbook, iMac, Macbook Air, or Macbook Pro, you can go for the quick following steps to factory reset it:
1. Data backup:
Data backup is essentially the first step as factory reset deletes all data on the hard drive of the Macbook. Hence, it is recommended to take a backup of all valuable files. It is easy to use Mac’s in-built software called “Time Machine.” Before using this feature for data backup you can run CCleaner that can clean, optimize, and tune up your system for quick backup. The quick steps for running Time Machine are:
- Go to the Apple menu and locate the System Preferences menu.
- Select the Time Machine option.
- Select the disk that is set to be used as Time Machine backup and go for “Use disk.”
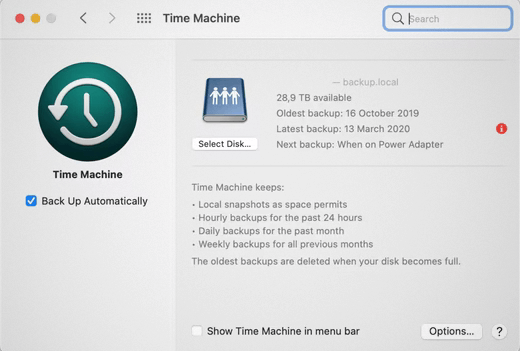
- Backup is created in a few minutes depending on the amount of data.
2. Sign-in out of iMessage and iCloud:
It is crucial to sign out of the iMessage and iCloud to eliminate any residuals of the data or conversations on the Macbook. The quick steps for the same are:
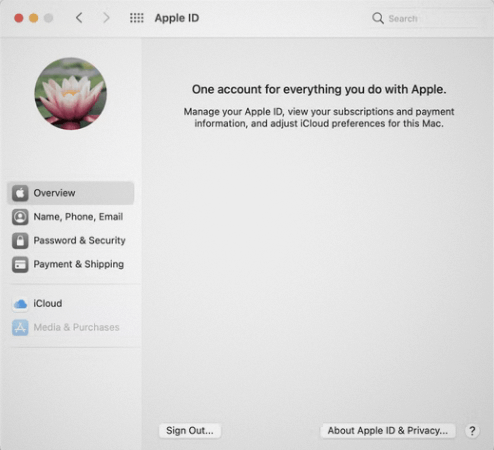
iCloud sign-out:
- Go to the Apple menu and locate the “System Preferences” option.
- Select your Apple ID and go for the overview.
- Go to the sign-out option.
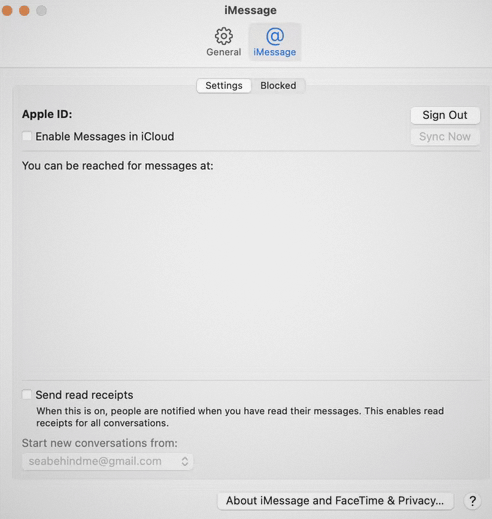
iMessage sign-out:
- Go to Messages option.
- Go to the Messages in the menu bar located in the top left corner.
- Go to Preferences from the drop-down menu.
- Select iMessage and go to “Sign Out.”
3. Unpairing Bluetooth devices:
It is easy to unpair different Bluetooth devices from Macbook by:
- Go to Bluetooth preferences.
- Select the device that needs to the unpaired.
- Go to the “x” button and go to “remove.”
4. Resetting Non-Volatile RAM (NVRAM):
The different settings like last kernel panic, screen resolution, sound volume, startup disk, etc., are saved in the non-volatile RAM (NVRAM). Hence, it is necessary to reset NVRAM in the following steps:
- Shut down the Macbook.
- Start Macbook.
- Press and hold the Option- Command- P- R for at least 20 seconds.
- Release and the NVRAM reset is complete.
5. Using migration assistant:
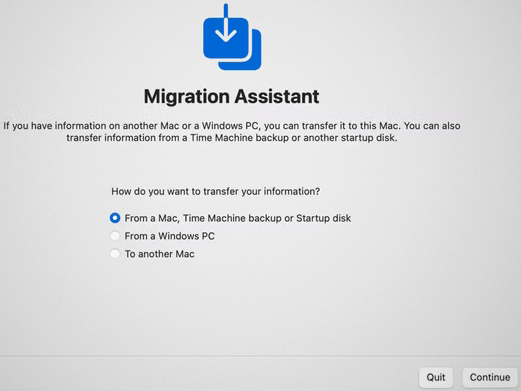
It is a crucial step for the users migrating to another Mac device after completing the factory reset on the current Max device. The Migration Assistant can automatically copy all the system files to the new Mac device without the need to copy all these files one by one. The quick steps for the same include:
- Go to the Applications folder and open the “Utilities” option.
- Go to Migration Assistant and go to “Continue.”
- Enter the administrator’s password.
- Go to the “From a Mac, Time Machine backup, Startup backup” option and continue.
- Select the other Mac and continue.
- Select the information you want to transfer and continue.
6. Using Erase Assistant tool for removing data:
Once data backup and all accounts are sign-outs successfully from the Macbook, it is time to wipe the data. The Erase Assistant Tool is available in the Intel-based Macs, Apple silicon-based Macs, macOS Monterey, etc. It can quickly wipe the Macbook in the following steps:
- Go to System Preferences and open “Erase All Content & Settings.”
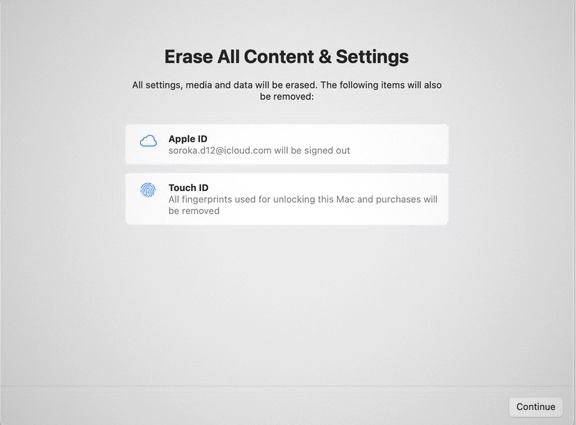
- Enter the administrator password.
- Go to the data for starting to erase process.
- It clears all data, all Apple ID details, Apple Wallet, Touch ID, etc., at once.
7. Wiping hard drive in recovery mode:
Wiping data is not enough when you’re planning to sell your existing Macbook. The ideal way is to wipe the startup disk of the Macbook that has the name “Macintosh HD.” The quick steps for wiping it are:
- Start the Macbook and press “Command-R” until the Apple logo turns up.
- Go to “Disk Utility” in the utility window.
- Select “Macintosh HD.”
- Click “Erase” and enter the name as “Macintosh HD” and format as Mac OS Extended or APFS.
- Click “Erase Volume Group.”

- You can select other internal volumes in the sidebar and then quit the disk utility.
8. Reinstalling macOS:
Last but not least is reinstalling macOS by following steps:
- Go to the Utilities menu.
- Select “Reinstall macOS.”
- Click “Confirm” and follow quick instructions to install macOS.
- You can continue the setup process or keep it pending for the new user according to convenience.
Wrapping Up:
Hence, no need to seek any technical consultation when you can factory reset your Macbook on all your own. The quick and straightforward steps make this process quick and effective at the same time. Starting from data backup to reinstalling macOS the whole process is simple when executed with full attention and detail.
Popular Post


Recent Post
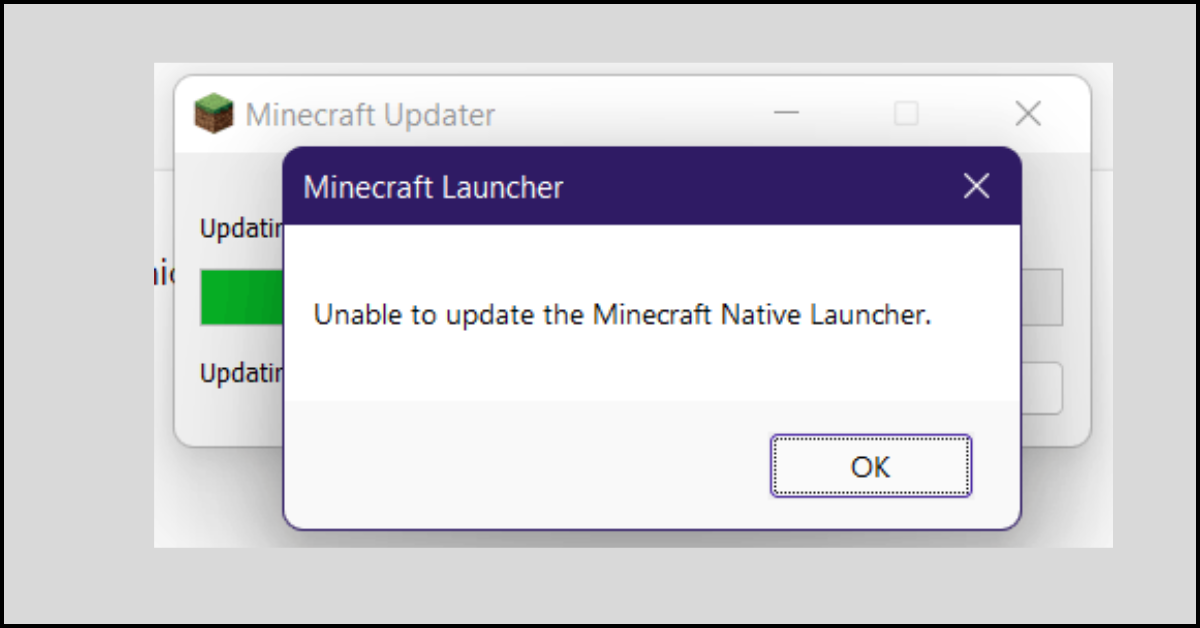
How to Fix Unable to update the Minecraft Native Launcher Windows 11
The “Unable to update the Minecraft Native Launcher” issue can be frustrating. However, there are many ways to fix it. Here, we will discuss some effective ways to fix this problem.

Troubleshooting Guide: How To Fix Copy And Paste Not Working On Windows 10/11
Fix the copy and paste not working issue on Windows 10/11 hassle-free with this comprehensive guide. Here you’ll find effective tried and tested methods that can troubleshoot and permanently resolve the problem.
How to Force Quit on Windows 11 and Windows 10
Encountering unresponsive programs or frozen applications on our Windows devices can be a frustrating experience. When a program hangs or stops responding, it can disrupt our workflow and hinder productivity. This is where the ability to force quit a program comes in handy. Here, we will explore different methods to force quit on Windows 11 […]

How to Enable Secure Boot Windows 11 and Windows 10
One of the key features that can significantly enhance the security of your Windows operating system is Secure Boot. By enabling Secure Boot on your Windows 11 or Windows 10 system, you can protect your device against malware and unauthorized operating systems. Benefits of Enabling Secure Boot in Windows 11 And 10 1. Protection Against […]

How to Change Administrator on Windows 10 and Windows 11
In Windows operating systems, the administrator account holds the highest level of privileges and control over the system. Sometimes, you may need to change the administrator account for various reasons such as security, ownership transfer, or simply to give someone else access to the system. Here, we will explore different methods to change the administrator […]

How to Open BIOS Windows 11 and Windows 10
Here are the best ways to Open BIOS Windows 11 and Windows 10. These steps are very easy.

How to Convert HEIC to JPG on Windows 11 and Windows 10
Learn the best ways to convert HEIC to JPG on Windows and Windows 10 computers.

How to Fix Valorant not uninstalling Windows 11 – Remove Valorant Completely
Online gaming has become increasingly popular, with many gamers enjoying multiplayer games. One such game that has gained a significant following is Valorant. However, like any software, Valorant is not immune to technical issues, and one common problem that players encounter is the difficulty in uninstalling the game, particularly on the Windows 11 operating system. […]
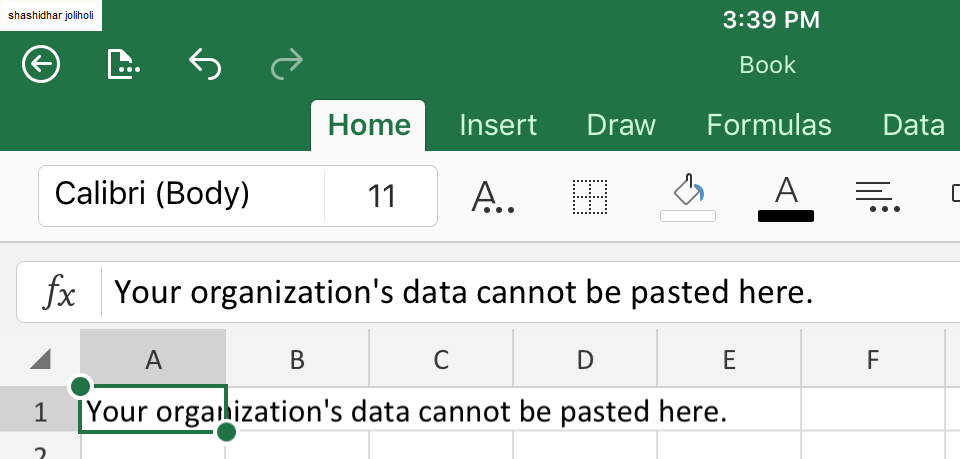
Your Organization’s Data Cannot Be Pasted Here: 7 Ways to Fix It
Encountering the “Your organization’s data cannot be pasted here” error can be frustrating, but armed with the right knowledge and troubleshooting steps, you can quickly overcome this hurdle.
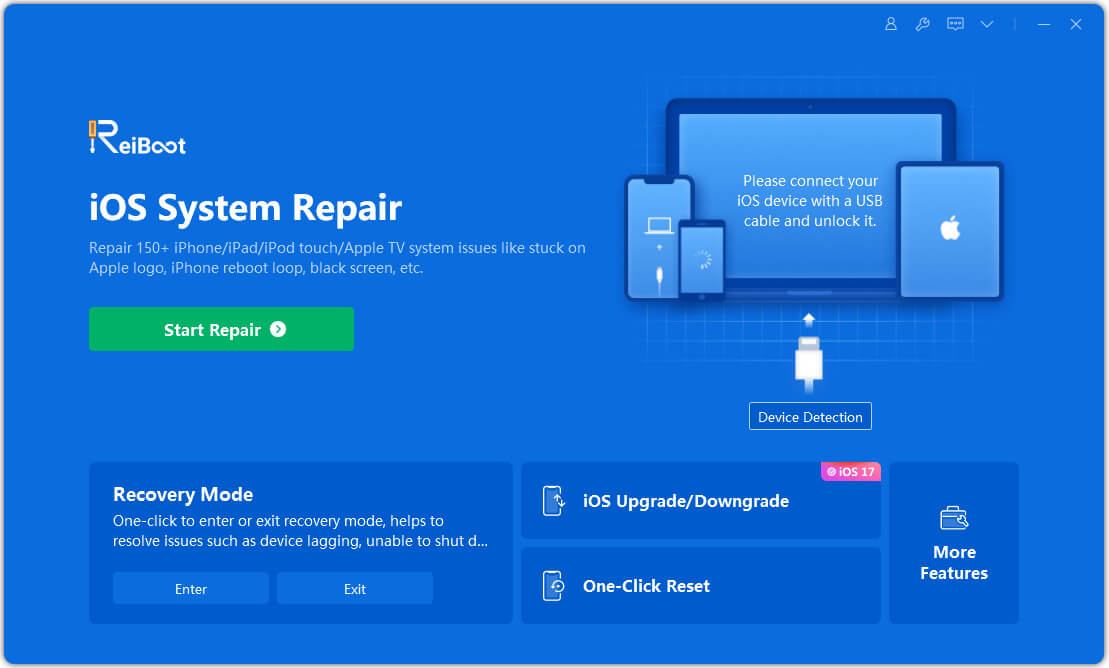
Tenorshare Reiboot Review 2024 [Fully Unbiased]
Read The Complete Unbiased Review of Tenorshare Reiboot

