How to Fix macOS Ventura WiFi Problems? (11 Solutions)
Are you having problems connecting to WiFi networks on your Mac after recently upgrading to macOS Ventura? Although connecting to WiFi networks on a Mac is generally a simple process, some users have reported problems getting the internet to work over WiFi after installing macOS Ventura. Thankfully, the tried-and-true solution makes it easy to fix macOS Ventura WiFi problems.
The most commonly reported macOS Ventura WiFi issues are that the connection frequently drops, that it won’t reliably connect to WiFi, that the WiFi connection is slow, or the overall network performance is poor.
That could happen due to various factors ranging from WiFi router issues to software-related issues that you may be experiencing on your Mac following the Ventura update. Incorrect DNS settings can also prevent you from accessing the internet.
If you’re having WiFi problems after updating to macOS Ventura, you’ve come to the right place. The following are the steps for troubleshooting and resolving macOS Ventura WiFi problems.
How to Solve macOS Ventura WiFi Problems?
Are you struggling to use WiFi on your Mac? Then, keep your calm and follow these solutions to fix common macOS Ventura WiFi problems:
Solution 1. Restart your WiFi Router
You should consider restarting the WiFi router to update the basic network settings. So, after you’ve turned it off, remove it from the socket. Wait a few seconds and then plug it back in. Next, select your WiFi network and allow your Mac to connect. When the connection is established, see if the macOS Ventura WiFi problem is resolved.
Solution 2. Restart your Mac
Before moving on to more complicated fixes, simply restart your Mac to see if this improves WiFi issues on macOS Ventura. It’s possible that after restarting, your Mac will reconnect to WiFi. Follow the steps below to restart your MacBook:
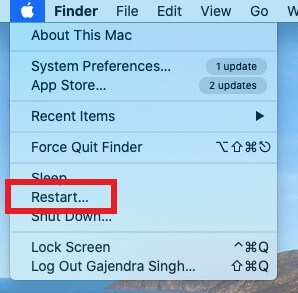
Step 1. The Apple logo is in the upper left corner. To get started, click it.
Step 2. After that, select “Restart,” and your MacBook will restart.
Step 3. After restarting your MacBook, check to see if the WiFi is still operational.
Solution 3. Modify your DNS Settings
Your ISP or Internet Service Provider would have automatically assigned a Domain Name Server to your system. However, as time passes, the data may become outdated, and the internet browser may be unable to translate the URL address to its corresponding IP address.
In these cases, you can use a third-party Domain Name System, such as those provided by Google and Cloudflare. To do so, follow these steps:
Step 1. Click on the Apple Menu on your Mac and choose “System Preferences.”
Step 2. Next, click “Network” under system preferences, then “Advanced.”
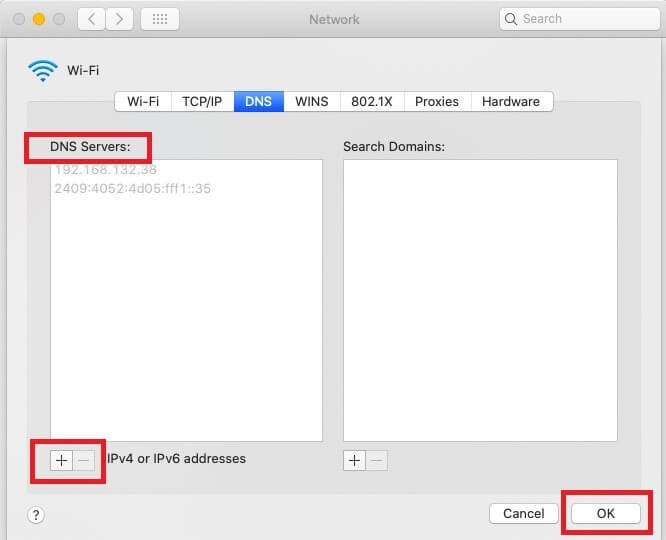
Now choose “DNS.”
Step 3. To remove the existing DNS settings, tap the “-” sign.
Step 4. To add the new DNS settings, click the “+” icon. For example, enter “8.8.8.8” and press the “OK” button.
Solution 4. Configure Network Settings
If the network configuration has become corrupted, resetting it to its default settings is your best option. Here’s how to go about it:
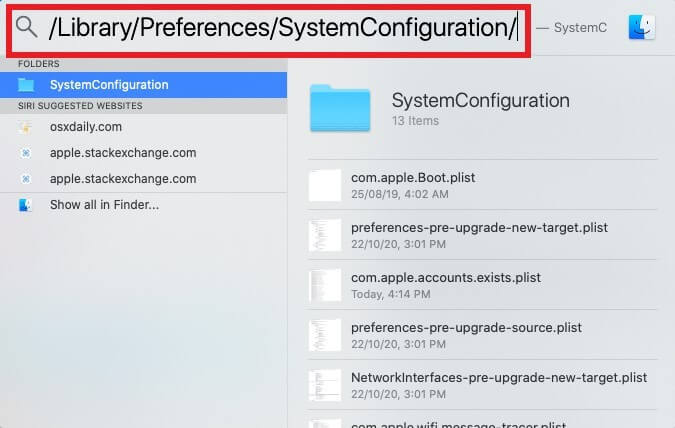
Step 1. Go to “Finder,” then select “Go” from the top left menu.
Step 2. Then, select Go to Folder and enter the following path: “/Library/Preferences/SystemConfiguration/.”
Step 3. Then, select the files listed below and delete them one at a time.
“.com.apple.airport.preferences.plist”
“.com.apple.network.identification.plist”
“.com.apple.network.eapolclient.configuration.plist”
“.com.apple.wifi.message-tracer.plist”
“NetworkInterfaces.plist”
“Preferences.plist”
Step 4. After finishing the process, restart your MacBook and check that the WiFi is operational.
Solution 5. Reinstall macOS Ventura
If none of the solutions worked by far, you are left with only one option. Install macOS Ventura again. To do so, follow these steps:
Step 1. Begin by powering down your MacBook. Then, turn it on.
Step 2. While it starts, hold down the “Command” key and the “R” key until the Apple logo appears.
Step 3. Now, let go of the keys. Then select “Reinstall macOS Ventura” from the list and press the Continue button.
Step 4. Just follow the on-screen instructions to reinstall macOS.
Solution 6. Reset NVRAM or PRAM
NVRAM, or Non-Volatile Random Access Memory, is a small amount of memory used by your Mac to store specific settings for quick access. When your system is acting up, resetting your Mac’s NVRAM is usually considered an effective troubleshooting method.
Step 1. Turn off your Mac.
Step 2. Turn on your Mac and immediately hold down four keys: Option, Command, P, and R. Hold for 20 seconds before releasing.
Solution 7. Reset SMC
Resetting your Mac’s System Management Controller (SMC) can sometimes fix problems with WiFi, power, battery, and other features. However, when dealing with hardware-related issues, it may be necessary to restore normal lower-level system functionality to your Mac.
To clear the SMC:
Step 1. Shut down/unplug your MacBook.
Step 2. Hold down the Shift, Control, and Option keys.
Step 3. Hold down the power button while holding down the other three keys.
Step 4. Hold all keys for 10 seconds before releasing.
Step 5. On your Mac, press the power button.
Solution 8. Use Apple Diagnostics
Apple Diagnostics can assist you in troubleshooting issues with your Mac’s internal hardware.
Step 1. Remove any extraneous external devices and ethernet cables.
Step 2. Navigate to the Apple menu and select Restart. Then, press and hold the D key immediately until you see a screen with language options.
Step 3. Select your language, and Diagnostics will launch automatically.
Step 4. Follow the instructions on the screen to fix all your macOS Ventura WiFi problems.
Solution 9. Check for Third-party Apps
Third-party software may be preventing you from using your WiFi network. The software may be incompatible with macOS Ventura or require an update. Unneeded software should be removed. You can look in the /Library/Extensions and /Library/DriverExtensions directories.
Step 1. Go to the menu bar at the top of your screen while a Finder window is an open and select Go.
Step 2. Choose Go to Folder. Enter the path: /Library.
Step 3. HighPointIOP.kext should be found in the Extensions Folder:
HighPointRR.kext
SoftRAID.kext
You can also look for AppleMobileDevice.kext. This folder may also contain third-party software files.
You should investigate the origins of the files you don’t recognize:
- Try Googling the file name to see its associated software.
- Check the developer’s website to see if the software application is Mac OS X Ventura compatible.
- If you no longer require the app, uninstall it.
Step 1. Launch Finder. The majority of apps will be found in the Applications folder.
Step 2. If you see a folder associated with the app, search within it for an Uninstaller. If you see one, double-click it and follow the instructions on the screen.
Step 3. If your app does not have an uninstaller, drag it to the Trash (on your Dock).
Solution 10. Flush DNS Cache
If only your Mac has a WiFi problem among your devices, you know the issue is with your Mac. The following step is to clear its DNS cache. DNS is your Mac’s service to map URLs to IP addresses. When you visit a site frequently, your Mac saves the information, so it doesn’t have to look it up each time. If there is an issue with that cache, your Mac may be unable to connect to websites.
The simplest way to flush your Mac’s DNS cache is to use CleanMyMac X, which has many modules for fixing your Mac’s performance issues.

Step 1. Start CleanMyMac X and select Maintenance from the sidebar.
Step 2. Select the checkbox next to Flush DNS Cache > Run.
Solution 11. Remove Old WiFi
Did you know that when you link to a WiFi network, your Mac remembers it for the rest of your life? That’s useful if you frequently connect to a network, such as one at work or college. Although open WiFi hotspots are not entirely secure — your data may be intercepted while you browse the web — they are convenient. If you have previously connected to insecure networks and are within range of them.
As a result, removing old WiFi networks is a good idea. Of course, you can do it manually, but if there are a lot of them, CleanMyMac is much more convenient. This is how:
Step 1. Select Privacy from the CleanMyMac X menu.
Step 2. Select WiFi Networks after clicking Scan.
Step 3. To view the networks, click the arrow next to Open Networks, then the checkbox next to it.
Step 4. Select Remove.
Parting Remarks: Fix macOS Ventura WiFi Problems
So, you can quickly resolve the macOS Ventura WiFi problems using the methods described above. Follow these steps and let us know which way works best for you.
And, if you’re serious about improving your Mac’s overall performance and speed and getting rid of that sluggish Mac, try CleanMyMac X. And if you know of any other ways to resolve this WiFi issue on macOS, please share them in the comments section below.
Popular Post


Recent Post
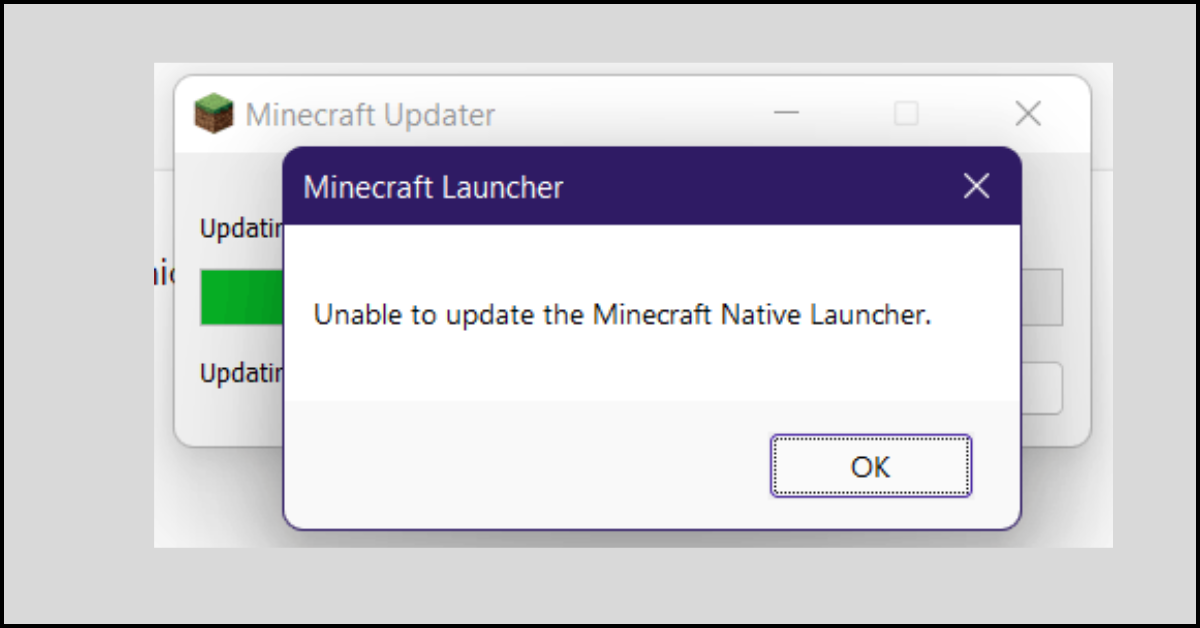
How to Fix Unable to update the Minecraft Native Launcher Windows 11
The “Unable to update the Minecraft Native Launcher” issue can be frustrating. However, there are many ways to fix it. Here, we will discuss some effective ways to fix this problem.

Troubleshooting Guide: How To Fix Copy And Paste Not Working On Windows 10/11
Fix the copy and paste not working issue on Windows 10/11 hassle-free with this comprehensive guide. Here you’ll find effective tried and tested methods that can troubleshoot and permanently resolve the problem.
How to Force Quit on Windows 11 and Windows 10
Encountering unresponsive programs or frozen applications on our Windows devices can be a frustrating experience. When a program hangs or stops responding, it can disrupt our workflow and hinder productivity. This is where the ability to force quit a program comes in handy. Here, we will explore different methods to force quit on Windows 11 […]

How to Enable Secure Boot Windows 11 and Windows 10
One of the key features that can significantly enhance the security of your Windows operating system is Secure Boot. By enabling Secure Boot on your Windows 11 or Windows 10 system, you can protect your device against malware and unauthorized operating systems. Benefits of Enabling Secure Boot in Windows 11 And 10 1. Protection Against […]

How to Change Administrator on Windows 10 and Windows 11
In Windows operating systems, the administrator account holds the highest level of privileges and control over the system. Sometimes, you may need to change the administrator account for various reasons such as security, ownership transfer, or simply to give someone else access to the system. Here, we will explore different methods to change the administrator […]

How to Open BIOS Windows 11 and Windows 10
Here are the best ways to Open BIOS Windows 11 and Windows 10. These steps are very easy.

How to Convert HEIC to JPG on Windows 11 and Windows 10
Learn the best ways to convert HEIC to JPG on Windows and Windows 10 computers.

How to Fix Valorant not uninstalling Windows 11 – Remove Valorant Completely
Online gaming has become increasingly popular, with many gamers enjoying multiplayer games. One such game that has gained a significant following is Valorant. However, like any software, Valorant is not immune to technical issues, and one common problem that players encounter is the difficulty in uninstalling the game, particularly on the Windows 11 operating system. […]
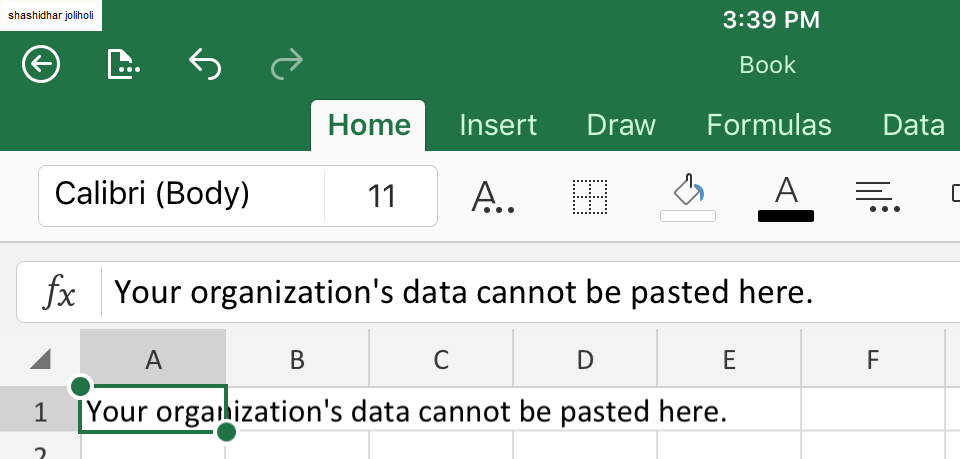
Your Organization’s Data Cannot Be Pasted Here: 7 Ways to Fix It
Encountering the “Your organization’s data cannot be pasted here” error can be frustrating, but armed with the right knowledge and troubleshooting steps, you can quickly overcome this hurdle.
Tenorshare Reiboot Review 2024 [Fully Unbiased]
Read The Complete Unbiased Review of Tenorshare Reiboot

