How to remove Silver Sparrow malware from Mac

Silver Sparrow is a type of malware that targets Mac OS computers. It’s a brand-new piece of macOS malware that attacks M1-based Macs and Intel. Silver Sparrow malware is harmful software that allows other viruses to infiltrate the system.
Therefore, when downloaded and installed on your device, it transmits a signal that allows more programs to install themselves without your awareness. So, it is essential to remove it from your Mac devices, and we are going to tell you how to do it.
Best Ways to Eradicate Silver Sparrow Malware from Mac
It is not hard to remove silver sparrow from Mac. Because of the efforts of multiple security experts, some approaches support the successful removal of the mac malware silver sparrow. Furthermore, it strives to protect our devices from various threats. So, let’s begin with discussing the straightforward procedures to remove this malware from Mac.
Method 1: Manual removal of Silver Sparrow virus from Mac
You must remove suspicious elements from system directories, relocate unwanted apps to Trash, and erase suspicious profiles and login credentials. The possibly harmful software creates all these harmful aspects that cause harm to the Mac device. So, to manually remove the silver sparrow malware from your Mac, you can follow the steps below mentioned steps:
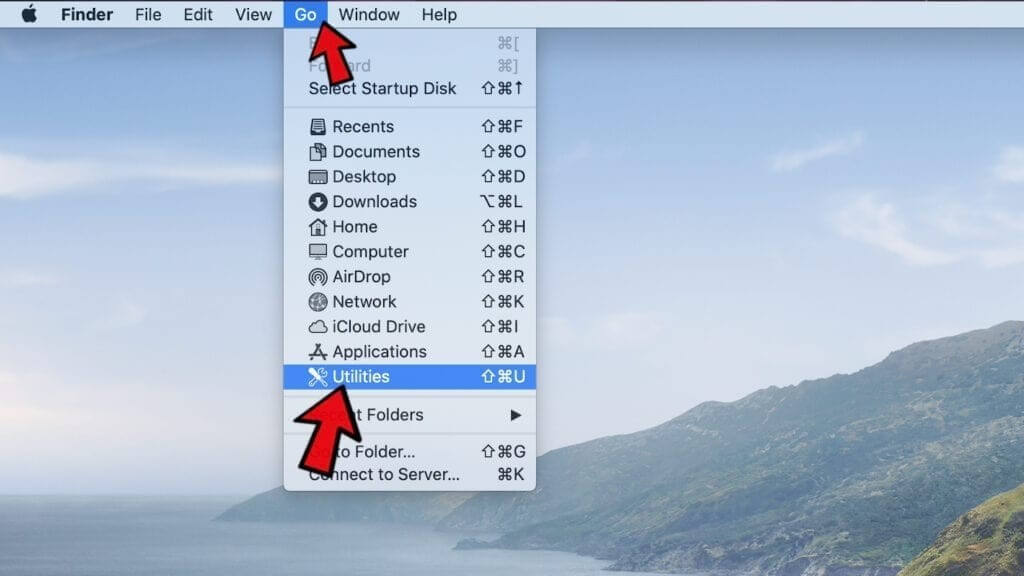
Step 1: Open the Mac’s Finder menu and select the ‘Go’ option. Then, click on the ‘Utilities’ option from there.
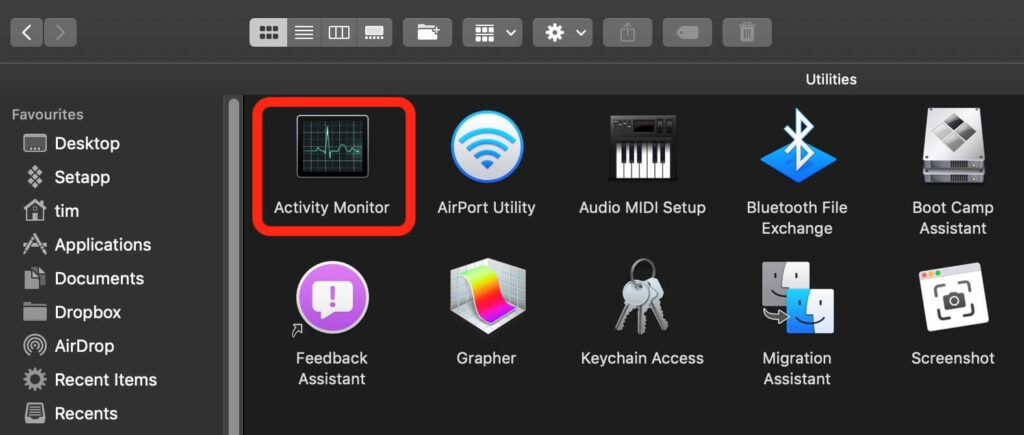
Step 2: Once the ‘Utilities’ toolbar opens, you must double-click on the “Activity Monitor” App.
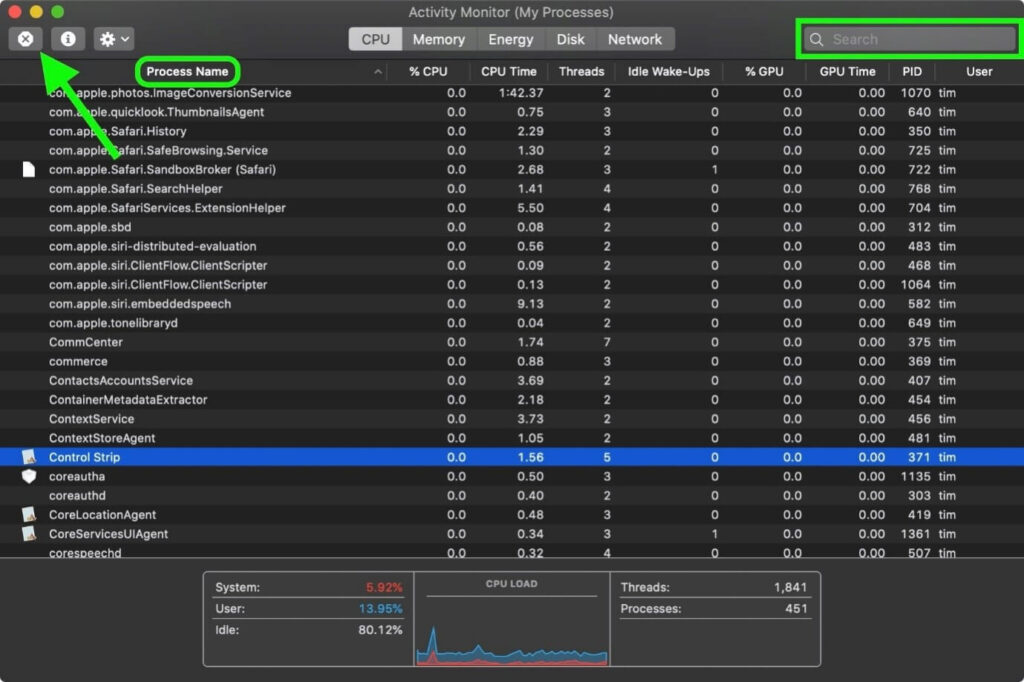
Step 3: You must detect anomalous and resource-consuming programmes in Activity Monitor. Choose the unwanted programs and then click on the X icon (stop) present on the top left corner of the screen. Following this. Here, you can look out apps like Mac Security Plus, ScreenCapture, BeAware, and some others.
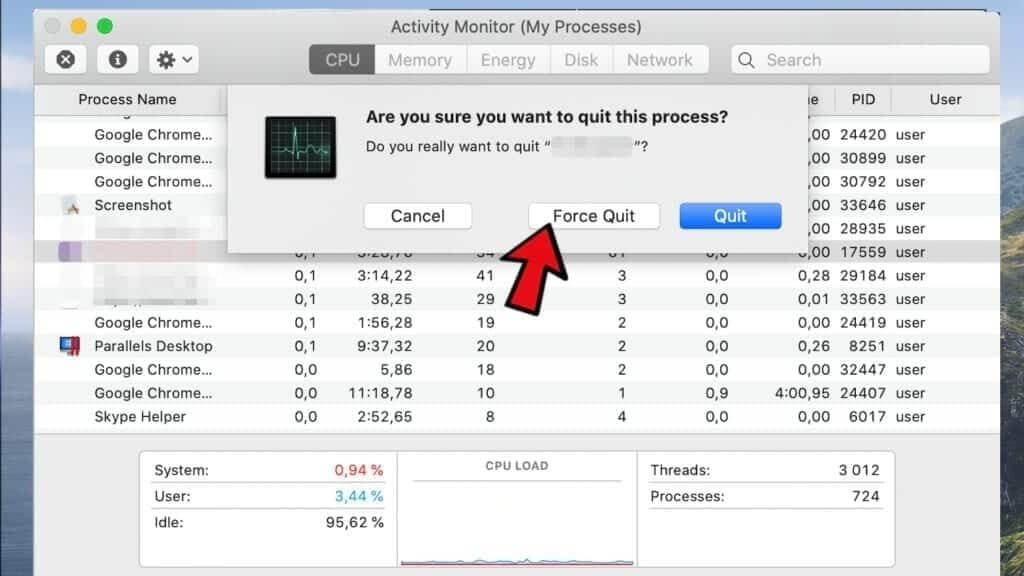
Step 4: When you hit the Stop button for an application or program, you will receive a window asking whether you are sure you want to end this procedure. To proceed, you can click on the ‘Force Quit option.
Step 5: Afterwards, in the Finder toolbar, you must hit the ‘Go’ button. Following this, you need to select the ‘Go to Folder’ option.
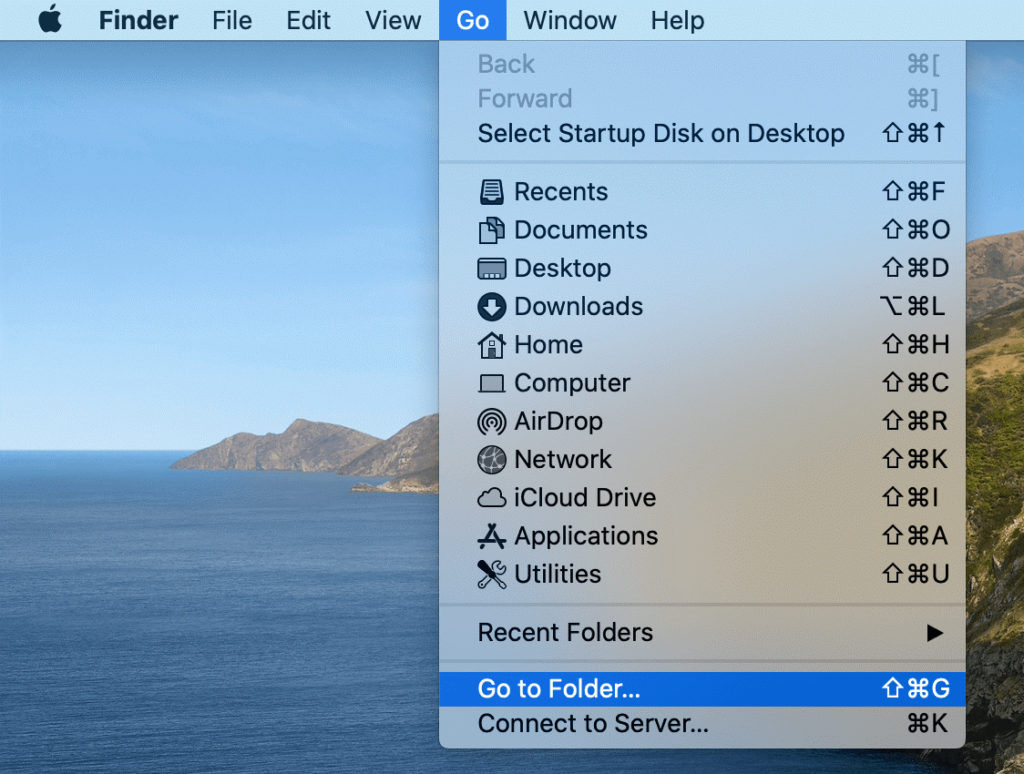
Step 6: In the ‘Go to Folder’ option, type /Library/LaunchAgents and then press Go.
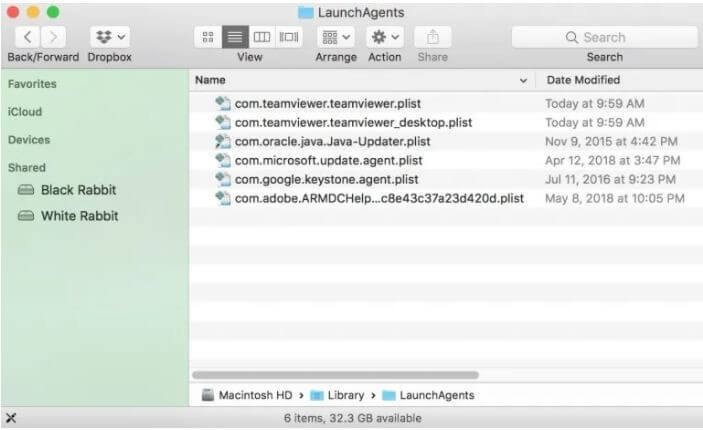
Step 7: A new folder will be opened. Inspect it for suspicious elements associated with the mac malware silver sparrow.
Our advice is to hunt for unidentified and freshly uploaded files. Then, drop these files into the Trash or Bin. Regrettably, malware names rarely indicate that they are hazardous, so users may want to look up some suspicious names available on the internet.
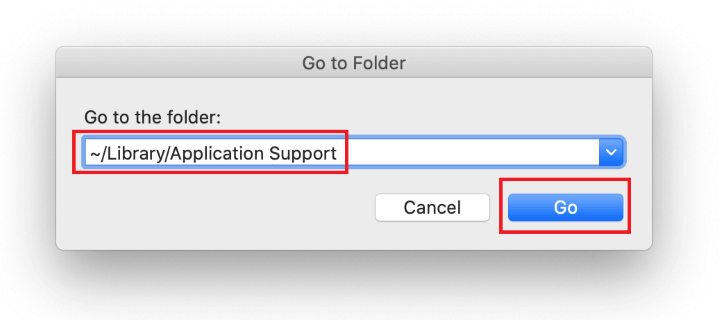
Step 8: Now, you need to navigate a path called /Library/Application Support. Use the ‘Go to Folder’ function to get to the location. So, you can copy and paste this path into the ‘Go to Folder box and then press the ‘Go’ button.
Step 9: After that, identify suspicious folders and drag these folders to the Trash. Again, check for freshly added programmes that are not connected to Mac OS or applications you knowingly loaded. SystemSpecial, ProgressMatch, IdeaShared, and DataSearch are some instances of undesirable folders.
Step 10: Once again, use the Go to Folder function and get to the ‘/Library/LaunchAgents’ location.
Step 11: Next, identify questionable elements and transfer those to the Trash folder.
Step 12: Now, you need to navigate to the ‘/Library/LaunchDaemons’ location and remove any unusual or suspicious-looking components that may be associated with silver sparrow malware. Some of the mac-related malware instances include com.ExpertModuleSearchDaemon.plist, com.pplauncher.plist, com.DataSearchP.plist, and related titled files.
Step 13: Next, in your Mac’s Finder, you should hit the ‘Go’ menu icon and select ‘Applications’ from the list.Locate the entry for Updater.app, Tasker.app, or any app that obviously does not fit there and delete it. Type your admin password if this system needs it for verification.
Step 14: You need to choose the ‘System Preferences’ option from the Apple menu.
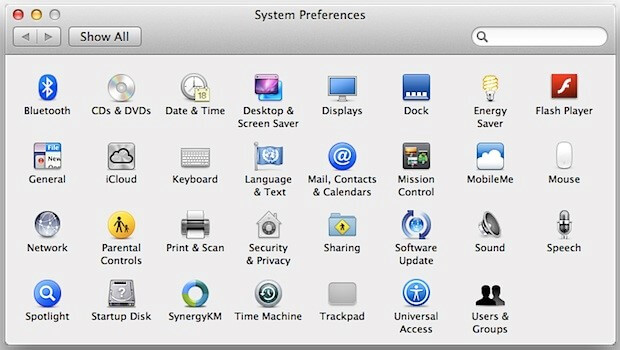
Step 15: Following this, navigate to the ‘Users & Groups’ option and choose the ‘Login Items’ tab. Whenever the computer boots up, the system displays a list of items that were opened. Next, find the possibly unpleasant app and press the “-” (minus) button.
Step 16: Choose the ‘Profiles’ option from the ‘System Preferences’ menu. Search in the left-hand sidebar for any malicious item. MainSearchPlatform, TechSignalSearch, and Chrome Settings are a few instances of configuration profiles developed by Mac adware. Choose it and hit the minus sign at the bottom to remove the problematic entity.
Method 2: Remove the Silver Sparrow Malware from Your Mac’s Web Browser (Safari)
You can also get rid of the mac malware silversparrow using your web browser (safari). But, for this condition, you need to reset your browser, settling to its default mode. It will undoubtedly, erase all your preferences, web history and customizations, but it will eliminate the malware also. So, to know the way to do it, you need to follow the given below step-wise solution:
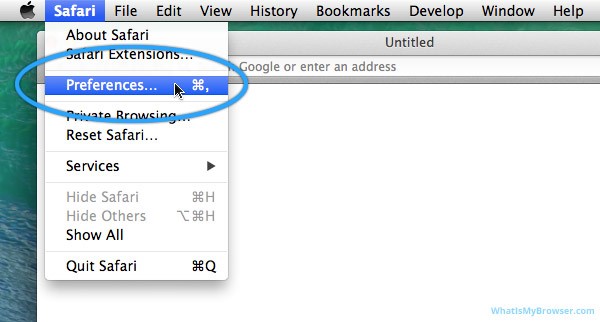
Step 1: You need to open your web browser and navigate the ‘Safari Menu.’ Following this, click on the ‘Preferences’ from the drop-down list appearing.
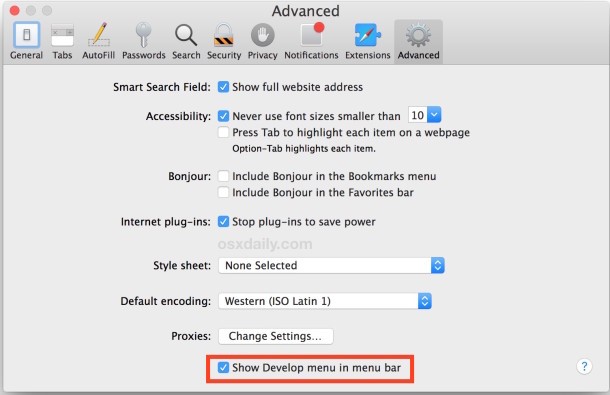
Step 2: Now that you are on the ‘Preferences’ screen, you need to click on the ‘Advanced tab’ and check the box near the ‘Show Develop menu in the menu bar’ option.’
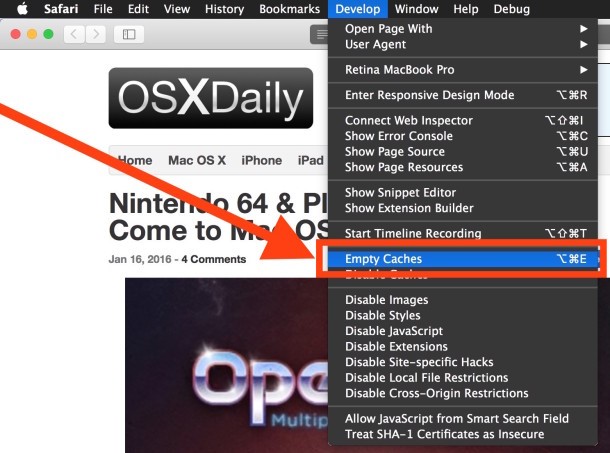
Step 3: After enabling the Develop entry option to the Safari menu, you need to expand it and hit the ‘Empty caches’ option.
Step 4: Next, you need to select the ‘History’ option from the safari menu and hit the ‘Clear History’ option from the drop-down menu appearing on your screen.
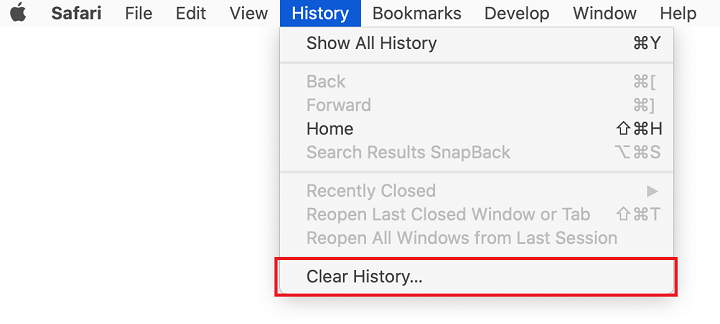
Step 5: Safari will present a window prompting you to choose the time frame for this decision. Choose ‘ all history’ to get the most out of the effect. Hit the ‘Clear History’ option to confirm and quit.
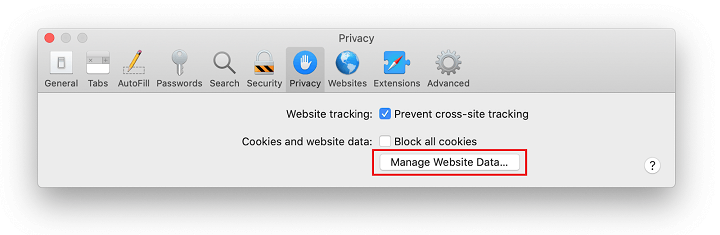
Step 6: After this, you need to return to the safari preferences and click on the ‘Privacy’ tab situated on the top. Look for the ‘Manage Website Data’ option and click on the same.
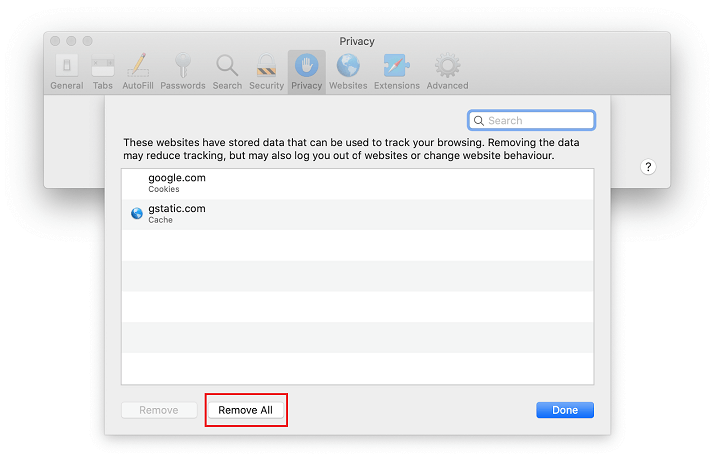
Step 7: The safari browser will then show a page that lists the websites that have saved data concerning your Internet usage. This dialogue also contains a brief explanation of the thing’s removal performs. It displays that you may be logged out of some services and facilities, other alterations in website behaviour as a result of the approach. If you are comfortable with such issues, proceed to the ‘Remove All’ button and click on it.
Step 8: Lastly, you need to restart your safari web browser to see the effective results of removing mac malware silver sparrow.
Final thoughts
To conclude this article, we hope that we have helped you with the appropriate information you were looking for. We have mentioned the best two approaches that will help you remove the silver sparrow malware appropriately. So, select any of the methods mentioned above to get rid of this harmful malware program. Lastly, we need to remind you to restart your Mac after completing any of the above methods.
Popular Post


Recent Post
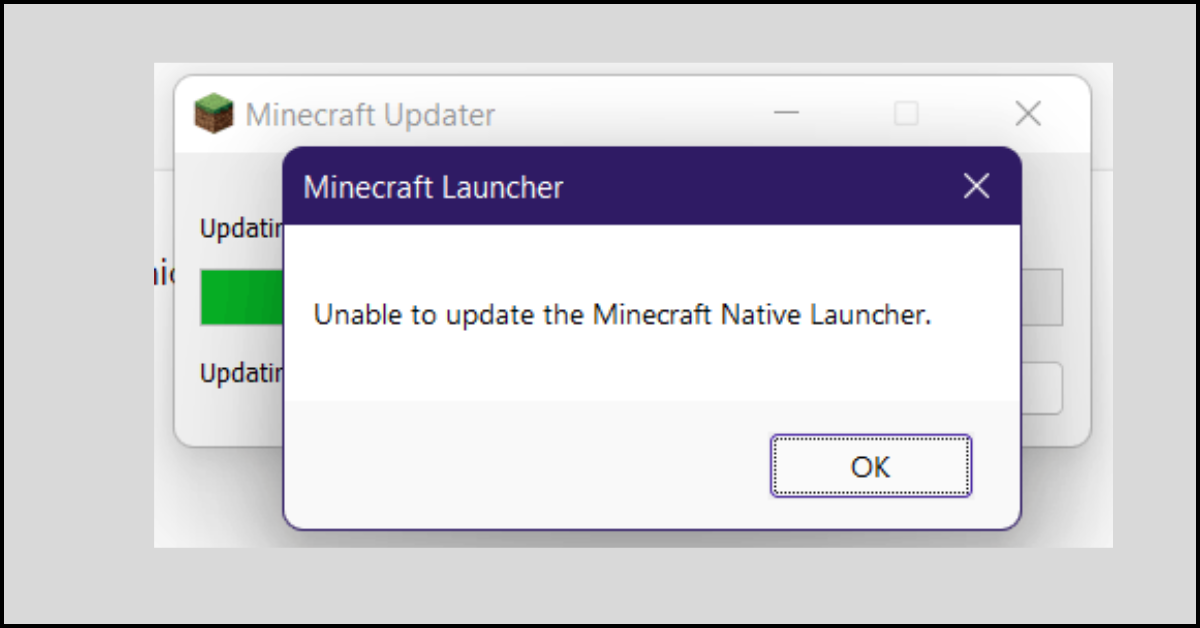
How to Fix Unable to update the Minecraft Native Launcher Windows 11
The “Unable to update the Minecraft Native Launcher” issue can be frustrating. However, there are many ways to fix it. Here, we will discuss some effective ways to fix this problem.

Troubleshooting Guide: How To Fix Copy And Paste Not Working On Windows 10/11
Fix the copy and paste not working issue on Windows 10/11 hassle-free with this comprehensive guide. Here you’ll find effective tried and tested methods that can troubleshoot and permanently resolve the problem.
How to Force Quit on Windows 11 and Windows 10
Encountering unresponsive programs or frozen applications on our Windows devices can be a frustrating experience. When a program hangs or stops responding, it can disrupt our workflow and hinder productivity. This is where the ability to force quit a program comes in handy. Here, we will explore different methods to force quit on Windows 11 […]

How to Enable Secure Boot Windows 11 and Windows 10
One of the key features that can significantly enhance the security of your Windows operating system is Secure Boot. By enabling Secure Boot on your Windows 11 or Windows 10 system, you can protect your device against malware and unauthorized operating systems. Benefits of Enabling Secure Boot in Windows 11 And 10 1. Protection Against […]

How to Change Administrator on Windows 10 and Windows 11
In Windows operating systems, the administrator account holds the highest level of privileges and control over the system. Sometimes, you may need to change the administrator account for various reasons such as security, ownership transfer, or simply to give someone else access to the system. Here, we will explore different methods to change the administrator […]

How to Open BIOS Windows 11 and Windows 10
Here are the best ways to Open BIOS Windows 11 and Windows 10. These steps are very easy.

How to Convert HEIC to JPG on Windows 11 and Windows 10
Learn the best ways to convert HEIC to JPG on Windows and Windows 10 computers.

How to Fix Valorant not uninstalling Windows 11 – Remove Valorant Completely
Online gaming has become increasingly popular, with many gamers enjoying multiplayer games. One such game that has gained a significant following is Valorant. However, like any software, Valorant is not immune to technical issues, and one common problem that players encounter is the difficulty in uninstalling the game, particularly on the Windows 11 operating system. […]
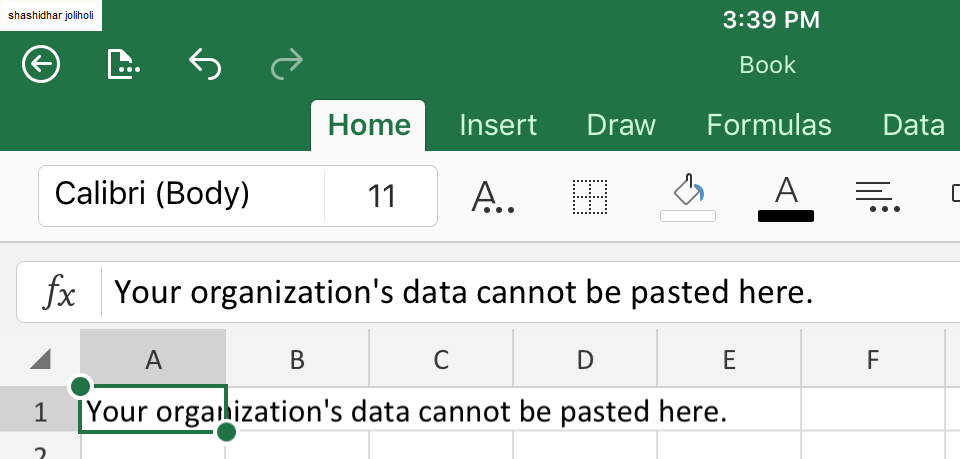
Your Organization’s Data Cannot Be Pasted Here: 7 Ways to Fix It
Encountering the “Your organization’s data cannot be pasted here” error can be frustrating, but armed with the right knowledge and troubleshooting steps, you can quickly overcome this hurdle.
Tenorshare Reiboot Review 2024 [Fully Unbiased]
Read The Complete Unbiased Review of Tenorshare Reiboot

