How to Take A Screenshot on Mac?

Mac PCs are one of the best products from Apple, and people use them for the myriad benefits they can expect from it. These systems have robust functional tools, like capturing a screenshot. You can set a screen-capture timer or keyboard shortcut. Then, use another app like MacPaw’s CleanMyMac X to clean the excess out.
We have compiled a list of many effective methods you can try to screenshot on Mac. Try them all.
Best Methods of Taking a Screenshot on Mac
Unlike Windows, Mac does not have a Print Screen button on the keyboard. So, you must use one of the alternative methods for capturing a screen image. Here is a simple breakdown.
- Shift + Command + 3: Screenshot the whole Mac screen.
- Shift + Command + 4: Screenshot of one selected screen section only.
- Shift + Command + 4 + Space: Screenshot of a menu or window.
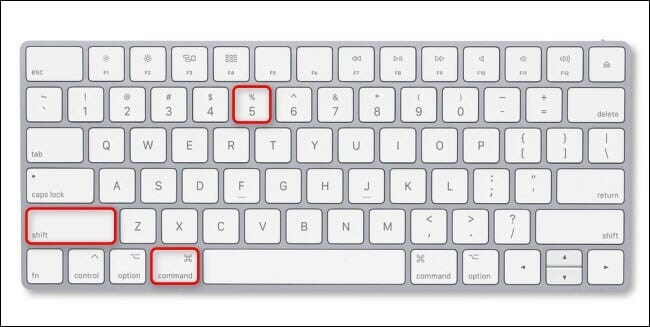
- Shift + Command + 5: Access the interface of the Screenshot app.
- Shift + Command + 6: Screenshot the Touch bar, mainly for Macbook Pro users.
The following are the best methods of capturing screenshots via Mac.
Method 1: Easiest method of taking a screenshot on Mac
The first method of capturing screenshots on Mac is to use keyboard shortcuts to screenshot the entire Mac screen.
How to capture a screenshot?
Step 1: Press the keys “Shift”, “Command”, and “3” on the keyboard at the same time.
Step 2: In case you want to edit the captured image, press on the thumbnail on the left side of the screen.
Step 3: The screenshot would save on your computer.
Method 2: Screenshot of a selected section of the screen
You can capture a portion of the Mac screen with the Shift+Command+4 sequence via your keyboard.
How to capture a screenshot?
Step 1: Press on the Shift + Command + 4 keys on the keyboard simultaneously and hold.
Step 2: The menu cursor would turn into a crosshair when you press the keys together. Then, click the trackpad/mouse and move the crosshair across the screen to select a particular screen section.
Press-and-hold your space bar for dragging the crosshair. If you want to cancel a screenshot, use the Esc or Escape key.
Step 3: Release the trackpad/mouse button after selecting the portion. The screenshot would occur.
Method 3: Screenshot a menu/window on Mac
It is essential to mention that taking one screenshot from each app is not easy. But it is possible to capture an image of a window or menu on Mac, which works well since most apps have a single-window display interface.
How to capture a screenshot?
Step 1: Open your menu or window that you would capture.
Step 2: Instead of only pressing and holding Shift+Command+4 keys, add the Spacebar key here.
Step 3: The crosshair-like pointer would modify into a camera icon.
Step 4: Then, click on the menu or window button. This would grab the screen snapshot. Press and hold on to the “Option” key to avoid capturing the window shadow during the screen capture process.
Step 4.5: At the end, you can edit the screenshot; click your cursor on top of the thumbnail present at the edge of the screen. The screenshot automatically saves up in device memory after some seconds of waiting. If you want to cancel the screenshot before it saves up, press the Esc key on your keyboard.
Method 4: Capture screenshots with the Screenshot app
Mac users can opt for the Screenshot app in the OS X version to capture the screenshot of their screen.
How to capture a screenshot?
Step 1: Access the app through Applications > Utilities > Screenshot or press the Shift + Command + 5 keys on your keyboard together.
Step 2: Set the delay time for the screenshot, the area of the saved images, and the type of screenshot.
Step 3: You can drag windows or apps to highlight a part of your desktop screen. Then, take the screenshot.
Step 4: Access the Preview section and click on File > Export to send the image for editing or save it to another directory.
To note, you can use the Grab tool under Applications/Utility as an alternative.
Also, this method gives delayed full-screen screenshots, with 1 second/2 seconds/5 seconds of delay.
Method 5: Screenshot with Touch Bar under Macbook Pro
The Touch Bar is a type of input device with capacitive multi-touch sensors integration. It is available at the top section of the keycaps in a horizontal line and works in place of the function keys. This function was available on MacBook Pro v.1 in 2016. It includes the screen capture function in macOS v.10.12 and higher.
How to capture a screenshot?
Step 1: Press and hold Shift+Command+6 keys to take an image of the entire screen. If you want to capture a portion of the screen, press and hold Shift+Command first.
Step 2: The crosshair pointer would appear; drag it around to select the portion you want to take a screenshot of.
Step 3: Hold the “Option” button and drag the shape of a rectangle around the region. Press on Shift+Option and then click your cursor on a window. This would only screenshot the content inside the selected window.
To note, this method is only applicable for users with Touch Bar on their Mac devices.

Managing the screenshots on Mac
After taking the screenshot, it is crucial to focus on storing it accurately. The Screenshots save in the desktop system automatically, usually with this name: “Screenshot (Date) + (Time).png.”
The amount of disk space the screenshots take up depends on the type of screenshot. For example, images with primarily white space in them take less space. However, screenshots with a full content screen and high display resolution take more space, e.g., 1.5 MB.
A lot of these files in the system can lag the system. Use high-quality software like CleanMyMac X to remove all excess screenshots from your screens.
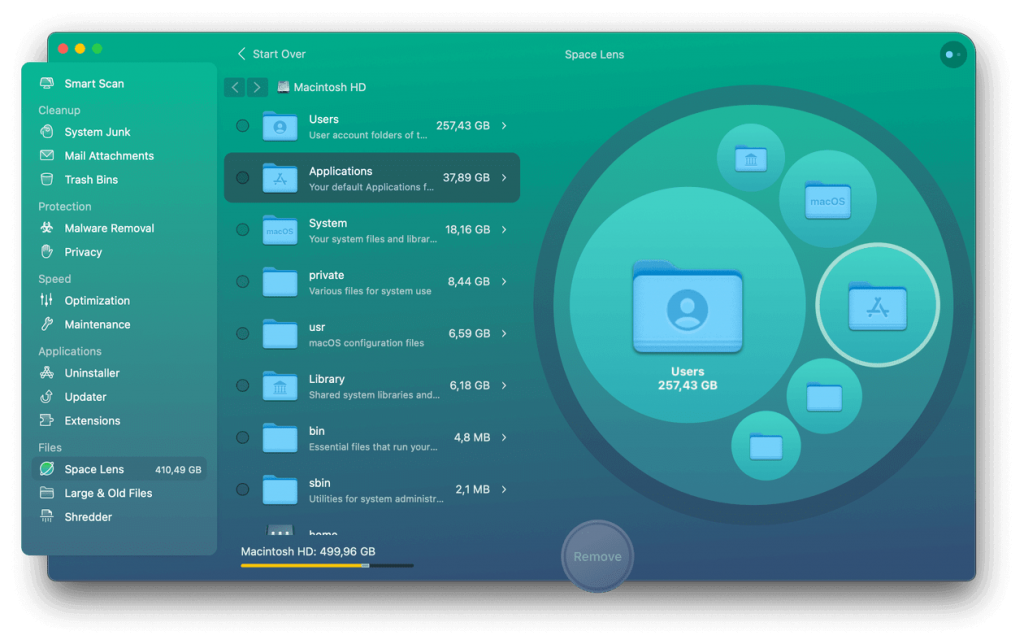
Some of its primary functions, like its Space Lens feature, include:
- Mac storage scanning
- Highlighting large files
- Graphical representation of the stored files/folders
- Remove any folder/file
Conclusion
You can use each of the methods available for capturing screenshots on Mac devices for different types of screenshots. Use the Esc key to cancel out a screenshot mid-way. Otherwise, use the best cleaner apps like CleanMyMac X to eliminate the excess/junk files. This would improve system functionality as well.
Hope this helped. Please go through other topics we have covered if you liked this post.
Popular Post


Recent Post
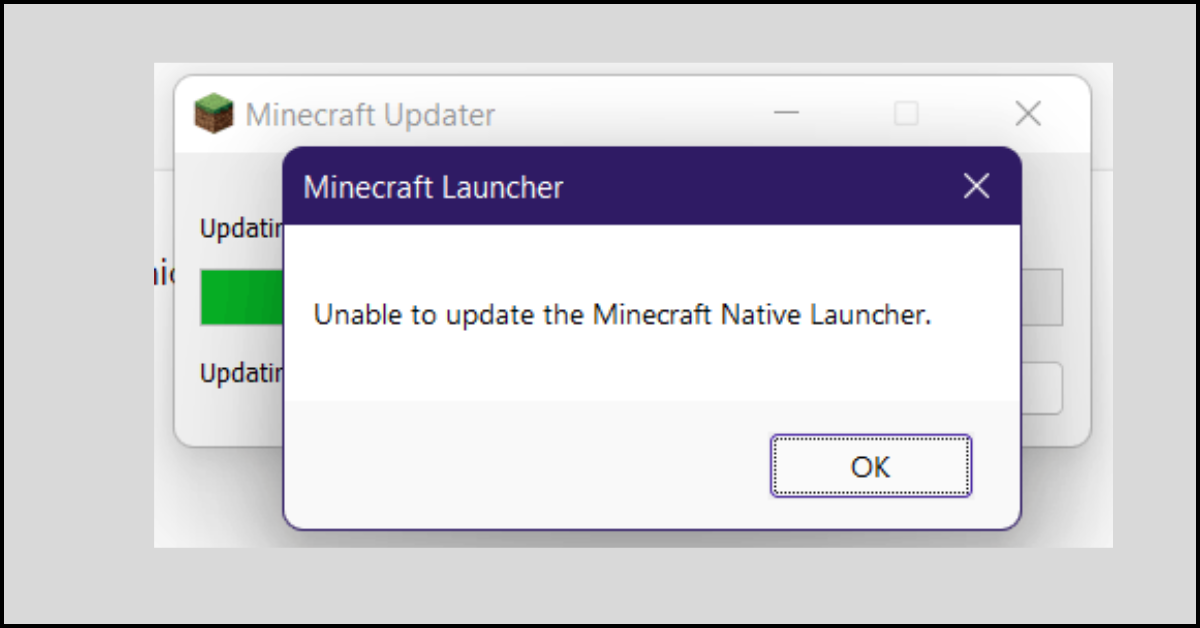
How to Fix Unable to update the Minecraft Native Launcher Windows 11
The “Unable to update the Minecraft Native Launcher” issue can be frustrating. However, there are many ways to fix it. Here, we will discuss some effective ways to fix this problem.

Troubleshooting Guide: How To Fix Copy And Paste Not Working On Windows 10/11
Fix the copy and paste not working issue on Windows 10/11 hassle-free with this comprehensive guide. Here you’ll find effective tried and tested methods that can troubleshoot and permanently resolve the problem.
How to Force Quit on Windows 11 and Windows 10
Encountering unresponsive programs or frozen applications on our Windows devices can be a frustrating experience. When a program hangs or stops responding, it can disrupt our workflow and hinder productivity. This is where the ability to force quit a program comes in handy. Here, we will explore different methods to force quit on Windows 11 […]

How to Enable Secure Boot Windows 11 and Windows 10
One of the key features that can significantly enhance the security of your Windows operating system is Secure Boot. By enabling Secure Boot on your Windows 11 or Windows 10 system, you can protect your device against malware and unauthorized operating systems. Benefits of Enabling Secure Boot in Windows 11 And 10 1. Protection Against […]

How to Change Administrator on Windows 10 and Windows 11
In Windows operating systems, the administrator account holds the highest level of privileges and control over the system. Sometimes, you may need to change the administrator account for various reasons such as security, ownership transfer, or simply to give someone else access to the system. Here, we will explore different methods to change the administrator […]

How to Open BIOS Windows 11 and Windows 10
Here are the best ways to Open BIOS Windows 11 and Windows 10. These steps are very easy.
How to Convert HEIC to JPG on Windows 11 and Windows 10
Learn the best ways to convert HEIC to JPG on Windows and Windows 10 computers.

How to Fix Valorant not uninstalling Windows 11 – Remove Valorant Completely
Online gaming has become increasingly popular, with many gamers enjoying multiplayer games. One such game that has gained a significant following is Valorant. However, like any software, Valorant is not immune to technical issues, and one common problem that players encounter is the difficulty in uninstalling the game, particularly on the Windows 11 operating system. […]
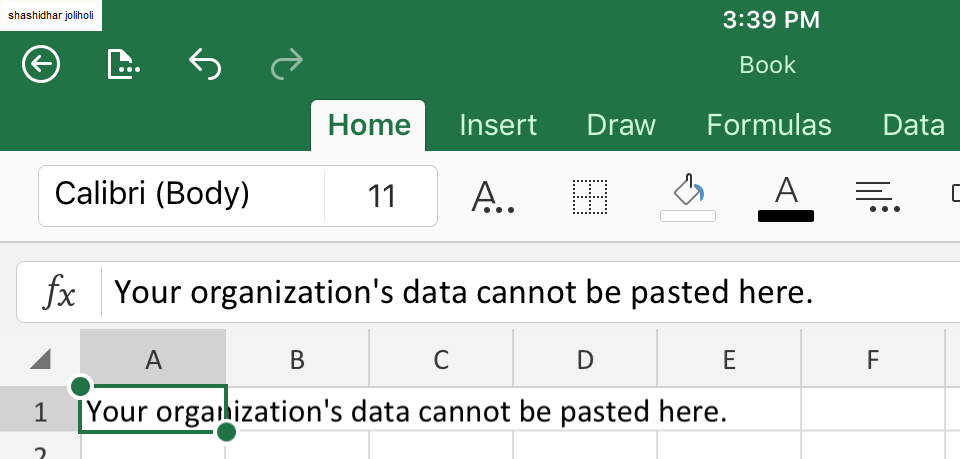
Your Organization’s Data Cannot Be Pasted Here: 7 Ways to Fix It
Encountering the “Your organization’s data cannot be pasted here” error can be frustrating, but armed with the right knowledge and troubleshooting steps, you can quickly overcome this hurdle.
Tenorshare Reiboot Review 2024 [Fully Unbiased]
Read The Complete Unbiased Review of Tenorshare Reiboot

