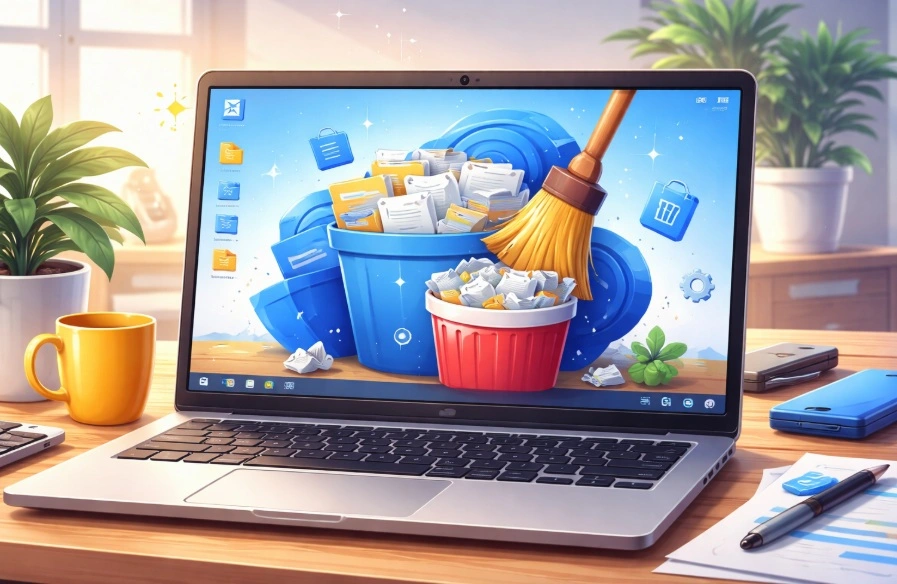
How To Clean a CPU Without Damaging It [Complete Guide]

Keeping your computer in good condition is important for daily use. Many people focus only on software updates and ignore hardware care. Over time, dust and dirt collect inside the system. This buildup can slowly affect how your CPU performs.
The CPU is the core part of your computer. It handles almost every task, from simple browsing to heavy processing. If it gets too hot, performance drops. Dust can block airflow and trap heat inside the case. This makes the system less stable and can lead to long-term damage.
Learning how to clean a CPU properly helps you avoid these problems. It also improves cooling and keeps your system running smoothly. You do not need advanced skills for this. With the right steps, anyone can do it safely at home.
Is it Safe to clean the CPU?
Yes, it is safe to clean a CPU if you follow the correct process. You must work slowly and stay careful at every step. The CPU and nearby parts are very delicate. Even a small mistake can cause damage, so it is important to handle everything gently. Never apply pressure or rush while cleaning.
It is also important to use the right tools for the job. Avoid using water or strong cleaning liquids, as they can harm internal components. Always choose dry and safe options like compressed air or a soft brush. These tools are designed for sensitive hardware and reduce the risk of damage. When done properly, cleaning helps maintain performance, improves airflow, and prevents overheating problems over time.
Benefits and Drawbacks of CPU Cleaning
Cleaning your CPU can improve your system in many ways. However, it also requires care and attention. Understanding both sides will help you decide when and how to clean.
Advantages and Disadvantages
Cleaning your CPU offers several benefits. At the same time, there are a few risks if you are not careful.
Advantages:
- Improves cooling
Dust blocks airflow inside the case. When you remove it, air can move freely. This keeps the CPU temperature under control. - Better performance
A cooler CPU works more efficiently. Programs open faster, and tasks run smoothly without lag. - Longer lifespan
Heat is one of the main causes of hardware damage. A clean CPU stays cooler and lasts longer. - Reduced noise
Fans do not need to work as hard when the airflow is clear. This reduces overall system noise. - Prevents overheating
Dust buildup can trap heat. Cleaning helps avoid sudden shutdowns caused by high temperatures. - Saves money
Regular cleaning reduces the need for repairs. You also avoid early replacement costs. - Stable system
A well-cooled CPU performs consistently. There are fewer crashes and freezes. - Cleaner setup
A dust-free system looks better and feels more organized.
Disadvantages:
- Risk of damage
If handled carelessly, parts can break or bend. This is common with beginners. - Static electricity
Static charge from your body can damage internal components. - Time-consuming
Proper cleaning takes time. You cannot rush the process. - Need for tools
You may need items like compressed air or a soft brush. - Warranty issues
Opening your system may void the warranty in some cases. - Dust spread
Dust can spread around if not removed carefully. - Mistakes can happen
Lack of experience can lead to small errors. - Not needed often
Cleaning too frequently is unnecessary and can increase risk.
Important Precautions Before You Start
Before you begin cleaning, you must prepare properly. Taking precautions will protect both you and your system.
Stay Safe While Cleaning
Cleaning a CPU is safe if you follow basic safety steps. These precautions help reduce the risk of damage.
- Turn off the power
Always shut down your computer. Disconnect it from the power source before opening the case. - Remove all cables
Unplug every cable connected to the system. This prevents electrical issues. - Work in a clean area
Choose a dust-free and well-lit space. This makes the process easier and safer. - Use anti-static protection
Touch a metal surface before handling parts. This removes static from your body. - Avoid liquids
Never use water or wet cloths inside the system. Moisture can damage components. - Use proper tools
Use soft brushes and air blowers. Avoid sharp or rough tools. - Handle parts gently
Do not apply pressure to the CPU or motherboard. Always hold parts carefully. - Keep track of screws
Place screws in a small container. This prevents loss during cleaning.
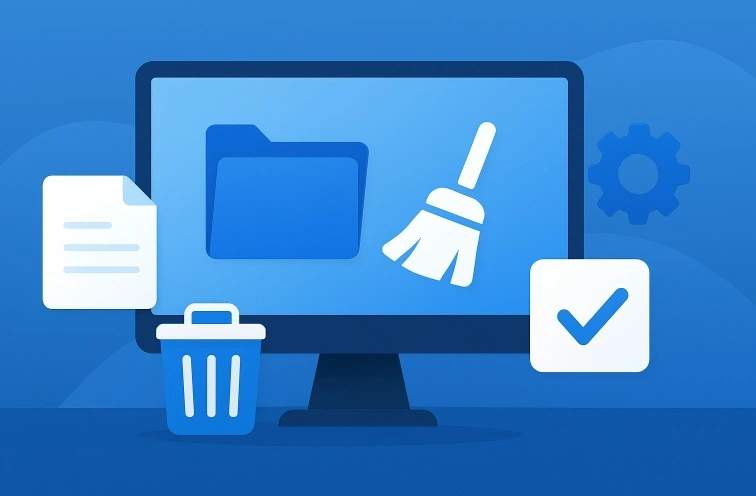
How to Clean a CPU without Damaging It
Cleaning a CPU requires patience and attention. You should follow a step-by-step approach. Do not rush or skip steps. Each method below is simple and safe when done correctly.
Method 1: Cleaning with Compressed Air
This is one of the safest ways to clean a CPU. It removes dust without touching sensitive parts. Compressed air can reach small spaces easily. It is ideal for beginners.
Before using compressed air, make sure your system is powered off. Open the case carefully and place it on a flat surface. Hold the can upright while using it. This prevents moisture release.
Use short bursts of air instead of long sprays. Focus on areas around the CPU and fan. Do not bring the nozzle too close to the parts. Maintain a small distance while cleaning.
Step 1: Hold the compressed air can upright. Blow short bursts around the CPU fan and heat sink.
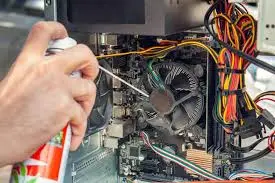
Step 2: Remove loose dust from nearby areas. Make sure all vents and corners are clean.
Method 2: Cleaning with a Soft Brush
A soft brush helps remove dust that sticks to surfaces. It is useful when air alone is not enough. Always choose a brush with very soft bristles.
Start by opening the case and locating the CPU area. Make sure there is enough light. This helps you see dust clearly. Work slowly to avoid mistakes.
Gently brush off dust from the fan and surrounding parts. Do not press too hard. Light strokes are enough to remove dirt.
Step 1: Use a clean, soft brush. Gently sweep dust off the CPU fan and heat sink.
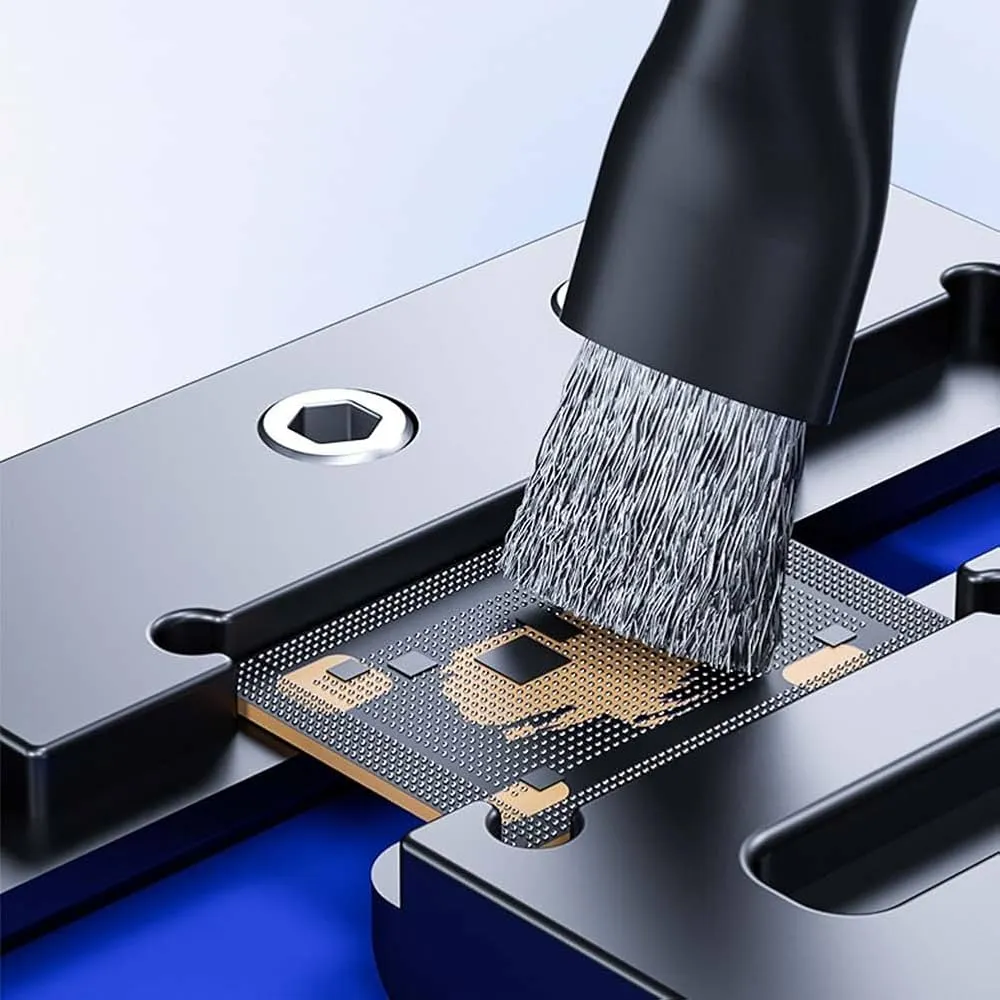
Step 2: Brush all corners carefully. Avoid touching pins or delicate areas.
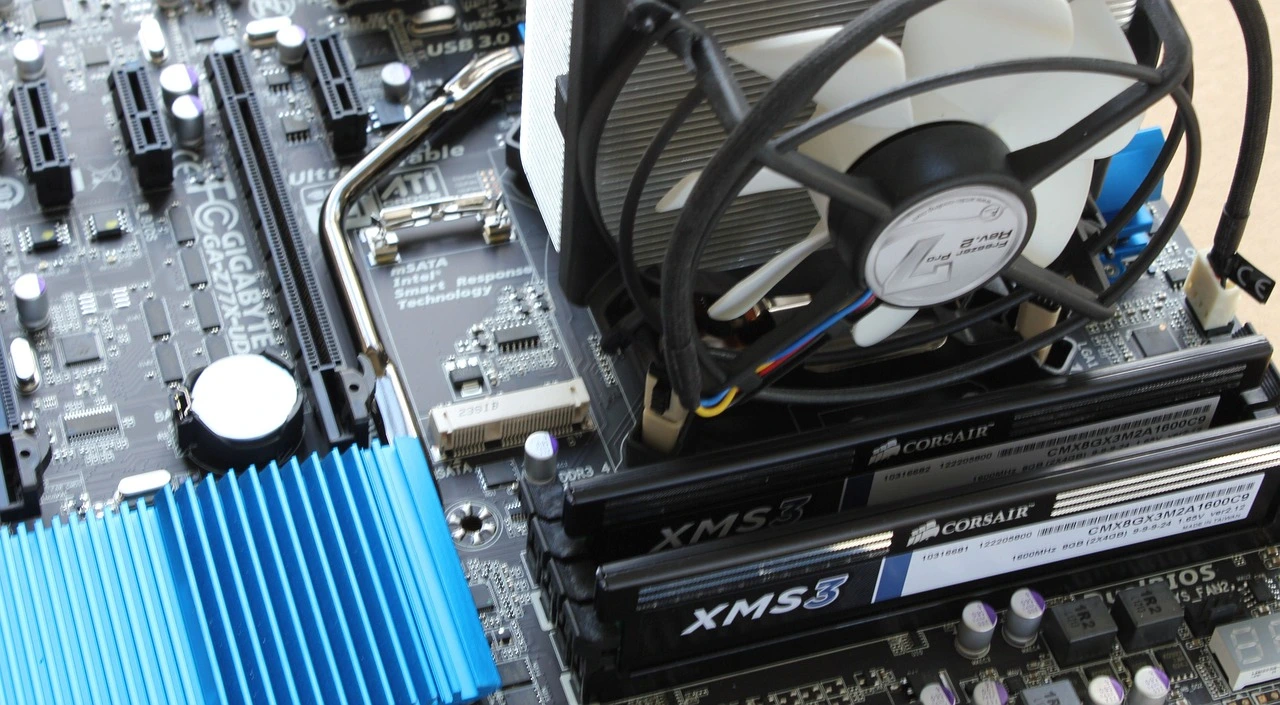
Method 3: Cleaning and Reapplying Thermal Paste
This method is more advanced. It involves removing old thermal paste and applying a new layer. This helps improve heat transfer.
First, remove the CPU cooler carefully. You may need to unscrew it. Once removed, you will see the old thermal paste. It may look dry or uneven.
Clean the old paste using a dry cloth or alcohol wipes. After that, apply a small amount of new paste. Spread it evenly before placing the cooler back.
Step 1: Remove the cooler and clean the old paste using a lint-free cloth.
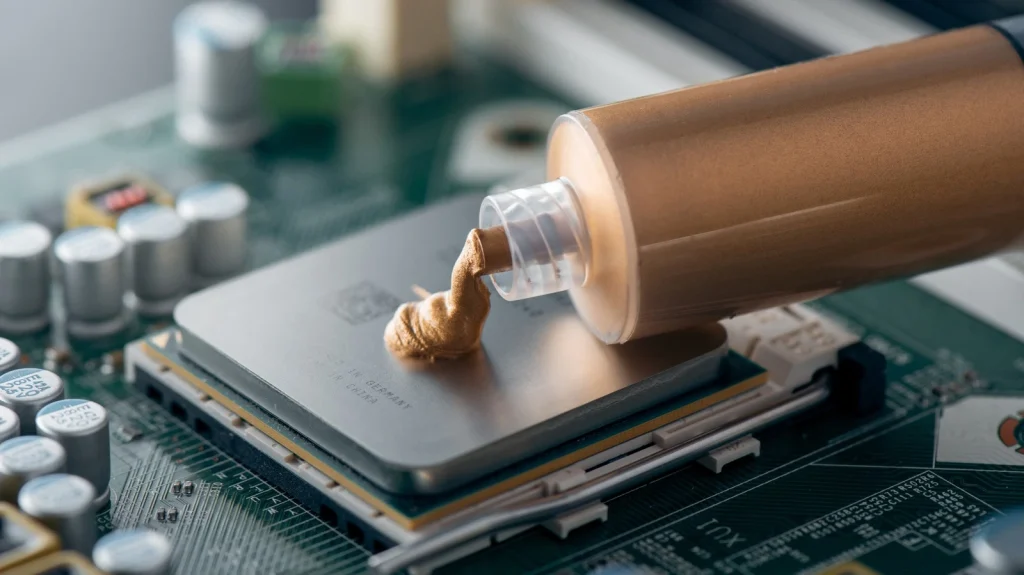
Step 2: Apply a small drop of the new paste. Reattach the cooler firmly.
Author’s Tip
Always start with the simplest method. In most cases, dust removal with air is enough. You do not need to open every part of the system. Keep the process basic unless required.
Do not clean your CPU too often. Once every few months is usually enough. Frequent cleaning increases the risk of accidental damage. Observe your system before deciding.
Invest in good-quality tools. A reliable air can, and a soft brush make the job easier. Cheap tools may not work well and can cause problems.
Conclusion
Cleaning your CPU is an important part of system maintenance. It helps improve performance and keeps temperatures under control. A clean system works more efficiently and lasts longer.
You do not need advanced knowledge to do this. With simple tools and careful steps, anyone can clean their CPU safely. The key is to stay patient and gentle.
Make cleaning a regular habit, but do not overdo it. Follow proper precautions every time. This will keep your system in good condition for years.
FAQs
1. How often should I clean my CPU?
You should clean your CPU every three to six months in most cases. The exact timing depends on where you use your computer and how much dust is in the area. If your room collects dust quickly, you may need to clean it more often. It is a good idea to check inside your system from time to time. If you see visible dust near the fan or vents, it means cleaning is needed.
2. Can I use a vacuum cleaner to clean my CPU?
It is not recommended to use a vacuum cleaner for cleaning your CPU. Vacuum cleaners can create static electricity, which can damage delicate internal parts. They may also pull small components or cables if used too close. Instead, you should use safer tools like compressed air or a soft brush. These methods remove dust without putting your system at risk.
3. What happens if I do not clean my CPU?
If you do not clean your CPU, dust will continue to build up inside your system. This blocks airflow and causes heat to stay trapped. As a result, your CPU may overheat, leading to slower performance and unexpected system crashes. Over time, constant heat can damage internal parts and reduce the overall lifespan of your computer.
Warning: Attempt to read property "ID" on string in /home/bestcomputerclea/public_html/wp-content/themes/techcommuters-child/single.php on line 204
Previous Post Next Post
Popular Post
Recent Post
How To Clean a CPU Without Damaging It [Complete Guide]
Learn how to clean a CPU safely without damage. Follow simple steps, precautions, and methods to improve cooling, boost performance, and extend your computer’s life.

How To Clear Browser Cache On Windows 11/10 [Chrome, FireFox, Edge]
Learn how to clear browser cache on Windows 11 and 10. Follow simple steps to clean browser cache, fix slow browsing, and improve performance easily.
How To Clear Cache Memory On Windows 11/10 [2026]
Learn how to clear cache memory on Windows 11/10 using safe built-in methods to improve speed, free space, and maintain smooth system performance.

Windows Installer Cleanup Utility: Complete Review And Alternatives
Detailed review of Windows Installer Cleanup Utility, reasons for removal, risks, and safer modern alternatives explained clearly.
How To Clean Junk Files On Windows 11/10
Learn how to clean junk files on Windows 11 and 10 using safe, simple steps to boost speed and free storage space effectively.

Clearing App Cache Data on Windows 11/10: Complete Guide
Learn how to safely clear app cache on Windows 11 and 10 to fix slow apps, free disk space, and improve overall system performance.
How To Clean Up System Files On Windows 11/10: Complete Guide
Explore a step-by-step guide explaining how Windows users can safely remove unnecessary system data using built-in tools.
How To Clean a Laptop Fan Without Opening [2026 Guide]
Learn how to clean a laptop fan without opening the device using safe steps, simple tools, and easy methods for better cooling.
How to Clear the Queue in the Printer Automatically in 2026
Learn how to clear the queue in the printer with simple steps. This easy guide explains why print jobs get stuck and how to fix them safely for smooth printing.
How To Clear Delivery Optimization Cache In Windows
Learn how to clear Delivery Optimization Cache in Windows safely and easily. This guide explains steps, precautions, benefits, and FAQs to free space and avoid update issues.
