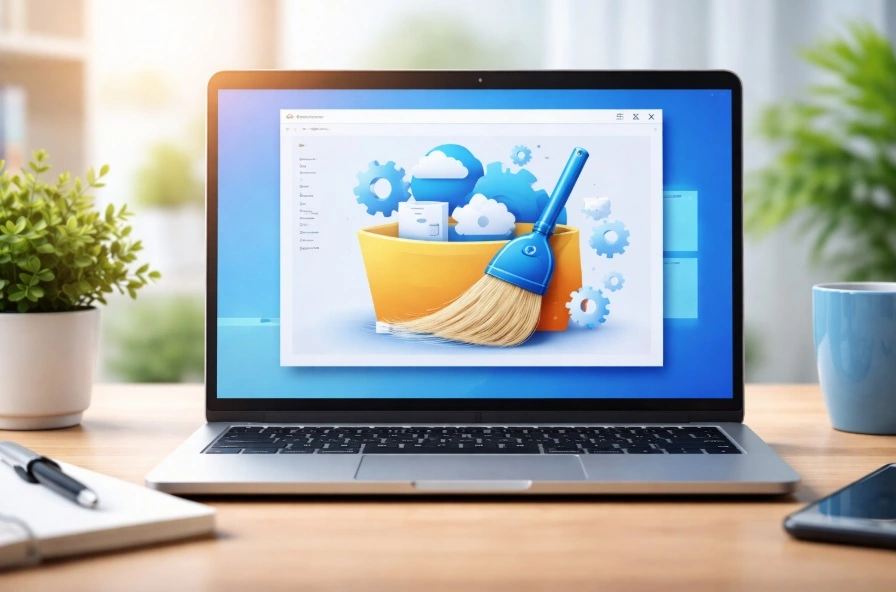
How To Clean Windows Update Files On Windows 11/10

Last updated on February 17th, 2026 at 1:23 pm
Windows update files can take up lots of space on your computer. These files pile up over time. They can slow down your system and eat up storage. Most users don’t know these files exist. They stay hidden in system folders. Your hard drive fills up without you knowing why. Old update files serve no purpose after installation. They just waste valuable disk space.
Learning how to clean Windows update files is key. It helps free up disk space. Your computer runs faster and smoothly. Many people struggle with slow computers. The real problem is often too many old files. Cleaning update files fixes this issue. You get back gigabytes of storage space. Your system boots faster, too. Programs load quicker after cleanup.
This guide covers methods for safely deleting Windows update files. We will cover simple methods for Windows 11 and Windows 10. You can remove Windows update files without breaking your system. No technical skills are needed. Each method is explained step by step. We include safe options for beginners. Advanced users get powerful tools too. All methods are tested and proven to work.
Part 1: What are Windows Update Files?
Windows update files are data packages from Microsoft. They contain fixes, patches, and new features. Your system downloads these files when updates are available.
These files stay on your computer after installation. Windows keeps them as backup copies. They help restore your system if something goes wrong.
Over time, these files grow large. Old update files become useless. They just take up space on your hard drive. This is why you need to remove Windows update files regularly.
Part 2: Why Delete Windows Update Files?
Here are the main reasons to delete Windows update files:
- Free up disk space – Old update files can use several GB of storage
- Improve system speed – Less clutter means faster performance
- Fix update errors – Corrupt files can cause installation problems
- Save storage costs – More free space means less need for upgrades
- Better system health – Clean systems run more smoothly
- Faster boot times – Less data to load during startup
- Prevent disk full errors – Avoid storage warnings and crashes
Part 3: How to Clean Windows Update Files
Windows Update files are essential for maintaining your system’s security and performance, though they can gradually consume a significant amount of storage space.
In Part 3, we’ll show you how to remove these files. You’ll use simple tools like Disk Cleanup to free up space. It’s a quick way to tidy your PC without hurting performance.
Method 1: Using the Disk Cleanup Tool
Disk Cleanup is a built-in Windows tool. It helps in removing unwanted files. It can safely delete Windows update files. Developed by Microsoft for system maintenance. It’s free and pre-installed—no extra downloads needed.
The tool quickly checks your system for unneeded files and shows how much storage you can free up. You choose which items to remove, including update files. The scan only takes a few minutes and displays results in a clear list. Each category shows potential space savings. You stay in control of what gets deleted, and changes can be reversed if necessary.
How Disk Cleanup helps:
- Safe removal of old update files
- Easy-to-use interface
- Shows space savings before deletion
- Built into Windows – no extra software needed
Steps to clean Windows update files:
- Press Windows key + R. Type “cleanmgr” and press Enter. Select your main drive (usually C:).

- Check the “Windows Update Cleanup” box. Click “Clean up system files”. Select update-related items. Click OK to delete Windows update files. Confirm the deletion when prompted
Method 2: Settings App Method
The Settings app offers another way to remove Windows update files. This method is user-friendly and safe. It works well for beginners who want to clean Windows update files. The interface is modern. Visual icons make everything clear. You can see file sizes at a glance. This method requires no command typing.
Windows Settings has a storage section. It shows all file types using space. You can see exactly how much space update files use. The display is organized by categories. Each section shows storage usage in real-time. Colors help identify large file groups. The information updates automatically as you clean files.
How the Settings method helps:
- The visual interface shows file sizes
- No risk of deleting the wrong files
- Works on the latest Windows versions
- Gives a detailed storage breakdown
Steps to delete Windows update files:
- Open Settings (Windows key + I). Go to System > Storage. Click on “Temporary files”. Wait for the scan to complete. Check the “Windows Update Cleanup” option.

- Check “Previous Windows installations” if available. Click the “Remove files” button. Confirm to remove Windows update files
Method 3: Command Prompt Method
Command Prompt gives you more control over cleaning. Advanced users prefer this method. It can delete Windows update files that other tools miss. This approach uses direct system commands. The method is faster than graphical tools. Power users love the precision it offers. You can target specific file types easily.
This method uses Windows commands directly. It clears the update cache completely. You get a more thorough cleaning of update files. Commands execute immediately when typed. The process stops and starts system services. This ensures complete file removal. All cached data gets cleared properly.
How Command Prompt helps:
- Complete cache clearing
- Works when other methods fail
- Fast execution of commands
- Accesses system-level cleanup tools
Steps to clean Windows update files:
- Press Windows key + X. Select “Command Prompt (Admin)”. Run the following commands. Type “net stop wuauserv”. Press Enter.

2. Type “net stop cryptSvc” and press Enter. Type “net stop bits” and press Enter. Type “net stop msiserver” and press Enter. Navigate to C:\Windows\SoftwareDistribution. Delete all files in this folder to remove Windows update files. Restart the stopped services by typing the “net start” command
Method 4: PowerShell Method
PowerShell offers advanced cleaning options. IT professionals often use this method. It can handle complex cleaning tasks for Windows update files. This tool is more powerful than the Command Prompt. Scripts can automate repetitive tasks. Professional IT teams rely on PowerShell daily. The commands are more sophisticated and flexible.
PowerShell scripts can automate the cleaning process. You can create custom commands. This method gives the most control over what gets deleted. Automation saves time on multiple computers. Custom scripts handle unique situations. The tool provides detailed output logs. You can schedule cleanups to run automatically.
How PowerShell helps:
- Automation of cleaning tasks
- Advanced filtering options
- Batch processing capabilities
- Detailed logging of actions
Steps to delete Windows update files:
- Right-click the Start button. Select “Windows PowerShell (Admin)”. Type “Get-WindowsUpdateLog” to check current updates.

- Run “DISM /online /cleanup-image /startcomponentcleanup”. Execute “DISM /online /cleanup-image /startcomponentcleanup /resetbase”. Type “sfc /scannow” to check system health. Use “Get-WmiObject -Class Win32_QuickFixEngineering” to list updates
Clean specific updates if needed to remove Windows update files
Part 4: Pro Tips to Delete Windows Update Files
Here are expert tips to help you clean Windows update files more effectively. These tips ensure safe and complete removal of unnecessary files.
- Create a system restore point – Always back up before cleaning Windows update files
- Run as administrator – Use admin rights for complete access to update files
- Check available space first – Know how much space you can free up
- Close all programs – Stop running apps before you delete Windows update files
- Restart after cleaning – Reboot to complete the cleanup process
- Schedule regular cleanups – Set monthly reminders to remove Windows update files
- Keep recent updates – Only delete old files, keep the current month’s updates
- Use multiple methods – Combine different tools for thorough cleaning
Author’s Tip
I recommend using the Settings app method first. It’s the safest way to clean Windows update files. New users should start with this approach. It prevents accidental deletion of important files.
For advanced users, combine multiple methods. Use Disk Cleanup for regular maintenance. Try Command Prompt for stubborn files. This approach ensures you remove Windows update files completely while keeping your system stable.
Conclusion
Cleaning Windows update files is essential for system health. Regular cleanup keeps your computer running smoothly. You now know four different ways to delete Windows update files safely.
Start with simple methods like Settings or Disk Cleanup. Move to advanced options as you gain confidence. Always create backups before major cleanups.
Remember to clean and update files monthly. This prevents storage issues and keeps performance high. Your Windows 11 or Windows 10 system will thank you for the regular maintenance.
FAQs
Q: Is it safe to delete Windows update files?
Yes, it’s safe to remove Windows update files using proper methods. Windows keeps these files as backups, but old ones are not needed. Use built-in tools like Disk Cleanup or the Settings app. Avoid manually deleting files from system folders unless you know what you’re doing.
Q: How often should I clean Windows update files?
Clean Windows update files once a month for best results. Heavy users might need weekly cleanups. Light users can clean every two months. Set calendar reminders to delete Windows update files regularly. This prevents storage problems and keeps your system fast.
Q: Will deleting the update files break my Windows system?
No, removing old Windows update files won’t break your system. Windows only needs the current update files to function. Old backup files are safe to delete. However, avoid deleting files from Windows folders manually. Always use official Windows tools to remove Windows update files safely.
Popular Post
Recent Post
How To Clear Cache Memory On Windows 11/10 [2026]
Learn how to clear cache memory on Windows 11/10 using safe built-in methods to improve speed, free space, and maintain smooth system performance.

Windows Installer Cleanup Utility: Complete Review And Alternatives
Detailed review of Windows Installer Cleanup Utility, reasons for removal, risks, and safer modern alternatives explained clearly.

How To Clean Junk Files On Windows 11/10
Learn how to clean junk files on Windows 11 and 10 using safe, simple steps to boost speed and free storage space effectively.

Clearing App Cache Data on Windows 11/10: Complete Guide
Learn how to safely clear app cache on Windows 11 and 10 to fix slow apps, free disk space, and improve overall system performance.
How To Clean Up System Files On Windows 11/10: Complete Guide
Explore a step-by-step guide explaining how Windows users can safely remove unnecessary system data using built-in tools.
How To Clean a Laptop Fan Without Opening [2026 Guide]
Learn how to clean a laptop fan without opening the device using safe steps, simple tools, and easy methods for better cooling.
How to Clear the Queue in the Printer Automatically in 2026
Learn how to clear the queue in the printer with simple steps. This easy guide explains why print jobs get stuck and how to fix them safely for smooth printing.
How To Clear Delivery Optimization Cache In Windows
Learn how to clear Delivery Optimization Cache in Windows safely and easily. This guide explains steps, precautions, benefits, and FAQs to free space and avoid update issues.
How To Clear Cache in Edge [Windows 11/10]: Latest Guide
Learn how to clear cache in Edge on Windows 11 and Windows 10. Step by step guide with precautions, FAQs, and tips to fix slow pages and errors.

Top 15 Questions About PC Cleaning and Their Answers
Learn safe and simple ways to clean your PC. This guide answers top questions, covers precautions, and gives advanced tips for better PC health and performance.
