How To Clean A Computer Cable At Home Without Damage
Computer cables get dirty over time. Dust, grime, and oils from your hands build up on them. This makes your cables look bad and can hurt their performance. Clean cables work better and last longer.
Learning how to clean computer cable connections is easy. You need the right tools and steps. This guide covers all the essentials to help you maintain your cables in top condition—keeping them organized, functional, and long-lasting.
Part 1: Types of Computer Cables
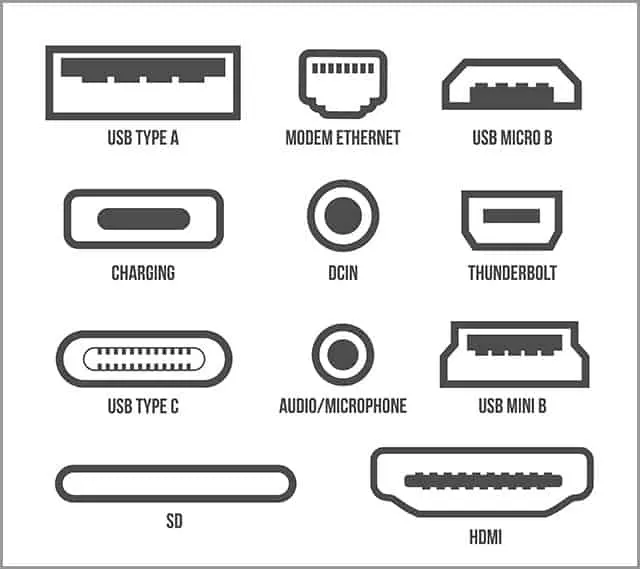
Different cables need different cleaning methods. Each type has its own design and materials. Knowing your cable types helps you clean them safely.
Here are the main computer cable types:
- USB cables (USB-A, USB-C, micro-USB) – Connect devices like phones, keyboards, and mice to computers
- HDMI cables for video and audio – Send high-quality video and sound to TVs and monitors
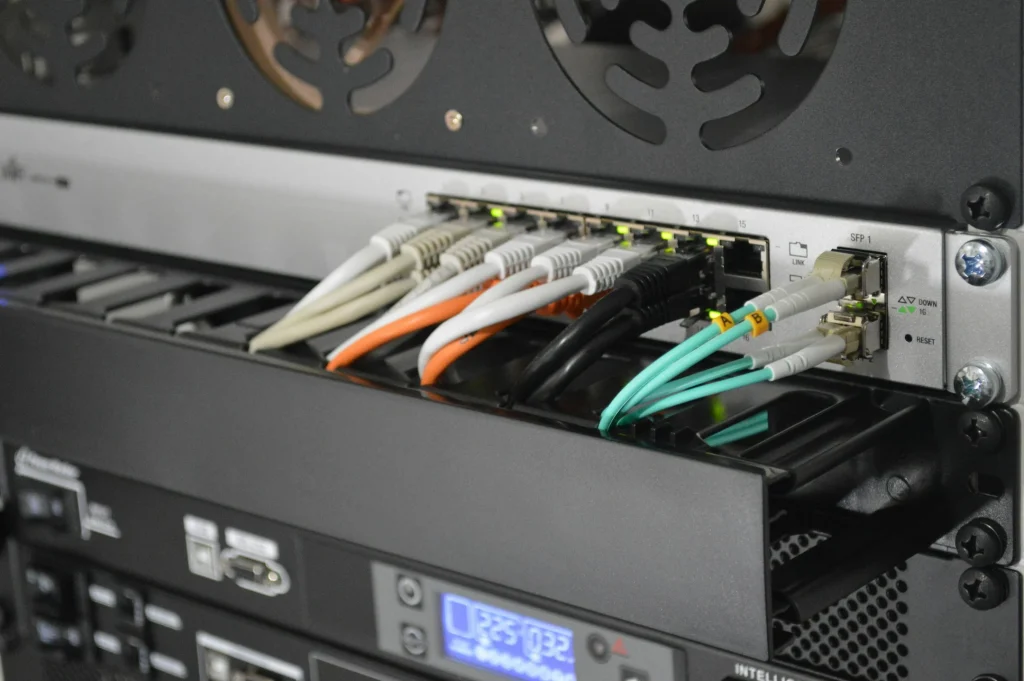
- Ethernet cables for internet – Deliver reliable, high-speed wired connections for consistent performance.
- Power cables and adapters – Supply electricity to laptops, monitors, and other devices
- Audio cables (3.5mm, XLR) – Connect headphones, speakers, and microphones
- VGA and DVI cables for monitors – Older cable types still used for some displays
Part 2: Safety First: Getting Started with Cleaning Computer Cable Pre-Requisites
Safety comes first when cleaning any electronic equipment. Wrong cleaning can damage your cables or hurt you. Follow these safety rules before you start.
- Turn off and unplug all devices
- Remove cables from all ports
- Work in a well-lit, dry area
- Avoid getting liquid in connectors
- Never use harsh chemicals
- Don’t pull cables by the wire
- Let everything dry completely
- Check cables for damage first
Part 3: Materials You’ll Need: Clean a Computer Cable

Before diving into any cleaning task—especially when dealing with electronics or delicate surfaces—it’s essential to gather the right tools. Having everything ready not only saves time but also ensures the process is safe and effective. The good news? You don’t need fancy or expensive equipment. Just a few reliable items will do the trick:
Must-Have Cleaning Materials
- Isopropyl Alcohol (70% or Higher): This is your go-to disinfectant and degreaser. It evaporates quickly and doesn’t leave residue, making it ideal for cleaning electronics, screens, and other sensitive surfaces. Always use it in a well-ventilated area and avoid soaking components—just dampen your cloth or swab.
- Cotton Swabs or Q-tips: Perfect for reaching tight corners, crevices, and small ports. Use them to gently clean around buttons, seams, or inside headphone jacks. Dip lightly in alcohol for better results, but avoid oversaturating.
- Microfiber Cloths: These are gentle on surfaces and highly effective at picking up dust and oils without scratching. Use them dry for dusting or slightly dampened with alcohol for deeper cleaning. Avoid paper towels.
- Compressed Air Can: Ideal for blowing out dust from keyboards, vents, and other hard-to-reach areas. Hold the can upright and use short bursts to avoid moisture buildup. Never shake the can while spraying.
- Small Soft Brush (An Old Toothbrush Works): A soft-bristled brush helps dislodge stubborn dirt and debris from textured surfaces or between keys. Make sure it’s clean and dry before use. If repurposing a toothbrush, choose one with soft bristles to avoid abrasion.
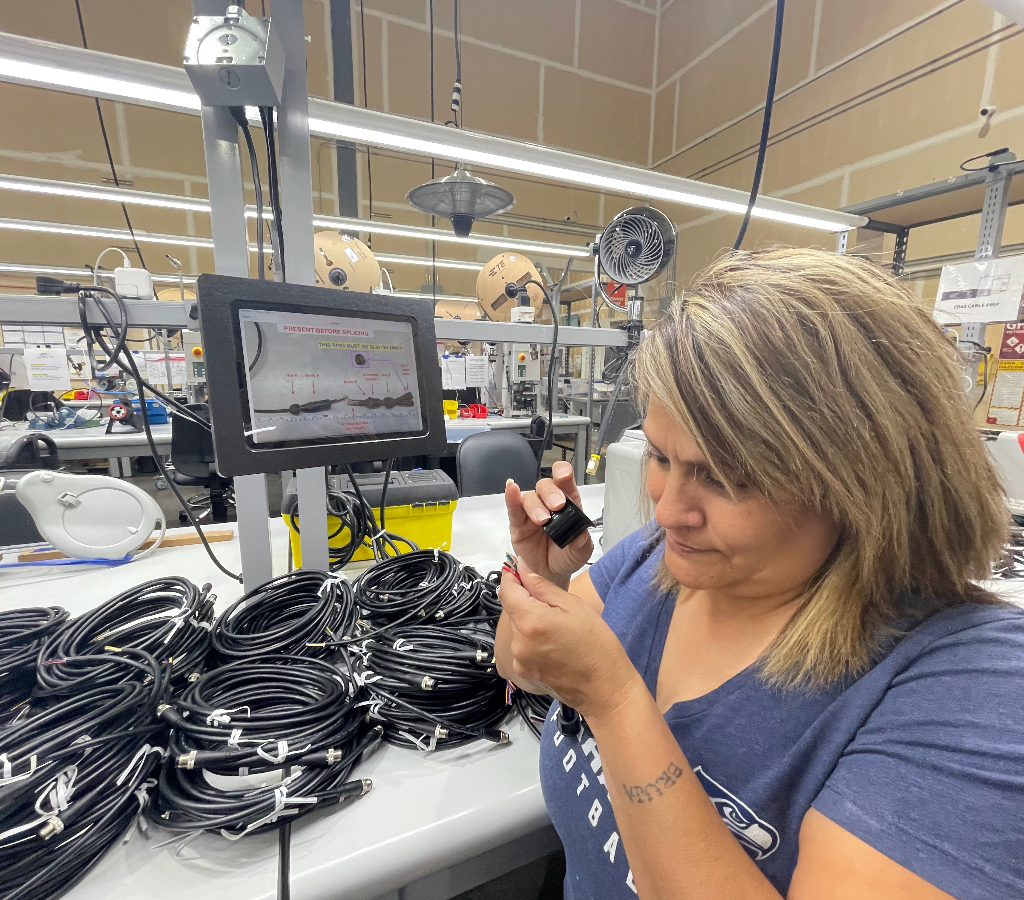
Part 4: How To Clean A Computer Cable: Step-by-Step
This detailed process shows you how to clean computer cable connections properly. Follow each step carefully. Take your time to avoid damage.
Step 1: Prepare Your Workspace.
Set up your workspace on a clean, level surface. Ensure the area is well-lit so you can easily spot any dirt or damage. Keep all your cleaning tools and supplies close at hand for convenience.
Step 2: Inspect the Cable.
Look at the entire cable for damage. Inspect cables carefully for any cracks, bent connectors, or frayed wiring. If you find damage, avoid cleaning—it’s safer to replace the cable entirely.
Step 3: Clean the Cable Body.
Dampen a microfiber cloth with isopropyl alcohol. Wipe the entire cable length gently. Remove fingerprints, dust, and sticky residue. Don’t soak the cable.
Step 4: Clean the Connectors.
This is the most important part. Dip a cotton swab in isopropyl alcohol. Clean the metal contacts carefully. Use a dry swab to remove excess moisture.
Step 5: Use Compressed Air.
Blow out dust from the connector ports. Hold the can upright. Use short bursts to avoid moisture buildup. This removes particles you can’t see.
Step 6: Brush Away Stubborn Dirt.
Use a soft brush for stuck-on grime. Brush gently to avoid scratching. Work in one direction, not back and forth.
Step 7: Final Wipe Down.
Use a clean, dry microfiber cloth for the final cleaning. Remove any leftover cleaning residue. Make sure everything looks clean and dry.
Step 8: Let Everything Dry.
Wait at least 10 minutes before using cables. This ensures all alcohol evaporates. Moisture can damage electronic devices.
Part 5: Tips for Long-Term Maintenance
Regular care keeps your cables clean longer. Good habits prevent heavy dirt buildup. This saves you time and extends cable life.
- Clean cables monthly or when visibly dirty – Regular cleaning prevents heavy buildup and extends cable life
- Store cables properly when not in use – Coil them loosely and keep them in dry, safe places
- Avoid eating near computer equipment – Food crumbs and spills make cables sticky and dirty
- Keep pets away from cable areas – Pet hair and dander stick to cables and cause clogs
- Use cable organizers to prevent tangling – Organized cables are easier to clean and maintain
- Check cables during regular computer maintenance – Early detection prevents bigger problems later
- Replace old or damaged cables promptly – Bad cables can harm your expensive devices
- Keep your workspace clean and dust-free – A clean area means cleaner cables that need less work
Author’s Tip
How to clean computer cable maintenance becomes easier with practice. Start with the less important cables first. This builds your confidence before cleaning expensive equipment.
Temperature matters when cleaning electronics. Room temperature works best for cleaning solutions. Very hot or cold conditions can cause problems. Let cables reach room temperature before cleaning if they were stored elsewhere.
Prevention beats cleaning every time. Keep your computer area clean. Dust your desk weekly. This reduces how often you need deep cable cleaning. A clean workspace means cleaner cables that last longer.
Conclusion
Clean computer cables work better and look professional. Regular maintenance prevents performance problems. You now know how to clean computer cable connections safely and effectively.
The key is being gentle and patient. Rush jobs can damage expensive equipment. Take your time and follow the safety rules. Your cables will thank you with better performance.
Start your cleaning routine today. Pick one dirty cable and try these steps. You’ll be surprised how much better it looks and works. Clean cables are happy cables that serve you well for years.
FAQs:
Q: How often should I clean my computer cables?
Clean your cables once a month or when they look dirty. Heavy users might need weekly cleaning. Light users can clean every two months. Check cables when you clean your computer.
Q: Can I use water instead of isopropyl alcohol?
No, don’t use plain water on electronic cables. Water can cause corrosion and electrical problems. Isopropyl alcohol evaporates quickly and doesn’t leave residue. It’s much safer for electronics.
Q: What should I do if my cable gets damaged during cleaning?
Stop using a damaged cable right away. Damaged cables can harm your devices or cause electrical hazards. Replace the cable with a new one. Don’t try to fix electrical cables yourself.
Popular Post
Recent Post

Advanced SystemCare: Tool To Clean Your PC
Your computer slows down over time. Files pile up, junk builds inside the system, and things start to feel sluggish. You open a browser, and it takes forever. Programs crash without warning. This is a sign that your PC needs a good cleanup. Many users ignore these signs. They think buying a new computer is […]

Top 10 PC Cleaning and Optimization Tools For Windows 11/10
Discover the best PC cleaning and optimization tools for Windows 11 and 10. Remove junk files, improve speed, and keep your PC healthy with trusted cleaners.

Clear Microsoft Teams Cache On Windows PC [Complete Guide]
Learn how to clear Teams cache on Windows PC with 3 easy methods. Fix slowdowns, glitches, and errors fast. A simple guide for every Windows 11 user.

How To Clear Browsing History on PC: Chrome, Edge, Firefox, Opera
Learn how to clear browsing history on PC across Chrome, Edge, Firefox, and Opera with easy steps, tips, pros, and FAQs.

Clear Cache and Cookies: Complete Guide For Windows 11/10
Learn how to clear cache and cookies on Windows 10 and 11. This complete guide covers Chrome, Edge, and Firefox with simple, step-by-step instructions for every user.

How To Clean PC Trackpad/Touchpad Without Damaging It
Learn how to clean PC trackpad and clean PC touchpad safely with simple steps. Improve performance, remove dirt, and keep your laptop surface smooth and responsive.

How To Clean Your GPU/Graphics Card [Complete Guide]
Introduction A graphics card is one of the most important parts of a computer. It handles visuals, gaming, video editing, and design work. Over time, dust builds up inside it. This dust blocks airflow and traps heat. When heat increases, performance drops. In some cases, the system may even crash. That is why learning how […]

How To Clean PC Power Supply Unit Safely Without Damaging
Follow simple, safe steps to clean your computer’s power supply unit. Improve cooling, reduce overheating, and protect your PC’s performance.

How To Clean a CPU Without Damaging It [Complete Guide]
Learn how to clean a CPU safely without damage. Follow simple steps, precautions, and methods to improve cooling, boost performance, and extend your computer’s life.

How To Clear Browser Cache On Windows 11/10 [Chrome, FireFox, Edge]
Learn how to clear browser cache on Windows 11 and 10. Follow simple steps to clean browser cache, fix slow browsing, and improve performance easily.
