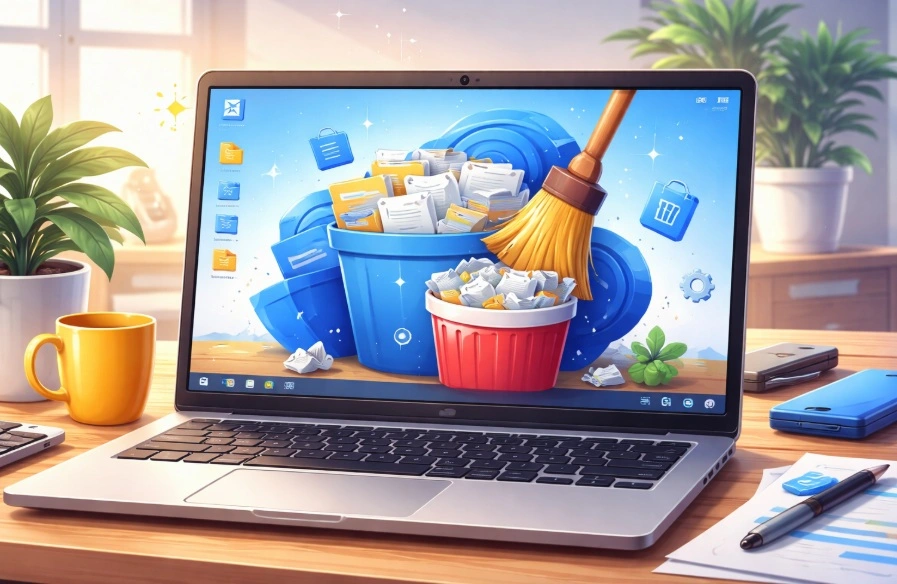
How To Clean PC Power Supply Unit Safely Without Damaging

Introduction:
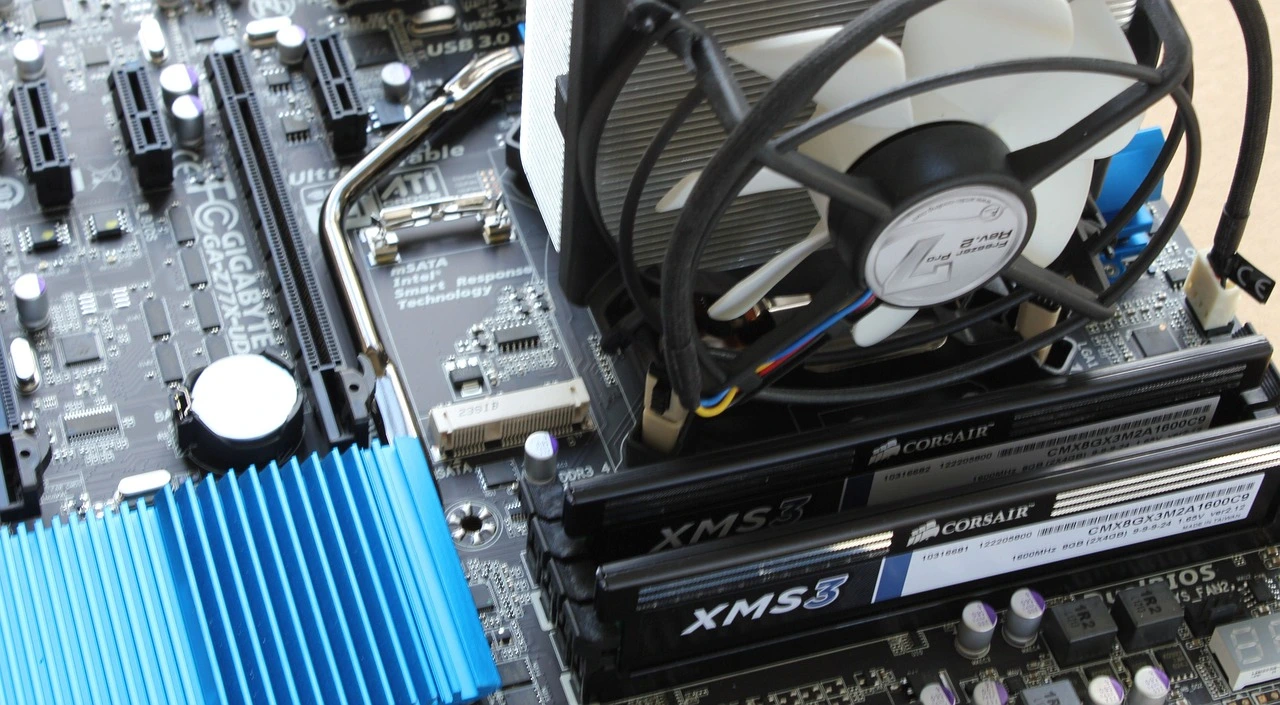
A PC power supply unit is one of the most important parts of your computer. It sends power to every component. Without it, nothing will work. Over time, dust collects inside and around it. Dust restricts airflow and causes heat to build up.
Many users forget to clean this part. They focus only on the fans, keyboard, or outer case. This leads to poor airflow inside the system. When airflow is blocked, the temperature rises. High heat can reduce performance and damage parts.
This guide explains how to clean pc power supply unit in a safe and simple way. You will learn methods that do not harm your system. You will also understand basic safety steps. A clean PSU helps your PC run smoothly for a longer time.
Is it Safe to Clean the Power Supply Unit?
Cleaning your PSU can be done safely as long as you use the right technique. Take your time and move carefully through each step, since the processor and surrounding components are extremely delicate. Even minor errors may cause harm. Avoid pressing on the surface or touching the pins, and always handle the parts with steady, controlled movements.
It is always better to use dry cleaning tools. Avoid water or strong chemicals at all times. These can damage the surface and affect nearby circuits. A soft brush works well for removing light dust. Compressed air is effective for removing dust from narrow spaces. Use short, gentle bursts to avoid damaging the components.
Regular cleaning helps your system stay cool and stable. Dust buildup blocks airflow and traps heat inside the case. When dust is removed, airflow improves, and cooling becomes more effective. This allows all parts to function properly. It also increases the lifespan of your components and keeps performance consistent over time.
Benefits and Drawbacks of Cleaning Your PSU
Cleaning your power supply unit can improve your PC’s health. It helps reduce heat and improve airflow. However, there are also some risks involved. You must understand both before starting.
Advantages
- Better airflow
Dust blocks vents and fans. Cleaning removes this blockage and allows smooth air movement. - Lower temperature
A clean PSU stays cooler. This reduces stress on internal components. - Improved performance
Stable power delivery helps the system run better. - Longer lifespan
Keeping temperatures down helps minimize damage over time. - Reduced noise
Fans do not need to work as hard when clean. - Better efficiency
Clean parts use energy more effectively. - Prevents sudden shutdowns
Overheating often causes shutdowns. Cleaning helps avoid this issue. - Cleaner system overall
Dust from the PSU can spread inside the PC. Cleaning prevents this.
Disadvantages
- Risk of electric shock
A PSU can store charge even after unplugging. - Warranty issues
If you open the PSU, the warranty may no longer be valid. - Damage risk
Using the wrong tools can harm delicate parts. - Time required
Proper cleaning takes time and care. - Needs patience
Rushing increases the chance of mistakes. - Not beginner-friendly
Some steps may be difficult for first-time users. - Dust may remain inside
Deep dust is hard to remove without opening. - Static electricity risk
Static discharge can damage components.
Important Precautions Before Cleaning
Cleaning a PSU needs more care than other parts. You must follow safety steps before you begin. This helps prevent damage and keeps you safe.
Key Safety Tips
- Unplug the PC completely
Unplug the power cable from the wall outlet. Do not rely only on the switch. Confirm that the system is fully disconnected from electricity before starting.
- Wait before cleaning
Let the PSU rest for at least 30 to 45 minutes. This gives time for the stored charge to reduce. It also allows internal parts to cool down.
- Do not open the PSU casing
Internal components can hold a dangerous electrical charge. Even when unplugged, they may still be active. Opening the unit increases risk and should be avoided.
- Use dry tools only
Avoid any liquid cleaners or sprays. Moisture can damage circuits and cause short circuits. Always choose safe and dry cleaning methods.
- Work in a clean area
A dust-free surface helps you clean more effectively. It also prevents new dust from entering the PSU during cleaning.
- Use anti-static protection
Static electricity can harm sensitive parts. An anti-static wrist strap or grounding yourself helps reduce this risk.
- Handle cables carefully
Do not pull or twist wires. Always hold connectors gently while moving them. This prevents internal wire damage.
- Check warranty terms
Opening or mishandling the PSU may cancel your warranty. It is better to check the terms before starting any cleaning process.
How To Clean a PC Power Supply Unit
Cleaning the PSU should be done with safe methods. You do not need to open the unit for basic cleaning. External cleaning removes most dust and keeps airflow clear.
Below are simple and safe methods that you can follow.
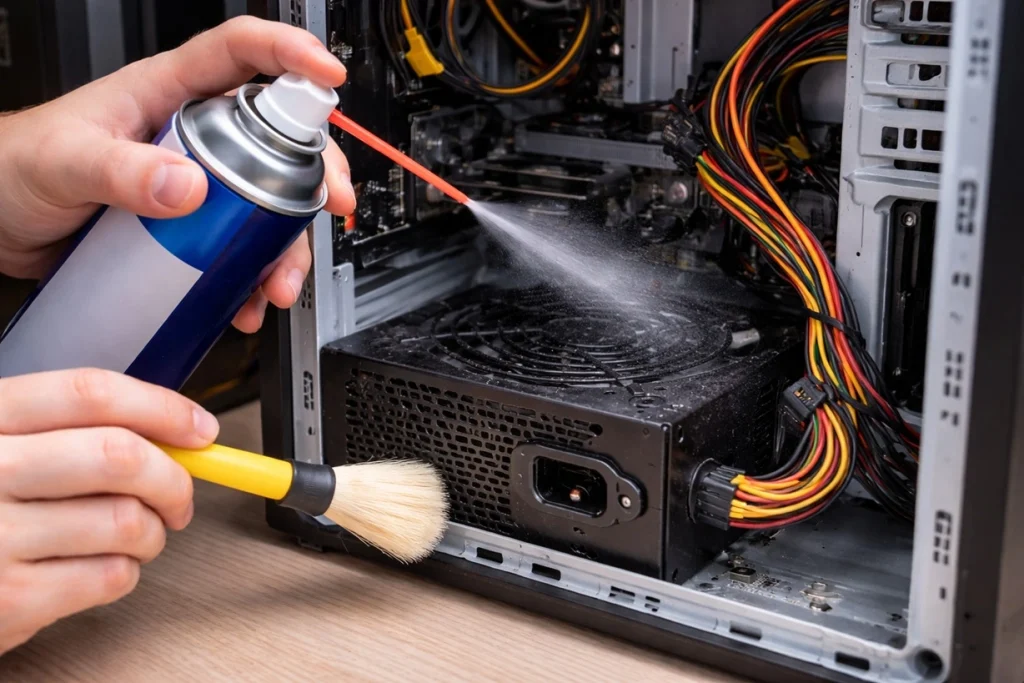
Method 1: Using Compressed Air
Compressed air is the safest way to clean a PSU. It removes dust without touching internal parts. It is an effective method for ongoing maintenance.
It is important to use short bursts. Long sprays may create moisture. Always keep the can upright. This prevents liquid from coming out.
It’s best to carry out the cleaning in an open space. Dust will be released through the vents, and working in a well‑ventilated area helps keep the process cleaner and more comfortable.
Steps
- Step 1: Hold the PSU fan still using a small stick or your finger. Blow compressed air through the vents in short bursts.

- Step 2: Move around all sides of the PSU. Focus on corners where dust collects more.
Method 2: Using a Soft Brush
A soft brush helps remove stuck dust. It works well when dust does not come out with air. Use a clean and dry brush only.
Make sure the brush is not rough. Hard bristles can damage parts. A small paintbrush is a good option.
Brush slowly and gently. Do not apply pressure. The goal is to loosen dust, not push it deeper.
Steps
- Step 1: Gently brush the outer vents and visible areas of the PSU.
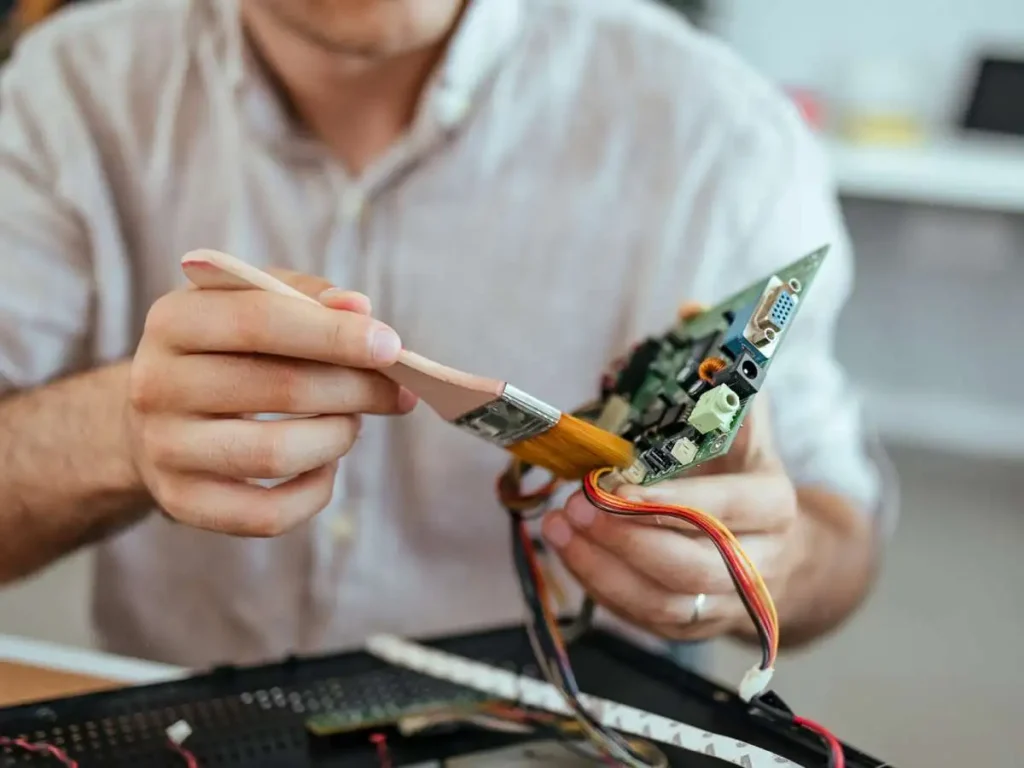
- Step 2: Use compressed air again to blow away the loosened dust.
Method 3: Cleaning Without Removing PSU
This method is useful if you do not want to remove the PSU from the case. It saves time and reduces risk.
You can clean through the case vents. This method works best for light dust. It is also good for quick cleaning.
Make sure your PC is turned off and unplugged. Safety should always come first.
Steps
- Step 1: Open the PC case side panel carefully.
- Step 2: Use compressed air to clean the PSU vents from inside and outside.
Author’s Tip
Always clean your PC in a regular cycle. Do not wait until dust builds up too much. Light cleaning every few months is better than deep cleaning once a year. Regular checks also help you notice issues early. You can spot blocked vents or slow fans before they become serious problems.
Try to keep your PC in a clean environment. Avoid placing it directly on the floor, especially on carpets. Dust collects faster at lower levels and gets pulled into the system. A desk setup keeps the PC safer and cleaner. Also, avoid placing it near windows or areas with heavy airflow from outside.
Use dust filters if possible. Many modern cases support them and they are easy to install. These filters trap dust before it enters the system. Clean the filters regularly to keep them effective. This simple step reduces internal dust and makes overall maintenance much easier.
Conclusion
Cleaning your PSU is important for overall system health. It helps reduce heat buildup and improves airflow inside your PC. When airflow is smooth, all components stay cooler. A clean PSU also supports stable and reliable performance over time.
You do not need complex tools for this task. Simple tools like compressed air and a soft brush are enough for regular cleaning. The most important part is to follow the safety steps carefully. Taking your time and working gently helps avoid mistakes and damage.
Now you understand how to clean pc power supply unit in a safe and practical way. Regular maintenance keeps dust under control and improves system efficiency. With proper care, your PC can run smoothly and last for many years without major issues.
FAQs:
1. Can I open my PSU for cleaning?
It is not recommended to open your PSU for cleaning. Internal components can store electric charge even after the unit is unplugged, which makes it unsafe. There is also a risk of damaging delicate parts. It is always better to clean the PSU from the outside using compressed air and a soft brush.
2. How often should I clean my PSU?
You should clean your PSU every three to six months as part of regular maintenance. If your environment has more dust, you may need to clean it more often. Checking your system from time to time will help you decide the right cleaning schedule.
3. What tools are best for cleaning the PSU?
The best tools for cleaning a PSU are compressed air and a soft brush. These tools are simple, safe, and effective for removing dust without causing damage. Avoid using liquids or rough materials, as they can harm the components.
Warning: Attempt to read property "ID" on string in /home/bestcomputerclea/public_html/wp-content/themes/techcommuters-child/single.php on line 204
Previous Post Next Post
Popular Post
Recent Post
How To Clean PC Power Supply Unit Safely Without Damaging
Follow simple, safe steps to clean your computer’s power supply unit. Improve cooling, reduce overheating, and protect your PC’s performance.

How To Clean a CPU Without Damaging It [Complete Guide]
Learn how to clean a CPU safely without damage. Follow simple steps, precautions, and methods to improve cooling, boost performance, and extend your computer’s life.

How To Clear Browser Cache On Windows 11/10 [Chrome, FireFox, Edge]
Learn how to clear browser cache on Windows 11 and 10. Follow simple steps to clean browser cache, fix slow browsing, and improve performance easily.
How To Clear Cache Memory On Windows 11/10 [2026]
Learn how to clear cache memory on Windows 11/10 using safe built-in methods to improve speed, free space, and maintain smooth system performance.
Windows Installer Cleanup Utility: Complete Review And Alternatives
Detailed review of Windows Installer Cleanup Utility, reasons for removal, risks, and safer modern alternatives explained clearly.
How To Clean Junk Files On Windows 11/10
Learn how to clean junk files on Windows 11 and 10 using safe, simple steps to boost speed and free storage space effectively.

Clearing App Cache Data on Windows 11/10: Complete Guide
Learn how to safely clear app cache on Windows 11 and 10 to fix slow apps, free disk space, and improve overall system performance.
How To Clean Up System Files On Windows 11/10: Complete Guide
Explore a step-by-step guide explaining how Windows users can safely remove unnecessary system data using built-in tools.
How To Clean a Laptop Fan Without Opening [2026 Guide]
Learn how to clean a laptop fan without opening the device using safe steps, simple tools, and easy methods for better cooling.
How to Clear the Queue in the Printer Automatically in 2026
Learn how to clear the queue in the printer with simple steps. This easy guide explains why print jobs get stuck and how to fix them safely for smooth printing.
