How to Fix Windows 11 Lagging After the Update? — Top 10 Solutions
Last updated on February 25th, 2026 at 5:52 am
Have you recently updated your Windows 11 OS? But, instead of getting better performance, you encounter Bluetooth errors, WiFi connection issues, and other system glitches.
Then, you are not the only one dealing with the Windows 11 lagging after an update problem. In fact, many Windows 11 users have complained about system crashes, freezing, and slow rendering speed after an update.
Despite Windows 11 being the latest-generation operating system, it is still not perfect. But it can be made perfect with a small adjustment.
This guide will help you fix Windows 11 lagging after an update and troubleshoot. So, let’s keep on scrolling.
Why Does Windows 11 Lag After an Update?
There could be several reasons behind your Windows 11 slow speed after a system update, such as:
- You have been using Fast Startup, leading to your PC not getting a proper reboot.
- Your hard drive doesn’t have sufficient free space to support your operations.
- RAM is running out of space.
- Several programming queues at startup.
- Interrupting while installing the Windows 11 updates.
- Conflicts with security tools.
- Outdated or incompetent hardware drivers.
- Failure in hardware or software functions.
- Overheated computer or processor, etc.
10 Solutions to Fix Windows 11 Lagging After an Update
As you can see, there are several reasons behind your Windows 11 lagging. Thus, there is not a fixed solution to solve the problem. So, we recommend our readers to use any or all of these solutions to restore their PCs speed:
Solution 1. Delete Unwanted Apps
If you don’t have sufficient free space left on your hard drive, the best option is to delete the apps that you have not used in a while. In addition, some third-party tools can be obsolete after the system updates. Or, they can conflict with the new Windows 11 version settings.
In any case, it is advisable to remove third-party apps from your system this way:
Step 1. Press Windows + I keys to open Windows Settings.
Step 2. Go to Apps > Apps & features.
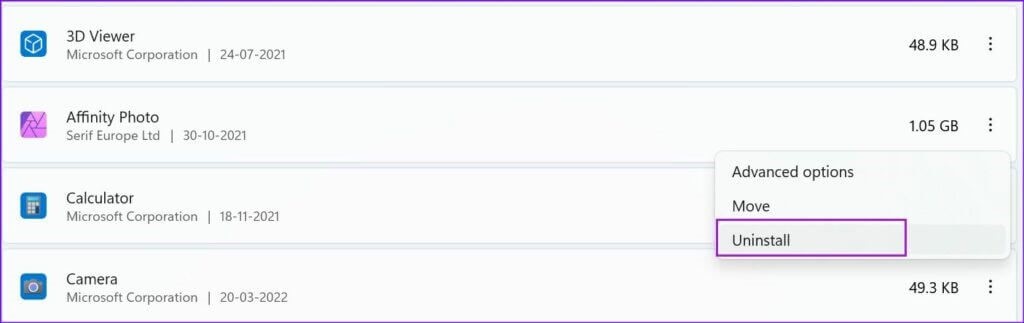
Step 3. Navigate to the app you prefer to remove and click on the three-dot menu next to it.
Step. 4. Choose the Uninstall option and confirm it.
Solution 2. Disable Startup Programs
By default, Microsoft enables some system apps after an update like OneDrive or Microsoft Edge. As a result, this can slow down your PC’s boot-up time and other operations while running in the background.
So, you can disable startup programs that you no longer require as follows:
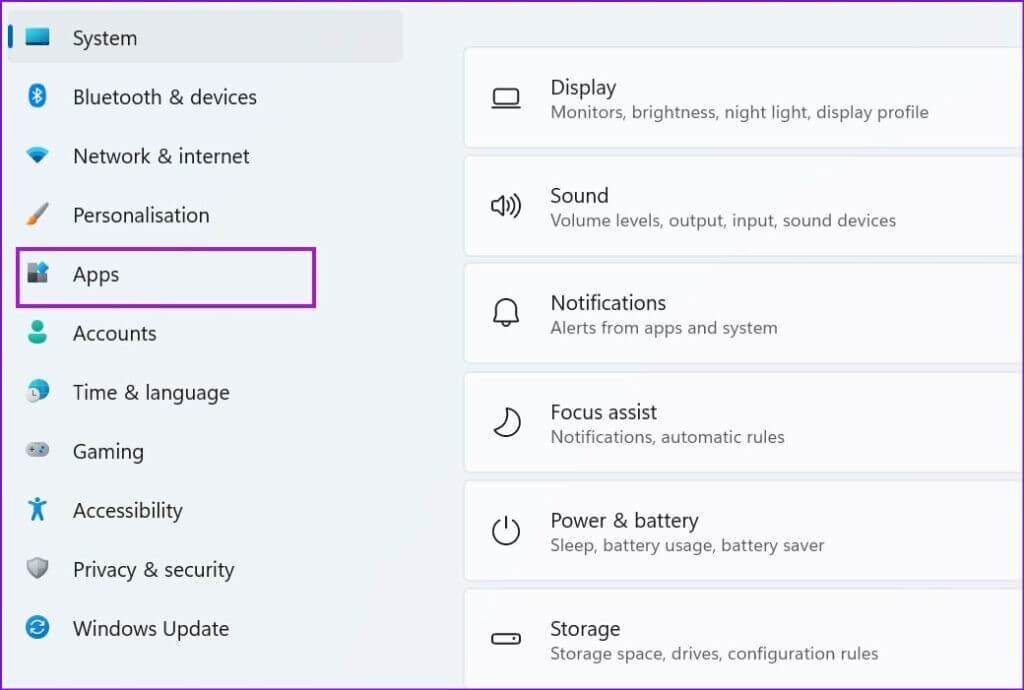
Step 1. Open the Settings menu and select Apps.
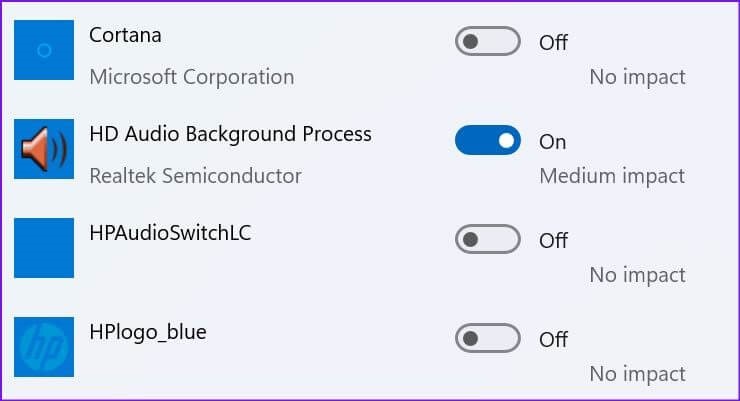
Step 2. Select the Startup menu to see all your startup apps and how they impact your system.
Step 3. Simply turn off the toggle next to apps that have the least or no impact on the startup or other PC operations.
Solution 3. Turn Off Fast Startup
Fast Startup is a great utility feature in Windows 10 and 11. This feature puts your system in hibernation mode, allowing you to access your desktop the way you have left it. This feature is useful to save time and boost productivity.
But, Fast Startup keeps your system active when you are not using it. This way, your PC will not get a proper reboot time, leading to overheating and slow performance. Thus, you can disable Fast Startup to fix Windows 11 lagging after an update problem. To do so:
Step 1. Go to the Start menu and search for the Control Panel.
Step 2. From the Control Panel window, click on the Hardware and Sound option > Power Option.
Step 3. Check the Choose what the power button does option. If you find the Turn on fast startup option enabled, uncheck the dialogue box.
Step 4. Tap on the Save Changes button and reboot your PC to fix the changes.
Solution 4. Check the Memory Usage
To cross-check whether the low disk space is the reason behind Windows 11 lagging, we recommend you analyze your CPU, Disk and Memory usage. And the Task Manager can help you with it.
On the Task Manager, you can check how much space an app or program takes on your disk. This way, you can remove the large space-consuming resources and remove them to free a significant space. Here’s how you can do that:
Step 1. On the taskbar, right-click on the Windows icon and choose the Task Manager.
Step 2. Under the Processes tab, you can view information related to the space consumed by every program on your disk. Based on this data, you can remove programs or processes, taking more space.
Solution 5. Update Graphics Drivers
Outdated or incompetent graphics drivers can lead to Windows 11 lagging and many other errors. Thus, you can update your graphics drivers along with your system to avoid several performance glitches.
You can manually update graphics drivers as follows:
Step 1. Launch the Quick Start Menu by pressing Windows + X keys.
Step 2. Click on the Device Manager > Display adapter option.
Step 3. Look for the graphics card and right-click on it.
Step 4. If updates for the graphics card are available, they will be automatically downloaded to your PC. If not, you can visit the graphics card manufacturer’s website to download the latest software.
Besides the manual approach, you can use Driver Easy to automatically update system drivers. The software is free and can fully scan your system to find problematic drivers and instantly fix them. With this tool, you never have to worry about outdated drivers.
Here’s how to use Driver Easy:
Step 1. Go to the Driver Easy website to free download and install the tool.
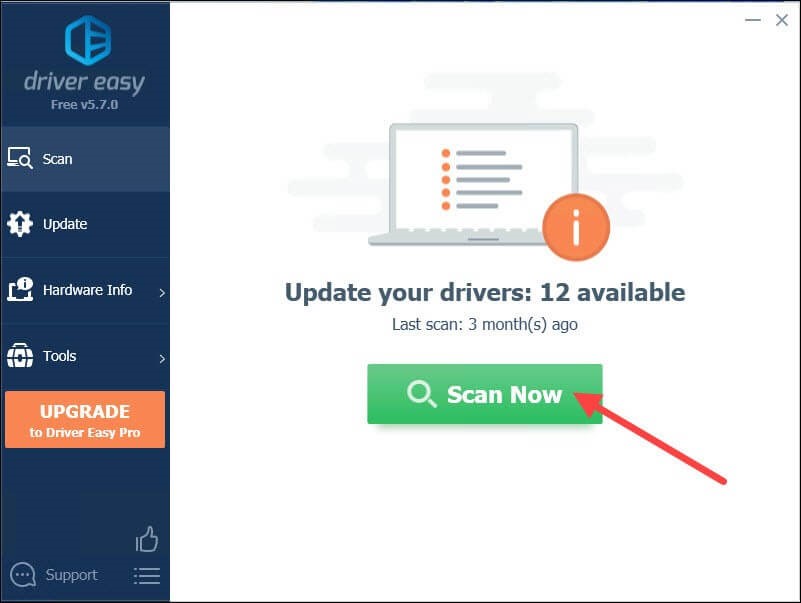
Step 2. Open the app and click on the Scan Now button. Driver Easy will now look for the problematic drivers.
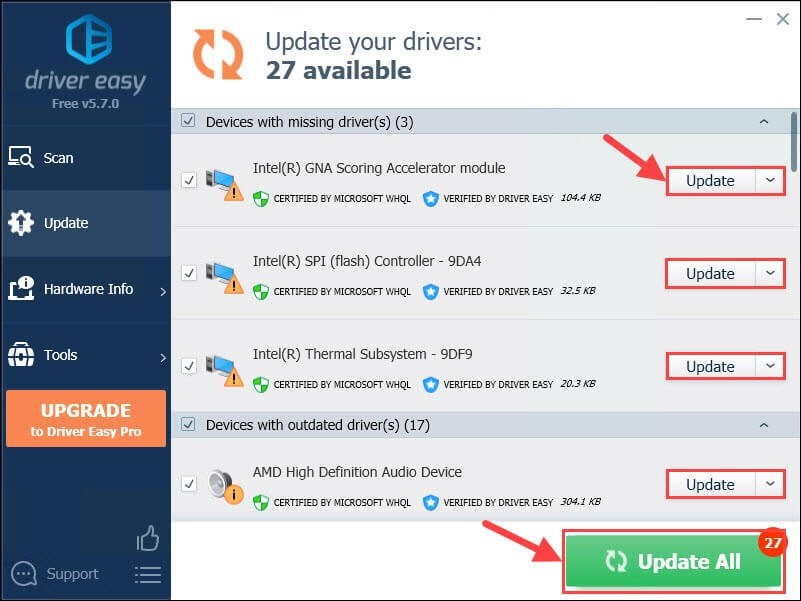
Step 3. You can click on the Update button to download all the correct graphics card drivers on your device.
Solution 6. Delete Temporary Files
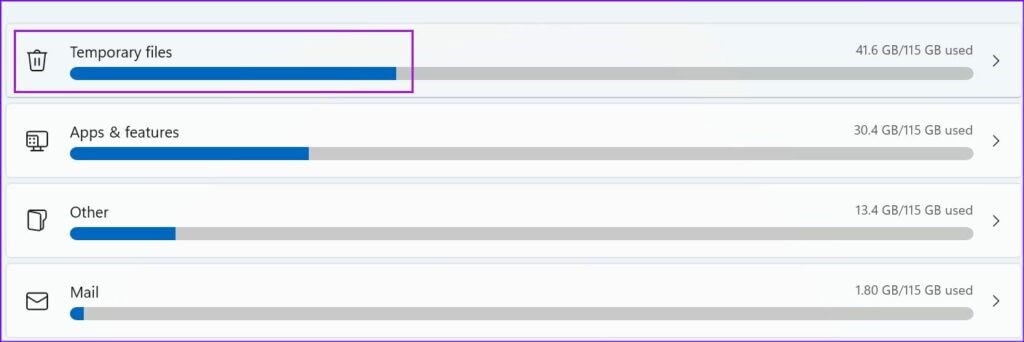
Temporary files are vital to performing repetitive tasks faster. But, when too many temporary files get collected on your disk, it can cause Windows 11 to lag after an update. In addition, corrupted or old temporary files are always an issue. So, following these steps, you can easily remove temporary files:
Step 1. Press Windows + R to open the Run dialogue box.
Step 2. Type %temp and hit the Enter to open the Temp folder.
Step 3. Press Ctrl + A keys to select all temp files and press Delete to remove them all.
Step 4. Check the Do this for all current items and press Enter to continue.
Solution 7. Run Windows Update Troubleshooter
Windows Troubleshooter can fix almost all the problems. Thus, if there is any problem with your Windows 11 update, running the Troubleshooter is the best option. It will automatically detect problems with your system updates and fix them. To run Windows Troubleshooter:
Step 1. Open the Settings > Update and Security.
Step 2. Click on the Troubleshooter option > Other troubleshooter option.
Step 3. Right-click on the Windows Update > Run Options. Wait for a few minutes for the Troubleshooter to find the problem and fix it.
Solution 8. Download Optional Updates
People often skip optional updates to quickly update their Windows 11. In most cases, there is no need to download the optional updates, but if your Windows 11 is lagging after an update, you might have to download those updates. Follow these steps to do it:
Step 1. Go to Settings and Windows Update.
Step 2. Click on the Advanced options.
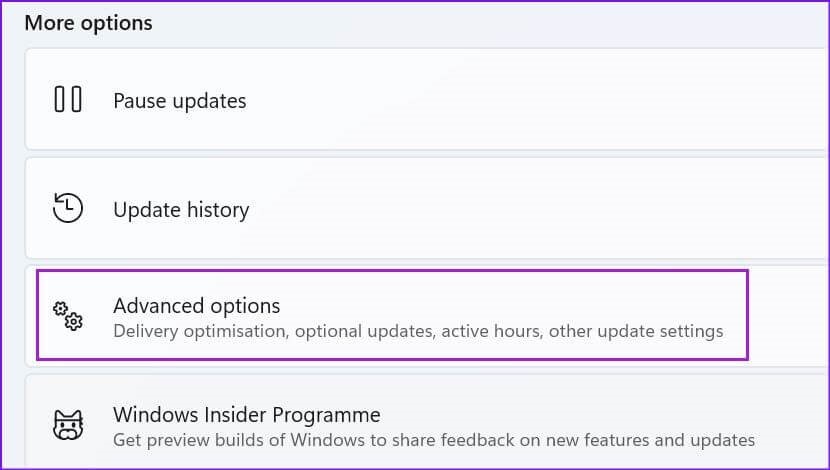
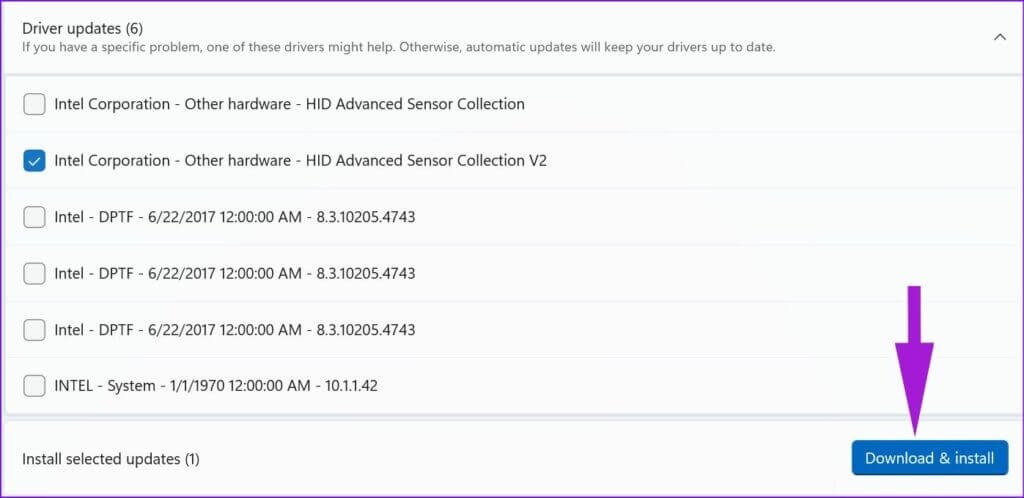
Step 3. Under the Additional options menu, select Optional updates.
Step 4. Select all the pending updates and click on the Install button.
Solution 9. Security Scan
Malware software or files can also make your Windows PC lag. Therefore, it is recommended to scan your system for malicious infections to fix many PC issues.
You can use powerful Windows antivirus software like McAfee to keep your system virus-free.
In addition, Windows 11 also has a built-in security tool to help you scan your system. Here’s how to run Windows 11 security tool:
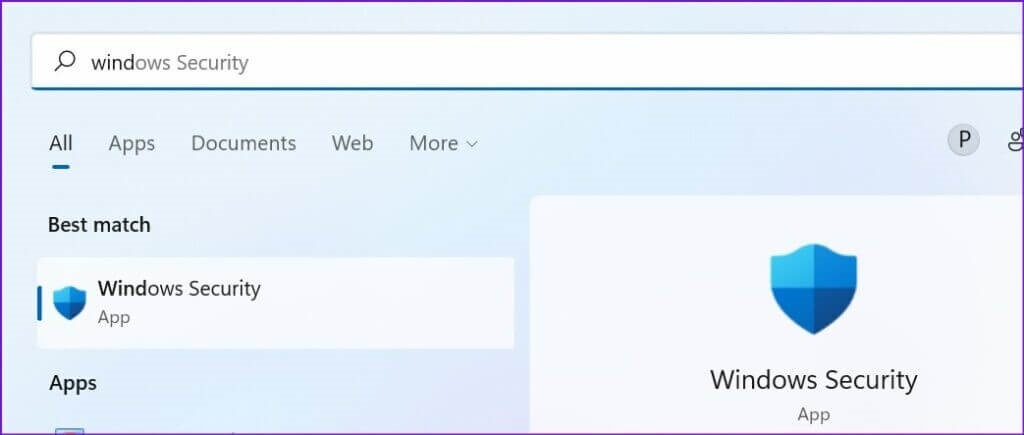
Step 1. Press the Windows key to open the Windows Security window.
Step 2. Select Virus & threat protection from the left pane.
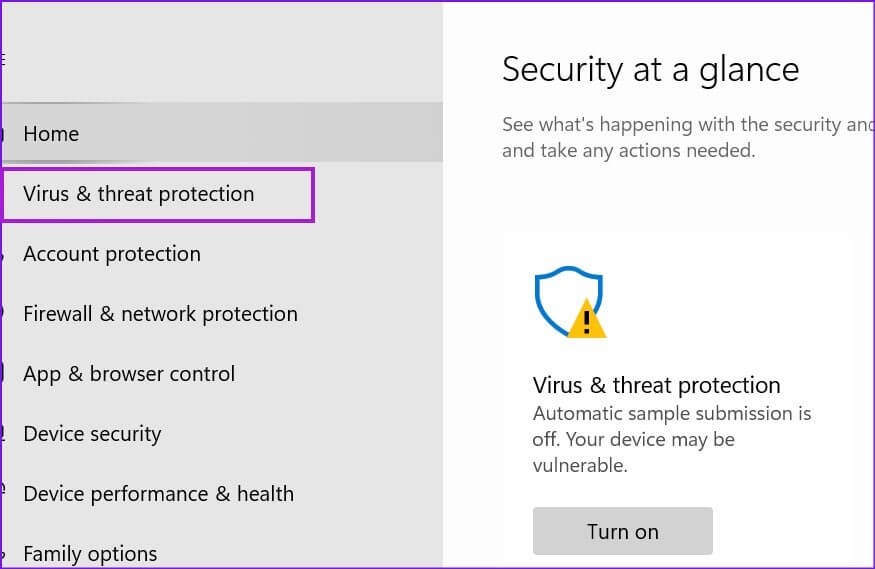
Step 3. Click on Quick scan to detect and fix malicious issues.
Solution 10. Roll back to the Previous Version
If you are unable to fix the Windows 11 lag issue despite all your efforts, you have left with only one option — roll back to the previous Windows 11 version. There is a possibility that your Windows device is incompatible with working with new software versions.
So, you can roll back to the previous Windows 11 OS as:
Step 1. Go to the Settings > System > Recovery.
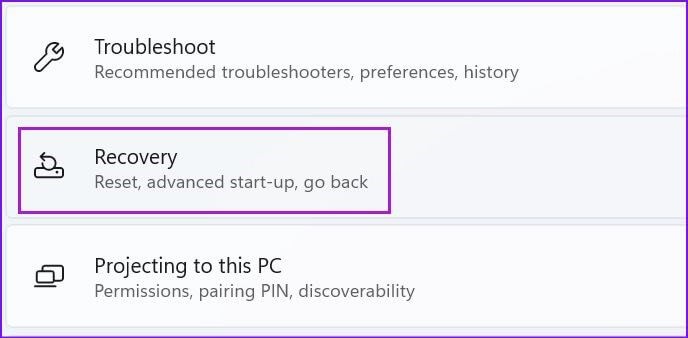
Step 2. Click on the Go back button and follow the on-screen instructions.
Conclusion
Windows 11 lagging after an update is a common and fixable issue. However, you should properly update your system so no issues can occur. Also, keep tools like McAfee and Driver Easy to keep your system healthy and updated.
That’s it for now! For more Windows 11 guides, keep on following this website.
Popular Post
Recent Post
How To Clear Cache Memory On Windows 11/10 [2026]
Learn how to clear cache memory on Windows 11/10 using safe built-in methods to improve speed, free space, and maintain smooth system performance.

Windows Installer Cleanup Utility: Complete Review And Alternatives
Detailed review of Windows Installer Cleanup Utility, reasons for removal, risks, and safer modern alternatives explained clearly.
How To Clean Junk Files On Windows 11/10
Learn how to clean junk files on Windows 11 and 10 using safe, simple steps to boost speed and free storage space effectively.

Clearing App Cache Data on Windows 11/10: Complete Guide
Learn how to safely clear app cache on Windows 11 and 10 to fix slow apps, free disk space, and improve overall system performance.
How To Clean Up System Files On Windows 11/10: Complete Guide
Explore a step-by-step guide explaining how Windows users can safely remove unnecessary system data using built-in tools.
How To Clean a Laptop Fan Without Opening [2026 Guide]
Learn how to clean a laptop fan without opening the device using safe steps, simple tools, and easy methods for better cooling.
How to Clear the Queue in the Printer Automatically in 2026
Learn how to clear the queue in the printer with simple steps. This easy guide explains why print jobs get stuck and how to fix them safely for smooth printing.
How To Clear Delivery Optimization Cache In Windows
Learn how to clear Delivery Optimization Cache in Windows safely and easily. This guide explains steps, precautions, benefits, and FAQs to free space and avoid update issues.
How To Clear Cache in Edge [Windows 11/10]: Latest Guide
Learn how to clear cache in Edge on Windows 11 and Windows 10. Step by step guide with precautions, FAQs, and tips to fix slow pages and errors.

Top 15 Questions About PC Cleaning and Their Answers
Learn safe and simple ways to clean your PC. This guide answers top questions, covers precautions, and gives advanced tips for better PC health and performance.
