How to Change Administrator on Windows 10 and Windows 11

Last updated on February 6th, 2026 at 3:45 am
In Windows operating systems, the administrator account holds the highest level of privileges and control over the system. Sometimes, you may need to change the administrator account for various reasons, such as security, ownership transfer, or simply to give someone else access to the system.
Here, we will explore different methods to change the administrator on Windows 10 and Windows 11. So, if you want to learn how to change an administrator on Windows 10 and 11, keep reading.
Common Reasons to Change Administrator on Windows 10 and Windows 11
There are some common reasons to change the administrator on Windows 11 and Windows 10. Some of the common reasons to change the administrator on Windows 10 and Windows 11 are discussed below:
1. Security Concerns and User Access Control
One common reason for changing the administrator on Windows 10 and Windows 11 is related to security concerns. In many cases, the default administrator account may have a generic username and password, making it vulnerable to unauthorized access. By changing the administrator account, users can enhance the security of their system and reduce the risk of unauthorized access and potential security breaches.
2. Personalization and Customization
Another reason for changing the administrator on Windows 10 and Windows 11 is related to personalization and customization. When a computer is initially set up, the default administrator account may have generic settings that do not align with the preferences of the user. By changing the administrator account, users can customize the settings and preferences to better suit their individual needs and workflow.
3. User Account Management and Delegation of Responsibilities
In a multi-user environment, such as in a workplace or educational institution, changing the administrator on Windows 10 and Windows 11 may be necessary for user account management and delegation of responsibilities. By changing the administrator account, organizations can ensure that the appropriate individuals have administrative privileges, while also delegating specific responsibilities to different administrators.
How to Change Administrator on Windows 10 and Windows 11
There are many ways to change the administrator on Windows 10 and Windows 11. Some of the ways to change an administrator on Windows 10 and Windows 11 are discussed here:
Method 1: Change Administrator via Control Panel
The most popular method for those who want to learn how to change the administrator on Windows 10 and 11 is changing the administrator via the Control Panel. Changing the administrator via the Control Panel is a straightforward method that allows you to manage user accounts easily.
Step 1: Press the Windows key + X on your keyboard to open the Power User menu.
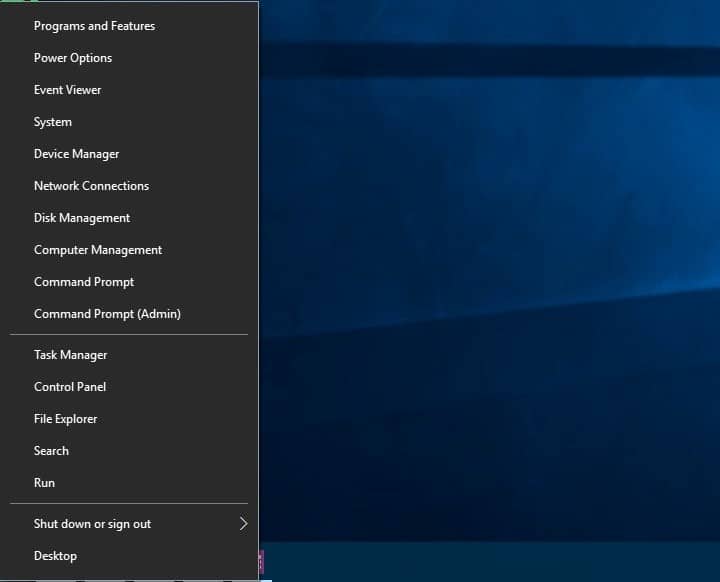
Step 2: Click on Control Panel from the list of options.
Step 3: In the Control Panel window, select “User Accounts.”
Step 4: Click on “Manage another account.”
Step 5: Select the account you want to change to an administrator.
Step 6: Click on “Change the account type.”
Step 7: Choose “Administrator” and click on “Change Account Type.”
Method 2: Change Administrator via Settings
Another way to change the administrator on Windows 11 and Windows 10 is by using the settings app. Using the Settings app to change the administrator provides a modern and user-friendly interface for managing user accounts.
Step 1: Press the Windows key + I to open the Settings app.
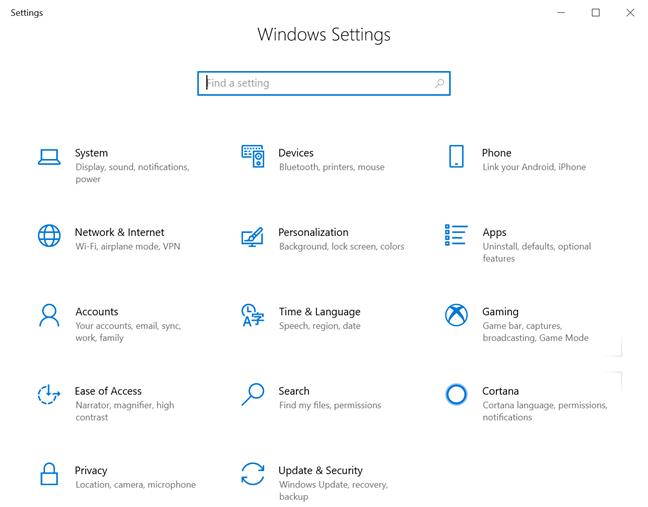
Step 2: Click on “Accounts.”
Step 3: Select “Family & other users” from the left pane.
Step 4: Under Other users, select the account you want to change.
Step 5: Click on “Change account type.”
Step 6: Choose “Administrator” and click on “OK.”
Method 3: Change Administrator via Command Prompt
Changing the administrator via Command Prompt is another method for those who want to learn how to change the administrator on Windows 10 and 11. Changing the administrator via Command Prompt offers a command-line approach for advanced users who prefer using text-based commands.
Step 1:Press the Windows key + X and select “Windows Terminal (Admin)” to open Command Prompt with administrative privileges.
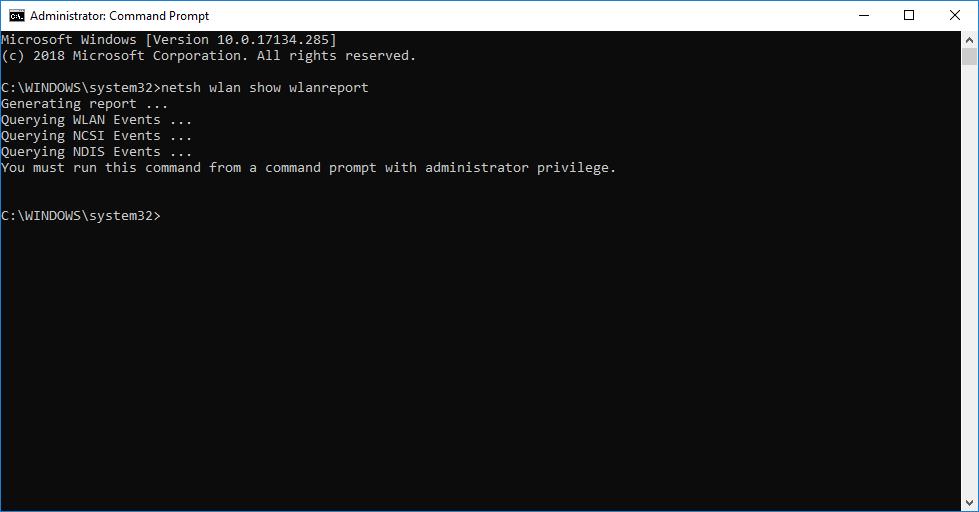
Step 2: Type the following command and press Enter:
net user username /add
Replace “username” with the name of the account you want to add as an administrator.
Step 3: Type the following command and press Enter:
netlocalgroup administrators username /add
Replace “username” with the name of the account you want to add as an administrator.
Method 4: Change Administrator via Computer Management
Changing the administrator via Computer Management provides a centralized location to manage user accounts and their group memberships.
Step 1: Right-click on the Start button and select “Computer Management.”
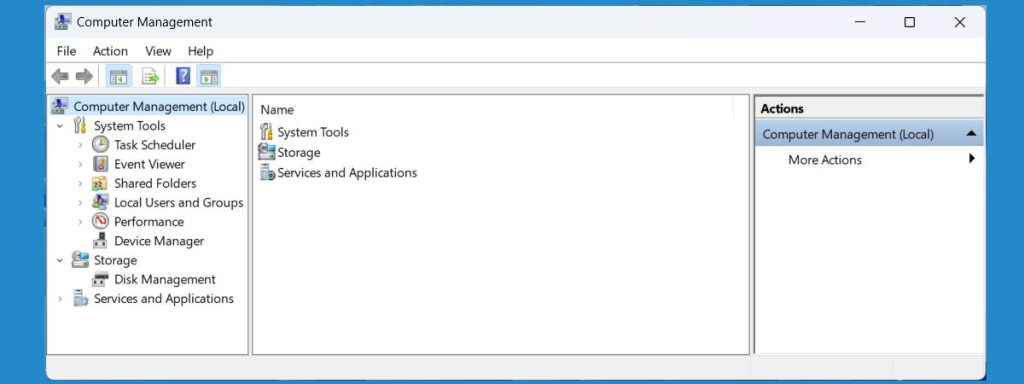
Step 2: In the Computer Management window, expand “Local Users and Groups” and click on “Users.”
Step 3: Right-click on the account you want to change to an administrator and select “Properties.”
Step 4: In the Properties window, go to the “Member Of” tab.
Step 5: Click on “Add” and type “Administrators” in the object name field.
Step 6: Click on “Check Names” and then “OK.”
Method 5: Change Administrator via Local Users and Groups
Changing the administrator via Local Users and Groups provides a direct way to manage user accounts on a local system.
Step 1: Press the Windows key + R to open the Run dialog box.
Step 2: Type “lusrmgr.msc” and press Enter to open Local Users and Groups.
Step 3: Click on “Users” in the left pane.
Step 4: Right-click on the account you want to change to an administrator and select “Properties.”
Step 5: In the Properties window, go to the “Member Of” tab.
Step 6: Click on “Add” and type “Administrators” in the object name field.
Step 7: Click on “Check Names” and then “OK.”
Method 6: Change Administrator via PowerShell
Changing the administrator via PowerShell offers a scripting-based approach for automating user management tasks.
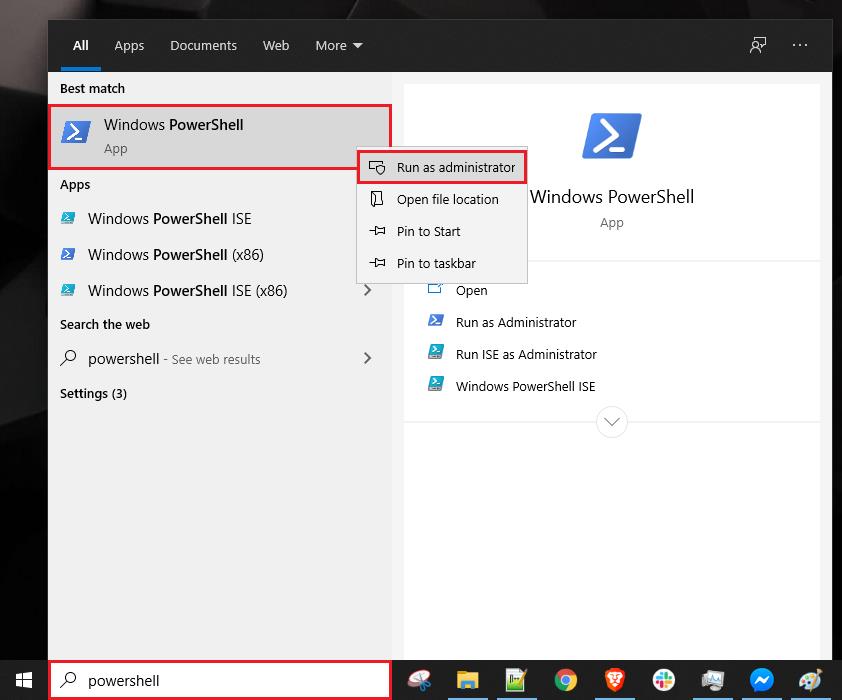
Step 1: Press the Windows key + X and select “Windows PowerShell (Admin)” to open PowerShell with administrative privileges.
Step 2: Type the following command and press Enter:
Add-LocalGroupMember -Group “Administrators” -Member “username”
Replace “username” with the name of the account you want to add as an administrator.
Conclusion
Changing the administrator on Windows 10 and Windows 11 can be done using various methods. By following the steps discussed here, those who want to learn how to change the administrator on Windows 10 and 11 can easily change the administrator on their Windows system and manage user privileges effectively.
FAQs
1. How do I check if I have administrator privileges on my Windows 10 or Windows 11 system?
To check if you have administrator privileges, you can navigate to the Control Panel, then select “User Accounts” and “User Accounts” again. Here, you will see the account type listed next to your user account. If it says “Administrator,” you have administrator privileges.
2. What are the implications of changing the administrator on Windows 10 or Windows 11?
Changing the administrator can impact access to system settings, installation and removal of software, and overall system management. It is essential to ensure that the new administrator account is set up correctly to avoid any disruptions in system functionality.
3. Are there any security considerations when changing the administrator on Windows 10 or Windows 11?
Yes, it is crucial to consider security implications when changing the administrator. Ensure that the new administrator account has a strong password and enable two-factor authentication if possible to enhance security.
Popular Post
Recent Post
How To Clear Cache Memory On Windows 11/10 [2026]
Learn how to clear cache memory on Windows 11/10 using safe built-in methods to improve speed, free space, and maintain smooth system performance.

Windows Installer Cleanup Utility: Complete Review And Alternatives
Detailed review of Windows Installer Cleanup Utility, reasons for removal, risks, and safer modern alternatives explained clearly.

How To Clean Junk Files On Windows 11/10
Learn how to clean junk files on Windows 11 and 10 using safe, simple steps to boost speed and free storage space effectively.

Clearing App Cache Data on Windows 11/10: Complete Guide
Learn how to safely clear app cache on Windows 11 and 10 to fix slow apps, free disk space, and improve overall system performance.
How To Clean Up System Files On Windows 11/10: Complete Guide
Explore a step-by-step guide explaining how Windows users can safely remove unnecessary system data using built-in tools.

How To Clean a Laptop Fan Without Opening [2026 Guide]
Learn how to clean a laptop fan without opening the device using safe steps, simple tools, and easy methods for better cooling.

How to Clear the Queue in the Printer Automatically in 2026
Learn how to clear the queue in the printer with simple steps. This easy guide explains why print jobs get stuck and how to fix them safely for smooth printing.
How To Clear Delivery Optimization Cache In Windows
Learn how to clear Delivery Optimization Cache in Windows safely and easily. This guide explains steps, precautions, benefits, and FAQs to free space and avoid update issues.
How To Clear Cache in Edge [Windows 11/10]: Latest Guide
Learn how to clear cache in Edge on Windows 11 and Windows 10. Step by step guide with precautions, FAQs, and tips to fix slow pages and errors.

Top 15 Questions About PC Cleaning and Their Answers
Learn safe and simple ways to clean your PC. This guide answers top questions, covers precautions, and gives advanced tips for better PC health and performance.
