How to Enable Screen Saver on Windows 11?
The screen saver was once necessary to display slow animations to avoid burn-in on certain large cathode-ray tube (CRT) monitors. Burn-in, like other screensavers, has vanished as the LCD (liquid-crystal display) monitor gained popularity. In Windows 11, the screensaver feature is set to default as disabled.
If the computer is kept unattended for a long period, you can utilize this feature. Use it as an additional layer of security by showing the login screen. The functionality is still available in Windows 11. However, you must switch it on individually if you wish to utilize it. In this article, we will guide you with the best way to enable screen saver settings in Windows 11.
Why do People Prefer Using Screensavers?
The introduction of energy-saving displays and advancements in display technology have effectively removed the requirements for screensavers. People, nevertheless, continue to prefer to utilize them. The following are the key causes for this:
- Security: You may leave your desktop for a moment knowing that no one will be allowed to see any important information if you installed a screensaver using the password security.
- Entertainment: We utilize screensavers for a variety of reasons, the most popular of which is for entertainment.
- Consistent Look: Many firms mandate that all personnel use a specific screensaver. This guarantees that no unsuitable screensavers are presented and produces a standard and may be an appealing environment.
- Advertisement: Organizations with PCs in customer-accessible places, especially retail enterprises, will frequently have them advertise their brand or product.
- Information: Many animated wallpapers include both static and real-time information. It might play a series of pop quizzes. Another might take information from websites and display it on the monitor.
- Distributed computing: Another type of animation uses your computer’s idle time to digest information from a remote source.
Best Way to Turn on The Screen Saver Settings
You don’t need one if you’re using an LCD panel. On the other hand, some desktop owners still like visual stimulation and thus set excellent screensavers. Despite the fact that this function is not required anymore, Windows 11 has managed to keep these vintage configurations. So, if you wish to employ this feature in Windows 11, you can use it. Here are the best methods to configure screen saver settings.
Method 1: Turn on the Screensaver Through Settings
On Windows 11, switching on the screen saver from the windows setting is quite simple. Follow these procedures to enable it:
Step 1: By hitting the Windows + I button on the keypad, you may access the Settings app.
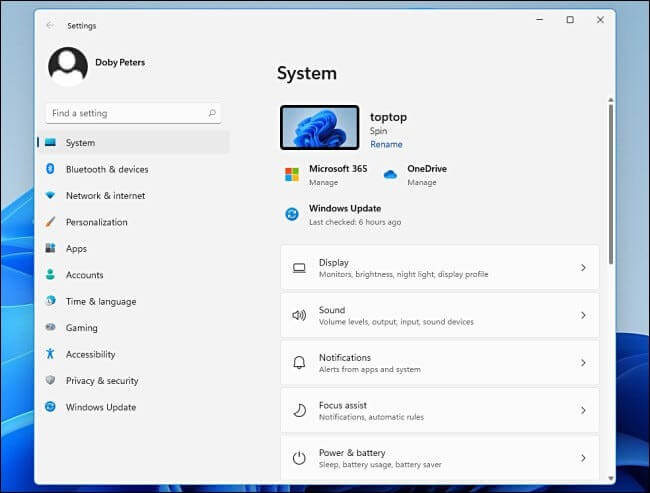
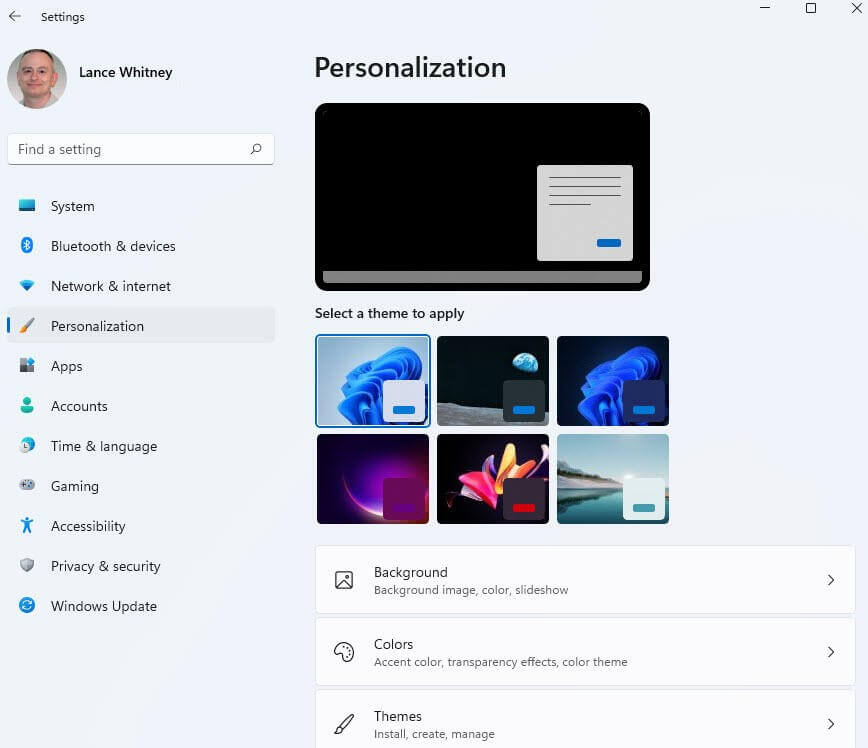
Step 2: From the left panel of the Options window that appears, select the Personalization section.
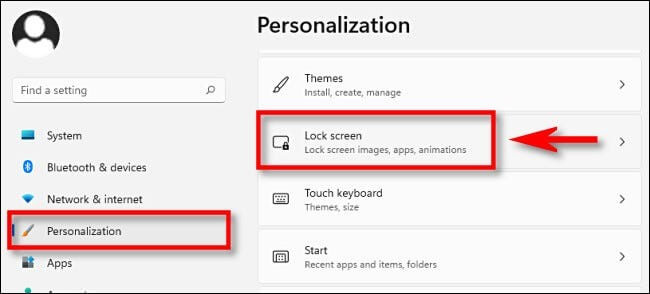
Step 3: Select Lock Screen from the Personalization menu on the right-hand side pane.
Step 4: Navigate to the bottom and select the Screen saver from the Related settings’ drop-down menu.
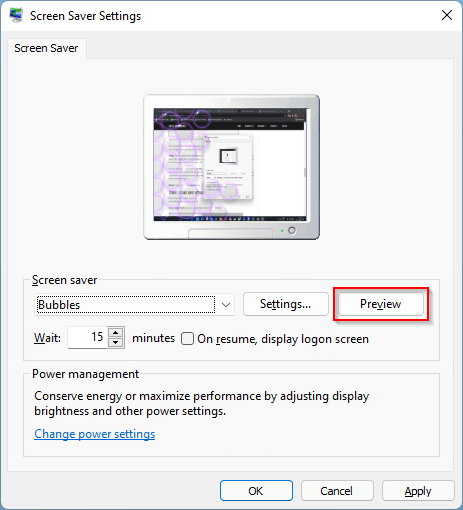
Step 5: The Screen Saver preferences window will pop up when you have completed the preceding steps. From the drop-down box, choose the screensaver you want.
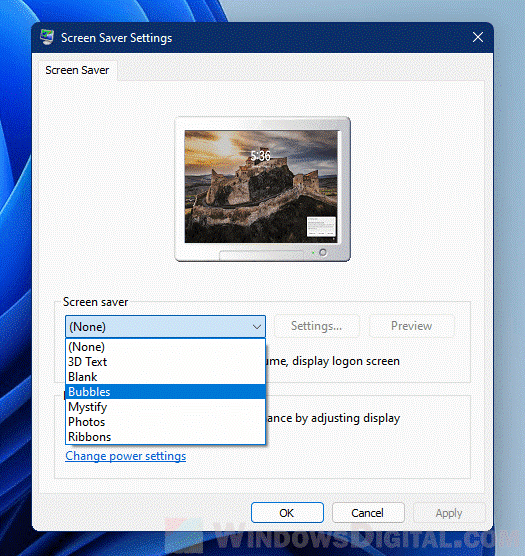
None, Bubbles, 3D Text, Images, Blank, Mystify, and Ribbons are some of the best options to select from the drop-down list. More fantastic and configurable options for Windows 11 can be found in a variety of third-party software and apps. So, if you’re tired of the usual Windows screen savers, hunt for them and download these apps.
Step 6: Following this, hit the Settings icon beside the chosen Screen saver if you want to customize it. If it could be customized, a current pop-up window would appear. Else, the message “This screen saver has no options that you can set” will appear.
Step 7: Select the Preview icon if you wish to see a preview prior to employing it. If a screen saver has been previewed, you can exit it by hitting any button.
Step 8: Then, before launching it, specify the number of idle minutes if the wait option. The possible values are 1 min, so you can adjust it by selecting the up and down arrows or individually inputting a value from 1 to 9999.
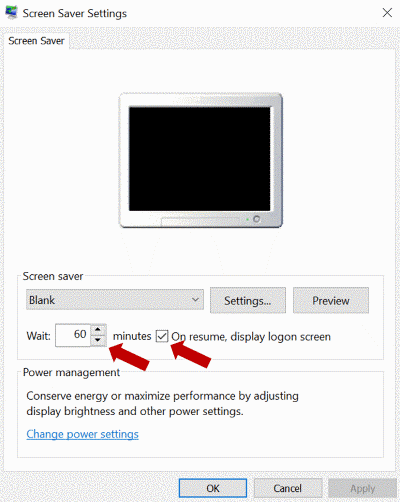
Step 9: Also, make sure the checkbox is checked. Showcase the logon screen when the computer is restarted. This function will password-protect the account once you are away from the computer. If you attempt to input the password after enabling your screensaver, you would be requested to provide the password or additional ways of authentication. Last but not least, hit the Apply and afterwards OK buttons.
When your computer is idle for the amount of time you specify, the screen saver will start automatically and secure your computer from unauthorized access.
Method 2: Use “Change Screen Saver” Option
If you do not even need to use the Settings app to configure the screen saver, access the Search menu by clicking the Start button on the taskbar or pressing the Windows and S keys simultaneously. Then, enter the change screen saver into the search field.
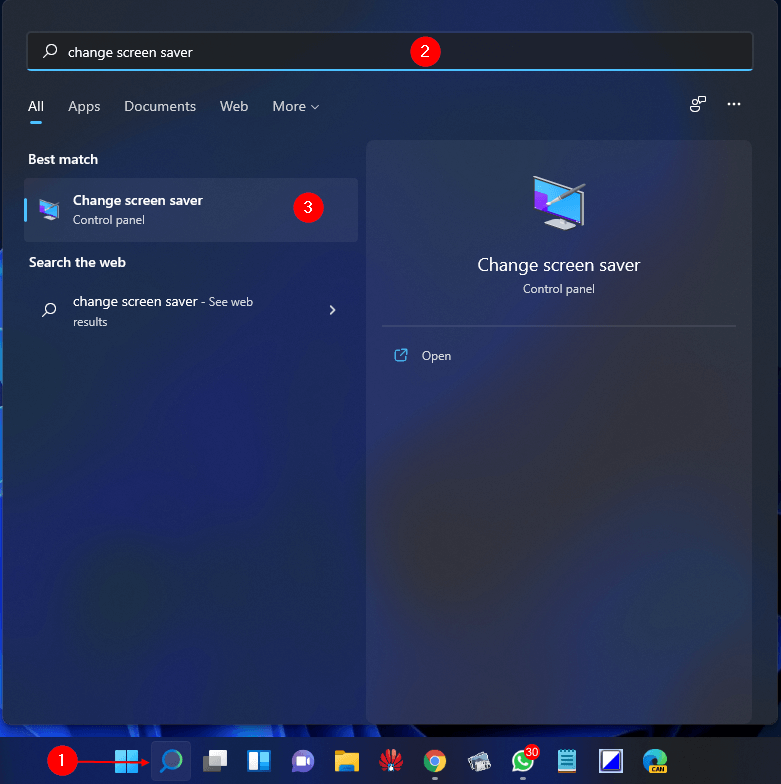
To access the settings window, select the change screen saver option. Then, to configure the screen saver setting, continue the instructions from step 5 as mentioned in the first method.
Bottom Line
Screensaver settings have been concealed in Windows 11. However, they still persist as a conventional Control Panel window. You can access it using the techniques indicated above in this article. Both solutions are comparable and will undoubtedly assist you in enabling the options.
Popular Post
Recent Post

Advanced SystemCare: Tool To Clean Your PC
Your computer slows down over time. Files pile up, junk builds inside the system, and things start to feel sluggish. You open a browser, and it takes forever. Programs crash without warning. This is a sign that your PC needs a good cleanup. Many users ignore these signs. They think buying a new computer is […]

Top 10 PC Cleaning and Optimization Tools For Windows 11/10
Discover the best PC cleaning and optimization tools for Windows 11 and 10. Remove junk files, improve speed, and keep your PC healthy with trusted cleaners.

Clear Microsoft Teams Cache On Windows PC [Complete Guide]
Learn how to clear Teams cache on Windows PC with 3 easy methods. Fix slowdowns, glitches, and errors fast. A simple guide for every Windows 11 user.

How To Clear Browsing History on PC: Chrome, Edge, Firefox, Opera
Learn how to clear browsing history on PC across Chrome, Edge, Firefox, and Opera with easy steps, tips, pros, and FAQs.

Clear Cache and Cookies: Complete Guide For Windows 11/10
Learn how to clear cache and cookies on Windows 10 and 11. This complete guide covers Chrome, Edge, and Firefox with simple, step-by-step instructions for every user.

How To Clean PC Trackpad/Touchpad Without Damaging It
Learn how to clean PC trackpad and clean PC touchpad safely with simple steps. Improve performance, remove dirt, and keep your laptop surface smooth and responsive.

How To Clean Your GPU/Graphics Card [Complete Guide]
Introduction A graphics card is one of the most important parts of a computer. It handles visuals, gaming, video editing, and design work. Over time, dust builds up inside it. This dust blocks airflow and traps heat. When heat increases, performance drops. In some cases, the system may even crash. That is why learning how […]

How To Clean PC Power Supply Unit Safely Without Damaging
Follow simple, safe steps to clean your computer’s power supply unit. Improve cooling, reduce overheating, and protect your PC’s performance.

How To Clean a CPU Without Damaging It [Complete Guide]
Learn how to clean a CPU safely without damage. Follow simple steps, precautions, and methods to improve cooling, boost performance, and extend your computer’s life.

How To Clear Browser Cache On Windows 11/10 [Chrome, FireFox, Edge]
Learn how to clear browser cache on Windows 11 and 10. Follow simple steps to clean browser cache, fix slow browsing, and improve performance easily.
