How To Recover Photos From Encrypted SD Cards?
While factory resetting the SD card, some people notice the issue of data access issues. It becomes difficult to read or view photos through the SD card. Usually, that is possible due to the encryption protection. However, there are tools available that you can use to fix this issue, like Systweak Photo Recovery software. It can help with quick and faultless photo recovery from encrypted SD cards.
Methods to Recover Photos from Encrypted SD Cards
There are different solutions available for people to recover their backed-up photos from SD cards under encryption protection. After carefully going through many of them and trying them out, we have settled on the following methods as our top picks.
Method 1: Use EaseUS data recovery software to recover deleted or lost files from your SD card
You can easily use an SD card if you decrypt it first. However, if you have lost your data due to SD card damage or other conditions, use a data recovery tool. EaseUS Data Recovery Wizard is a simple software to utilize.
Remember that you would have to decrypt your SD card correctly first for the data file recovery to work.
How to decrypt an encrypted SD card?
You could use third-party encryption software to decrypt your card if you encrypted it on your own first. The following are two varying solutions for SD decryption, without a password and with a password.
Solution 1: Without a password
For this, you need to download an app to restore the account password.
Step 1: Insert and keep the SD card in place on your phone device. Connect using a USB cable to the PC.
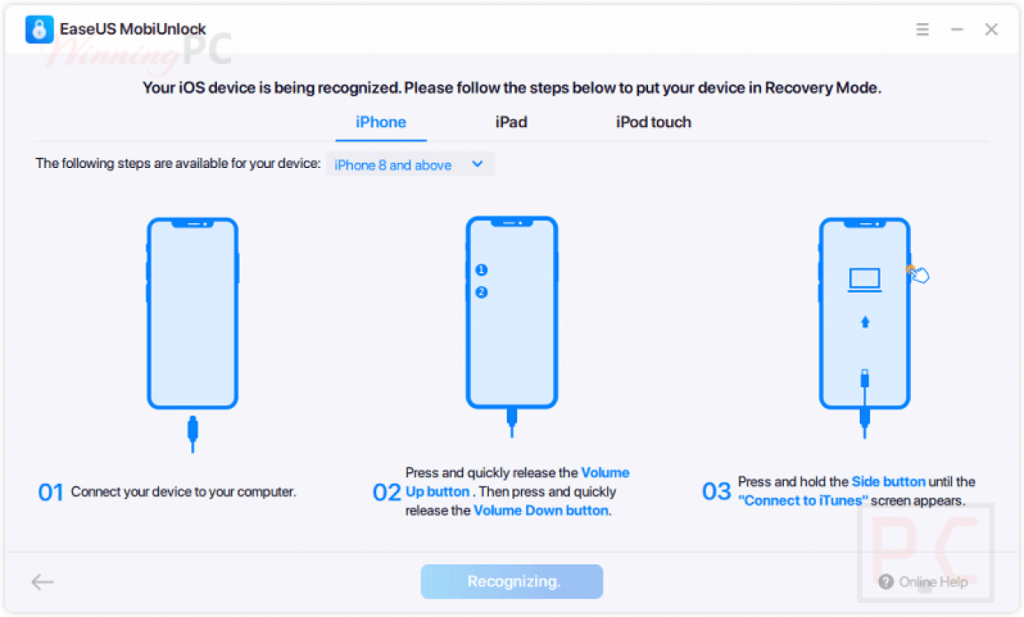
Step 2: Install app for password recovery, like EaseUS MobiUnlock for iPhone/iPad/iPod. Run the software.
Step 3: Access Internal Storage > mmcstore folder. Then, rename it as mcstore.txt.
Step 4: Copy the file into your PC and then access it via Notepad.
Step 5: Decrypt your SD card with the recovered password.
Solution 2: With the password
Step 1: Put the SD card into your Android mobile device and restart.
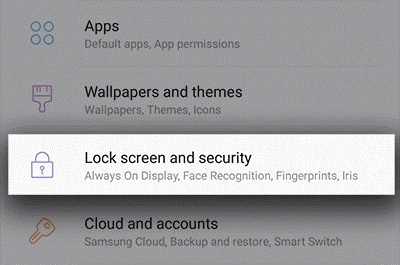
Step 2: Access Settings > Lock Screen and Security.
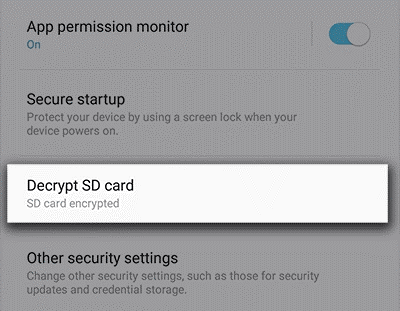
Step 3: Scroll downward and choose the “DECRYPT SD CARD” option. Enter the password.
Step 4: Wait for the process to complete. Keep your device charged at this time.
EaseUS Data Recovery Wizard allows users to recover photos and other files after formatting, deletion, or permanent file loss conditions.
What are the steps?
Step 1: Download, install, and run the EaseUs Data Recovery Wizard on your PC.
Step 2: Link your Transcend/Lexar/SanDisk SD card to your computer.
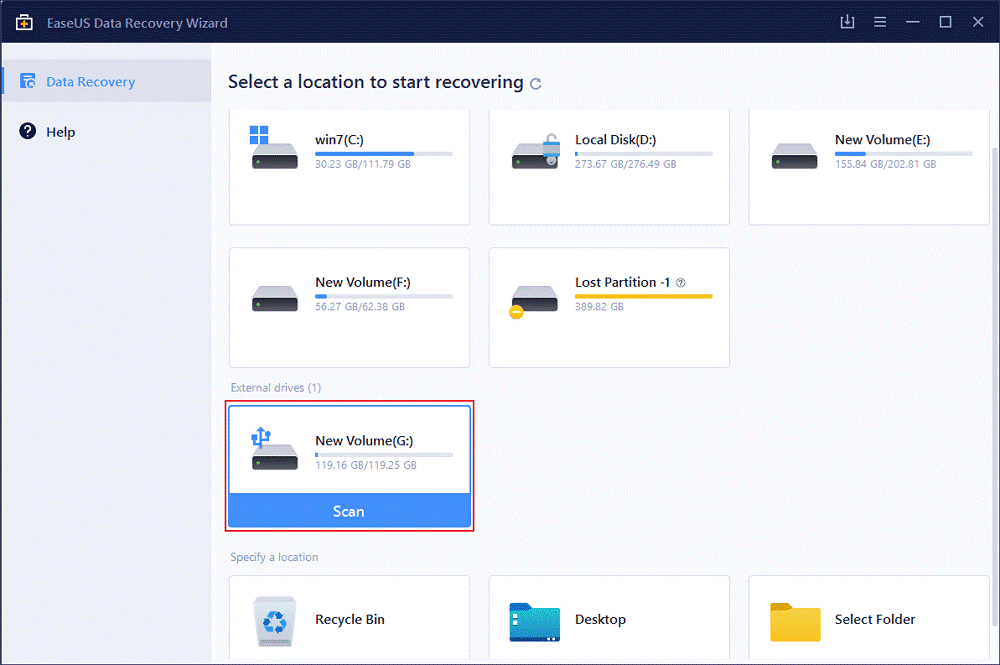
Step 3: Access the EaseUS software you downloaded for SD card recovery. You can see all your connected devices. Then, choose the SD card and Scan.
Step 4: Wait until the scanning process finishes.
Step 5: Press on “Filter” and select the file types you want to see, like Pictures, PDF, Excel, Videos, etc. Use the “Preview” button to verify your selection.
Step 6: Select the files you want and click on the “Recover” button.
Step 7: Select the destination folder for the recovered photos.
Method 2: Use Systweak Photo Recovery Software
One of the most user-friendly software options for encrypted SD card recovery is Systweak Photo Recovery Software. This checks the different aspects of the hard disk well. Then, it performs erased photo, video, and audio clip restoration with some steps.
What are the steps?
Step 1: Download and install the Systweak Photos Recovery Software.
Step 2: Double-click on your downloaded file to start the installation process.
Step 3: Follow the on-screen guide to install the software properly.
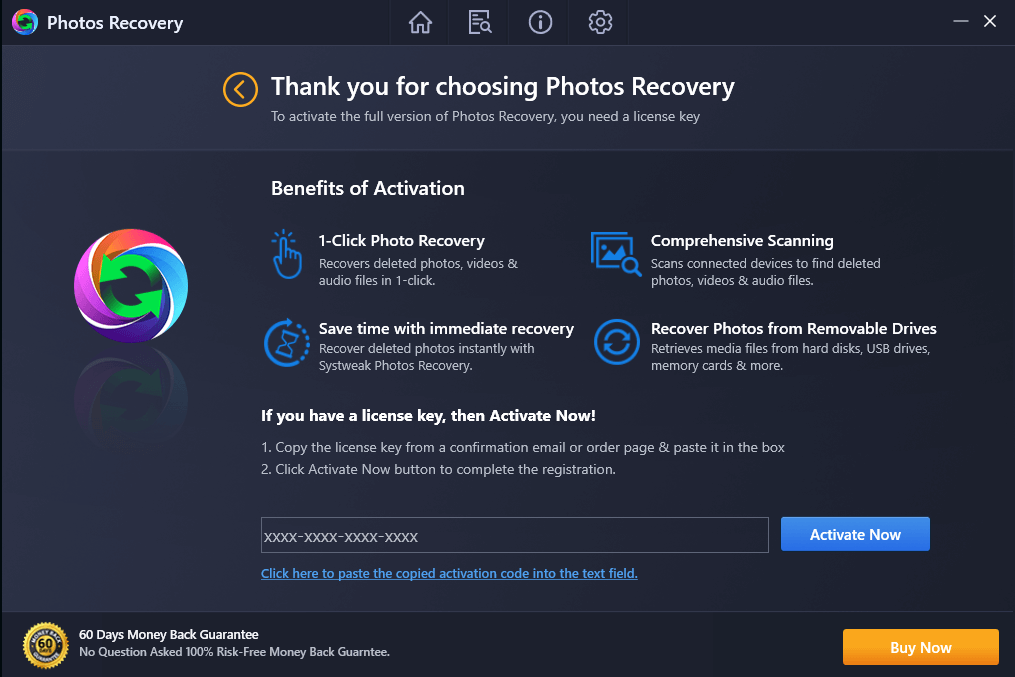
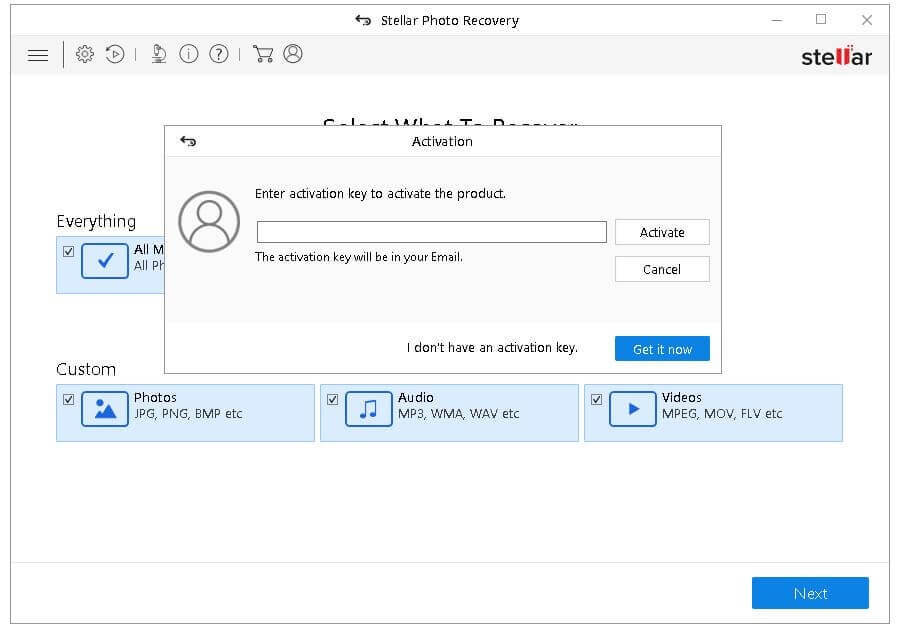
Step 4: Access the app and put the key you get in the email into the field.
Step 5: Access the main screen after completing registration. Choose the destination. Ensure that your SD card is connected correctly to your PC in a suitable adapter via the USB port.
Step 6: Next, take the time to decrypt your SD card using the right tool like BitLocker.
Step 7: Open Removable Drive > Deep Scan/Quick Scan. Choose as per your preference and click on the “Start Scan” button.

Wait for the process to complete.
Step 8: Then, you would notice a list of videos and photos that are possible to retrieve. Choose your options one by one or all images.
Step 9: Click on the OK option to begin photo restoration. Here, choose another location as your saving destination to avoid mix-up.
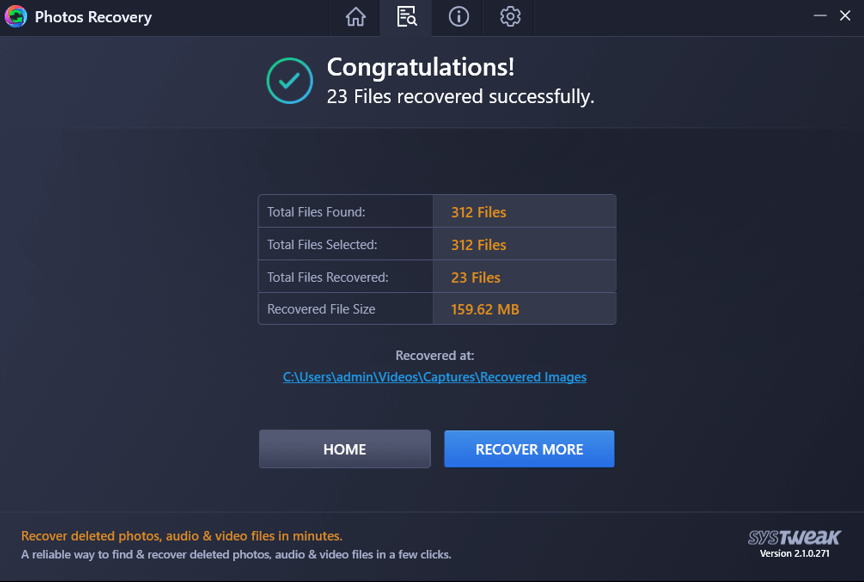
Step 10: Wait until the process completes and all files are saved in the destination location.
Method 3: Use the Minitool Photo Recovery application
Another notable option to try is the Minitool Photo Recovery software. It is a suitable and easy-to-use tool for quick and efficient photo recovery of deleted or lost files from the formatted hard drive.
It supports different audio, video, and image formats and works well with varying device types. These include memory cards, HDDs, removable disks, digital cameras, and USBs. Make sure to decrypt your SD card first before using this.
What are the steps?
Step 1: Install and run the Minitool Photo Recovery Software. Then, click on the “Start” button.
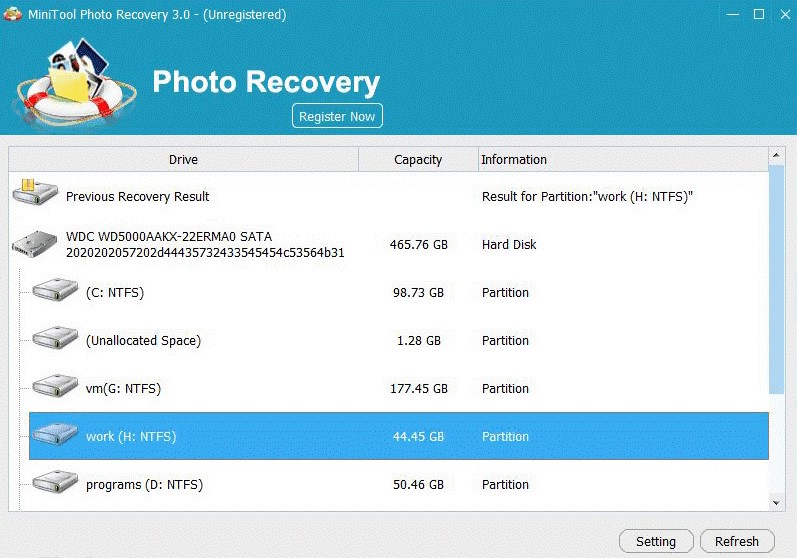
Step 2: A list of devices would come up. Choose the target device, and then press on Scan.
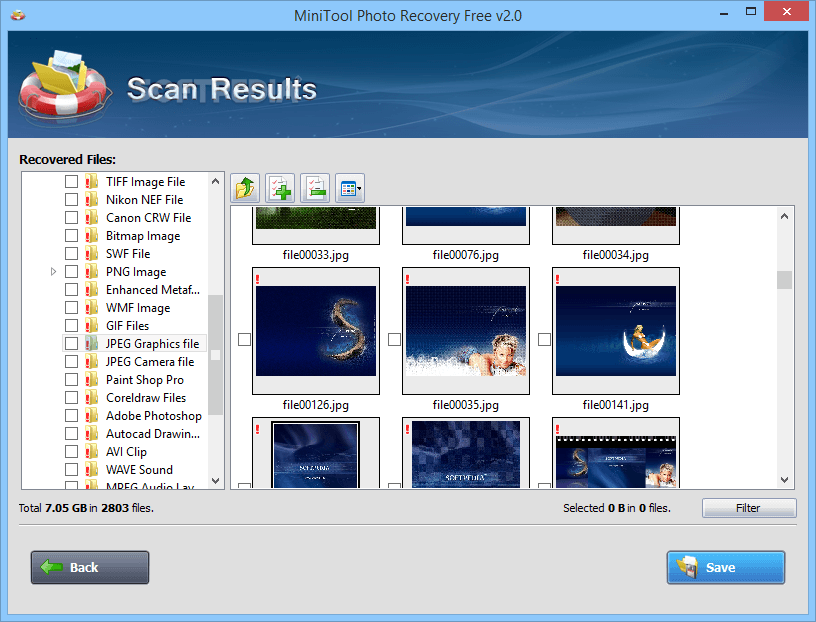
Step 3: You would notice a group of photos that the software would retrieve after processing. Filter out the options you want.
Step 4: Select them to Preview and then press on “Recover” button.
Method 4: Use the Stellar Photo Recovery software
You can use the Stellar Photo Recovery tool to recover photos or videos, among other options, from your device. It supports different SD card models like Samsung, Sony, Kingston, Lexar, etc. In addition, it is compatible with Windows 10/8/7 and older versions.
What are the steps?
Step 1: Install and run your Stellar Photo Recovery software.
Step 2: Choose Recover Photo Audio & Video > add the driver letter or key for the SD card.
Step 3: Access Advanced Settings > Photo File Format. Then, choose your requirements.
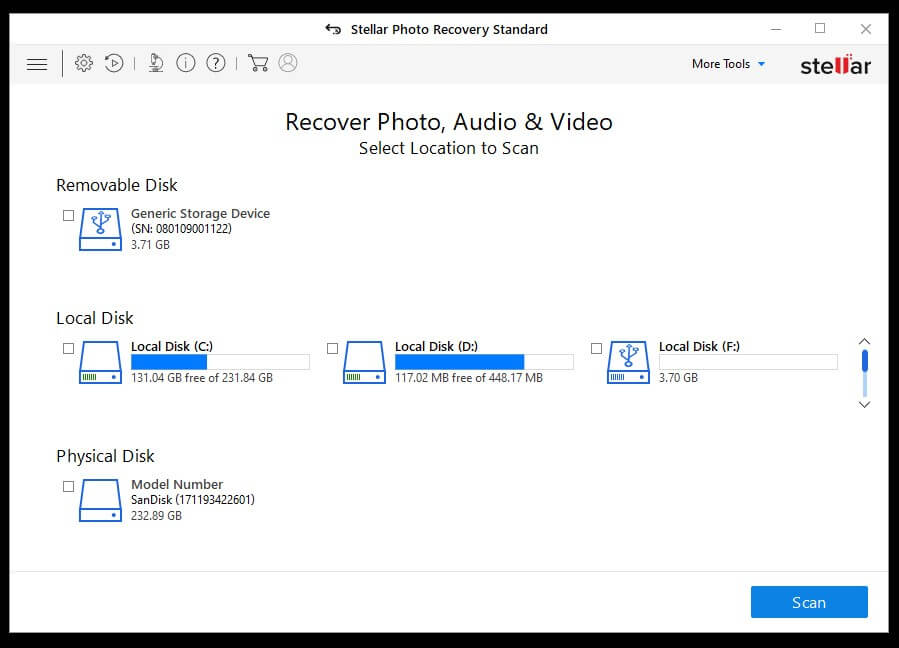
Step 4: Open the “Select Region” option and add the specific values for the Ending Sector/Starting Sector. Press OK.
Step 5: Start the scanning process by clicking on Scan Now.
Step 6: Choose the encrypted files you want to retrieve and press the “Recover” button. Mention the destination for the recovered photo saving.
Conclusion
You can use different tools and methods to recover your lost or deleted photos from encrypted SD cards. Options like EaseUS Recovery Wizard are handy for a quick and safe recovery process. However, make sure to decrypt your SD Card first to complete the process using these software options without issues.
Popular Post
Recent Post

Advanced SystemCare: Tool To Clean Your PC
Your computer slows down over time. Files pile up, junk builds inside the system, and things start to feel sluggish. You open a browser, and it takes forever. Programs crash without warning. This is a sign that your PC needs a good cleanup. Many users ignore these signs. They think buying a new computer is […]

Top 10 PC Cleaning and Optimization Tools For Windows 11/10
Discover the best PC cleaning and optimization tools for Windows 11 and 10. Remove junk files, improve speed, and keep your PC healthy with trusted cleaners.

Clear Microsoft Teams Cache On Windows PC [Complete Guide]
Learn how to clear Teams cache on Windows PC with 3 easy methods. Fix slowdowns, glitches, and errors fast. A simple guide for every Windows 11 user.

How To Clear Browsing History on PC: Chrome, Edge, Firefox, Opera
Learn how to clear browsing history on PC across Chrome, Edge, Firefox, and Opera with easy steps, tips, pros, and FAQs.

Clear Cache and Cookies: Complete Guide For Windows 11/10
Learn how to clear cache and cookies on Windows 10 and 11. This complete guide covers Chrome, Edge, and Firefox with simple, step-by-step instructions for every user.

How To Clean PC Trackpad/Touchpad Without Damaging It
Learn how to clean PC trackpad and clean PC touchpad safely with simple steps. Improve performance, remove dirt, and keep your laptop surface smooth and responsive.

How To Clean Your GPU/Graphics Card [Complete Guide]
Introduction A graphics card is one of the most important parts of a computer. It handles visuals, gaming, video editing, and design work. Over time, dust builds up inside it. This dust blocks airflow and traps heat. When heat increases, performance drops. In some cases, the system may even crash. That is why learning how […]

How To Clean PC Power Supply Unit Safely Without Damaging
Follow simple, safe steps to clean your computer’s power supply unit. Improve cooling, reduce overheating, and protect your PC’s performance.

How To Clean a CPU Without Damaging It [Complete Guide]
Learn how to clean a CPU safely without damage. Follow simple steps, precautions, and methods to improve cooling, boost performance, and extend your computer’s life.

How To Clear Browser Cache On Windows 11/10 [Chrome, FireFox, Edge]
Learn how to clear browser cache on Windows 11 and 10. Follow simple steps to clean browser cache, fix slow browsing, and improve performance easily.
