How to Turn Off Annoying Command Responses on Your Google Home?
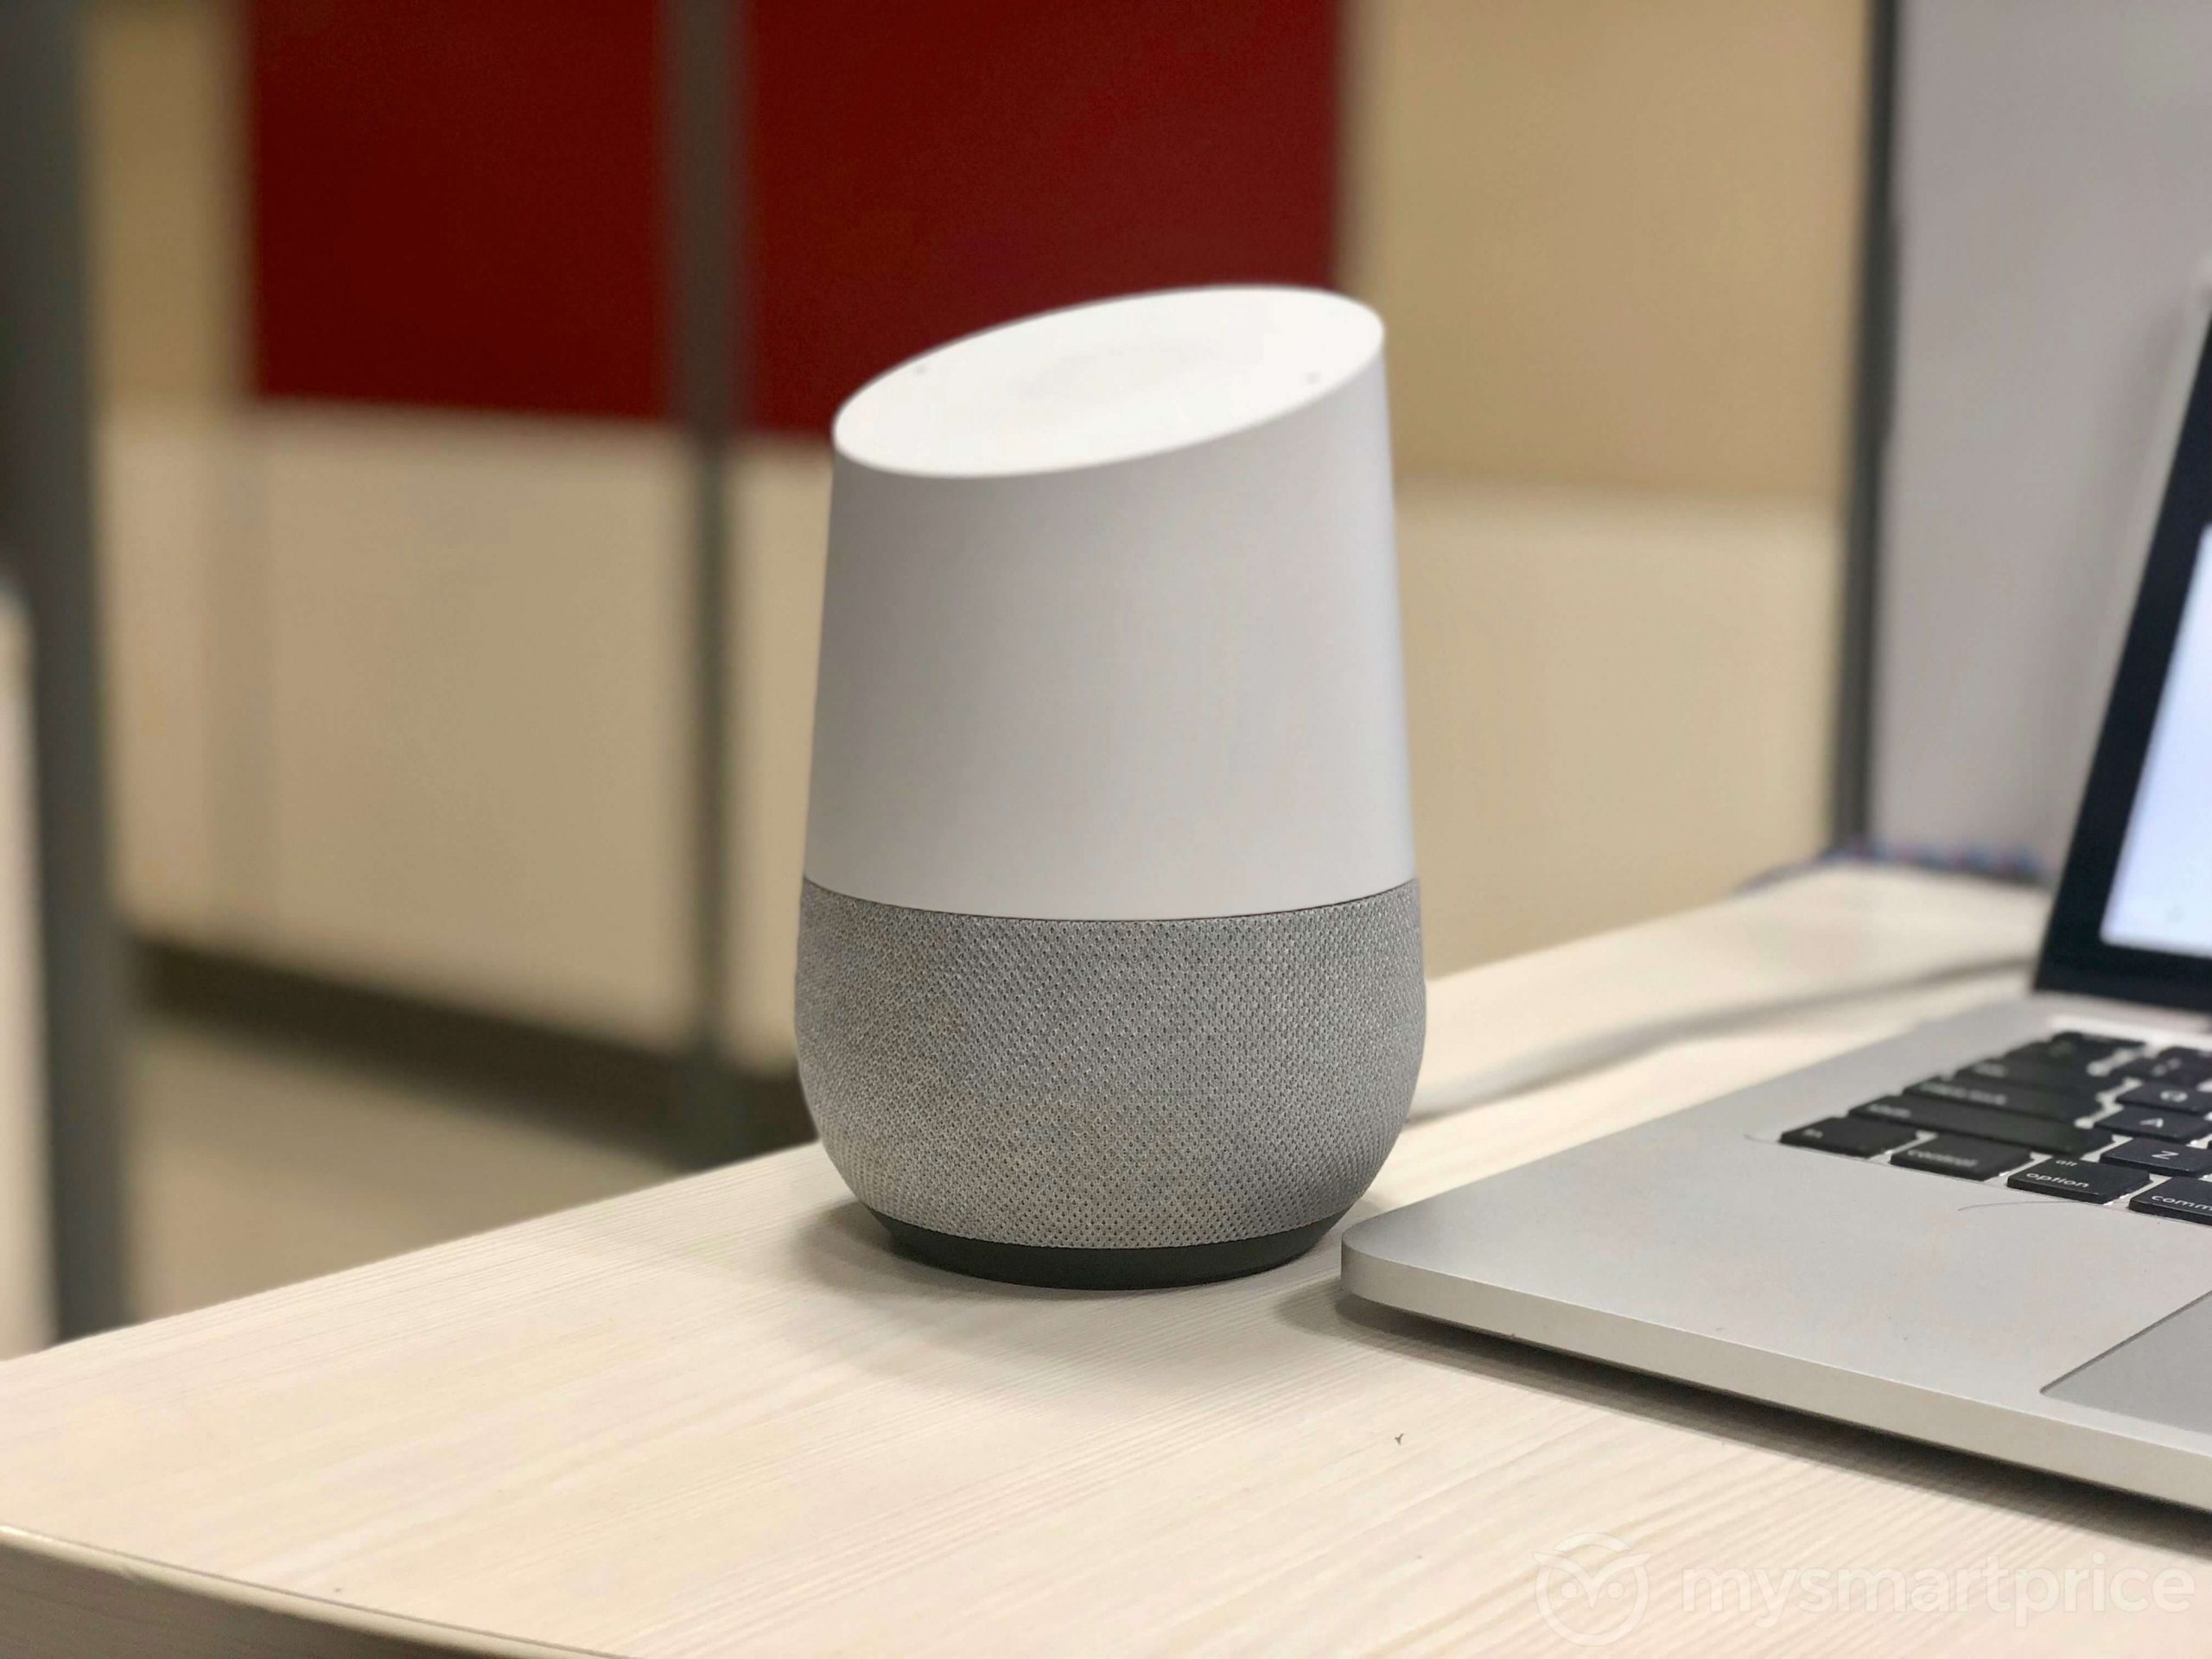
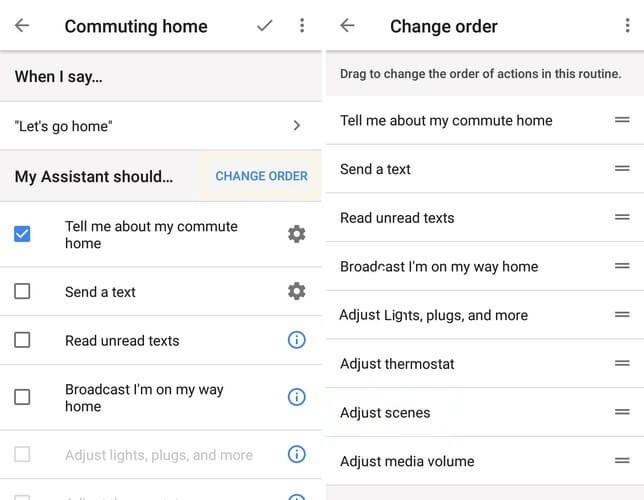
In the operation of Google Home or the Google Nest home smart speaker, the Google Assistant app is a significant component. The app connects to the devices and controls the sound instructions. People can use voice commands to set reminders, create to-do lists, and make phone calls.
However, the constant loud Google home command responses can get frustrating. While Google has focused on integrating confirmation chimes in the newer version of Google Home, the sounds can still get grating. You can use a reliable option like IObit Software Updater 4 to upgrade your older software version safely and efficiently.
Here, we discuss steps to turn off command responses on Google Home. Read to find out more.
Methods to turn off command responses on the Google Home
Some specific steps and methods work best to switch off the Google Home command responses effectively. Recently, we went through many of these techniques and settled on some of the best options we tried. Here is a list of these methods that you can utilize efficiently.
Method 1: Handle the sensitivity level of the “Hey Google” feature
One of the major complaints of people with the command responses of the smart speakers is the sensitivity of the device to sound. The speakers wake up very fast in some cases, even if users are not actively conversing with them.
The main reason here is a susceptible “Hey Google” feature. Here, the proper steps are to adjust the settings for Hey Google sensitivity in the settings. Check and rectify the following common issues:
- Google Assistant hears the wake word even spoken at a very low register.
- The software mistake different words as the wake word.
How to solve this issue?
Step 1: Access the Google Home app.
Step 2: Tap on top of the profile picture of the primary user in the top right-hand corner.
Step 3: Next, open Assistant Settings.
Step 4: The next screen would appear; search and access the Assistant table. There are many options available underneath, such as “Hey Google sensitivity”.
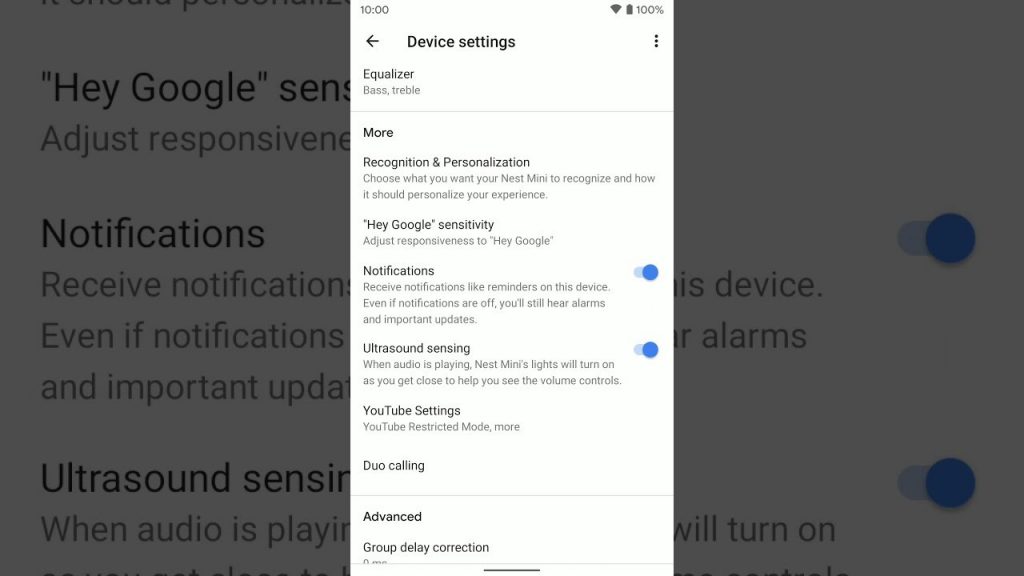
Step 5: Adjust the level of sensitivity for different sounds in all connected speakers around your house.
Choose the particular speaker with the sensitivity issues and choose your adjusted setting from most to least sensitive.

Method 2: Control continued conversions
Google Home has the function of continued conversations support. Users can continue to ask the software follow-up questions, which the software detects and responds to. The best aspect of this advanced feature is that users do not have to repeat the term “Hey Google” each time they ask multiple questions in a row.
This function can prove difficult and not work seamlessly. It might respond after picking up questions you ask at random or other people. Turn off the feature to avoid confusion.
How to solve this issue?
Step 1: Access the Google Home app.
Step 2: Select your profile picture available on the top-hand right side. Then, choose Assistant Settings.
Step 3: Choose the Assistant tab next and look through all the options. Select the one named “Continued Conversation”.

Step 4: Adjust the toggle off from Continued Conversation. The affected speakers would turn off.
Method 3: Adjust the speech output option on Google Assistant
You can turn off command responses on Google Home by adjusting this setting in the response-related settings in Google Assistant. After that, the command responses would appear on the phone that has this feature activated and receives the primary notifications. Google would avoid speaking the responses out loud.
How to solve this?
Step 1: Access All Settings > Assistant voice.
Step 2: Choose the option for Speech Output. All the listed Google devices would come up.
Step 3: Click on the settings you want to change and select “Hands-free only”.
Other options you would see are “None”, “Brief”, or “Full”.
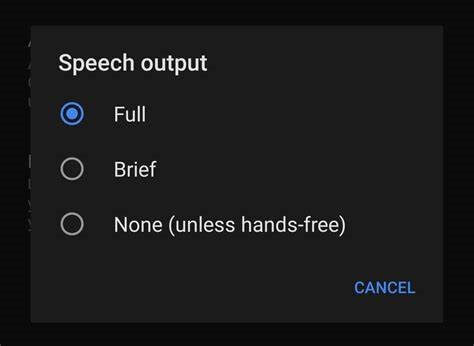
Select None to turn off all responses, and Brief to allow the Voice assistant to say the words out loud. But the responses they give are shorter.
Method 4: Creating custom commands via Google Assistant
Another notable method you can try out if the Speech Output option did not work is preparing custom commands instead. The process for this is complex but compelling.
How to solve this?
Step 1: Access the site IFTTT.com. Register/Sign-in to your account.
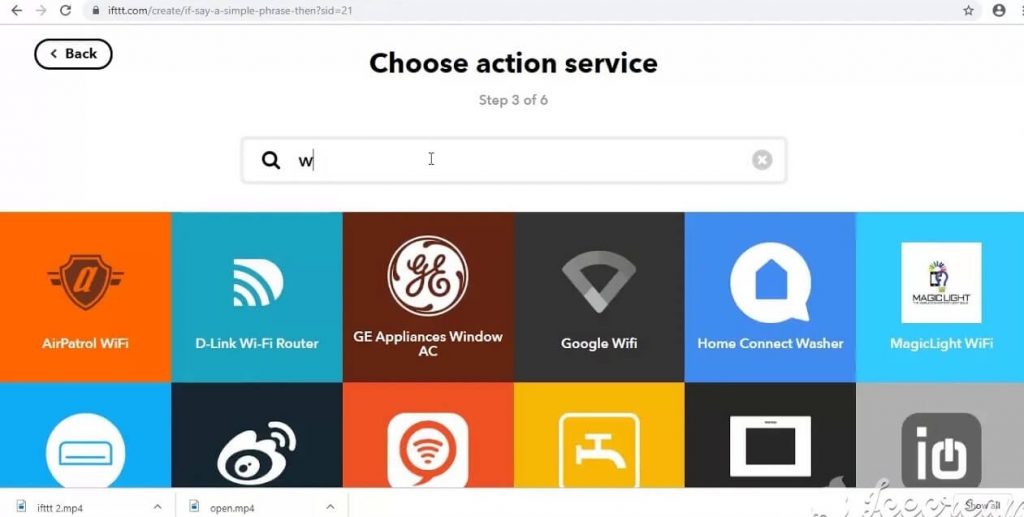
Step 2: Select the Search button and choose Google Assistant > Connect.
Step 3: Add all of the Google account details that you have added previously to Google Home.
Connect your account.
Step 4: Choose the option “New Applet” available below the username. Select it.
Step 5: Then, click on “Google Assistant”.
Step 6: Make changes to the trigger fields, i.e., the software automatically would decide how you want the new commands to be. Then, press the Create Trigger button.
Step 7: Select the following action you want to apply.
Step 8: Under the response section, add one space only.
Step 9: Select the “Create Action” option and click on “Finish”.
This would prepare the Google Home commands and responses to work as expected. However, with the space in the response field, the Assistant avoids saying anything while operating the command.
Keep your device safe in case of software attacks
Malware of viruses can also affect the functionality of the applications and browsers one is using. That may indirectly affect the connection of Google Home with your Voice Assistant. In these cases, you should use high-quality software like Avira.
Not only does this software protect the system against external attacks, but it also helps boost device performance levels. It would help update the functional apps on your phone, like the Google Home app and more.
Conclusion
Finally, you can operate your Google Home Settings in the best way possible with no unnecessary sound prompts during daily operations. Try out these methods to change the command settings at any time as per your convenience, and do the relevant steps to turn them on again. Use a good quality antivirus and security software like AVG to keep your system protected as well.
Found this helpful? Please go through our other posts for more such content.
Popular Post


Recent Post

How To Clean a Windows Desktop: Complete Guide
Learn how to clean a Windows desktop with 9 simple methods. Remove clutter, boost PC speed, and organize files easily. Get your clean desktop today!

How To Clean A Computer Cabinet: Clean PC Case
Learn how to clean a computer cabinet safely with our step-by-step guide. Keep your PC running cool and fast with proper case cleaning techniques and pro tips.

How To Clean A Computer Cable At Home Without Damage
Learn how to clean computer cable connections safely. Step-by-step guide with tips for USB, HDMI, and power cables. Keep your equipment running smoothly.

How To Clean a Mouse Pad At Home
Learn how to clean a mouse pad at home with simple steps. Keep cloth, hard, or RGB pads fresh and smooth. Easy guide with tips, FAQs, and care advice.

How To Clean Your Computer Mouse Without Damage?
Learn how to clean a computer mouse after disconnecting it from your system to prevent any further damage.

How To Clean Your Computer To Run Faster [2025]
Learn how to clean computer to run faster, from Disk Cleanup to deleting unnecessary files and more. Follow the tips to maintain the speed of the comput

How To Clean Your Computer’s Hard Drive [2025]
Discover all the top ways to clean computer hard drive to improve performance and prevent lagging.

How To Clean Your Computer’s USB Ports The Right Way
Discover how to clean the computer’s USB port thoroughly and with proper precision to prevent dust accumulation and prevent further system damage.

How To Clean a Computer Motherboard Without Damage
Discover a step-wise procedure to clean the system motherboard without damaging it. Explore how to expand the lifespan of a motherboard through maintenance.

How PC Cleaning Tools Work: Complete Gudie
Discover all the top ways to clean your PC from physical cleanup to disk cleanup for an optimized performance and increased lifespan.
