How to Fix Valorant not uninstalling Windows 11 – Remove Valorant Completely
Online gaming has become increasingly popular, with many gamers enjoying multiplayer games. One such game that has gained a significant following is Valorant. However, like any software, Valorant is not immune to technical issues, and one common problem that players encounter is the difficulty in uninstalling the game, particularly on the Windows 11 operating system. Here, we will explore some methods to fix Valorant not uninstalling Windows 11.
Possible Causes for this Issue
To fix the issue, it is important for you to be aware of the possible causes of this issue. Some of the possible causes for this issue are:
1. Incomplete or Corrupted Installation Files
One possible cause for Valorant not uninstalling on Windows 11 could be incomplete or corrupted installation files. When the installation files are not properly downloaded or installed, it can lead to difficulties in uninstalling the program. To address this issue, users can try re-downloading the installation files from the official Valorant website and reinstalling the game before attempting to uninstall it again.
2. Conflicting Software
Another potential cause for Valorant not uninstalling on Windows 11 could be conflicting software. Sometimes, other programs or applications running on the system can interfere with the uninstallation process. Users should check for any background processes or conflicting software that may be preventing Valorant from being uninstalled and temporarily disable them before attempting to uninstall the game.
3. Permission Issues
Permission issues within the Windows 11 operating system can also contribute to difficulties in uninstalling Valorant. If the user account does not have the necessary permissions to uninstall software, it can result in the uninstallation process being unsuccessful. To address this, users can try running the uninstallation process as an administrator or adjusting the permissions for the Valorant installation directory.
4. Registry Errors
Errors in the Windows registry can also cause problems with uninstalling Valorant on Windows 11. The registry is a critical component of the operating system, and any errors or corruption within it can impact the uninstallation process. Users can use a reliable registry cleaner tool to scan for and fix any registry errors that may be affecting the uninstallation of Valorant.
5. File System Corruption
File system corruption on the Windows 11 operating system can also lead to issues with uninstalling Valorant. When the file system is corrupted, it can prevent the proper removal of software from the system. Users can use the built-in Windows 11 tools such as Check Disk (chkdsk) to scan and repair any file system errors that may be impacting the uninstallation process.
6. Antivirus or Security Software
Antivirus or security software installed on the system can sometimes interfere with the uninstallation of programs such as Valorant. The security software may flag the uninstaller as a potential threat and prevent it from completing the uninstallation process. Users should temporarily disable their antivirus or security software before attempting to uninstall Valorant and ensure that the uninstaller is added to the list of trusted applications.
7. Corrupted Uninstaller
In some cases, the uninstaller for Valorant itself may become corrupted, leading to difficulties in uninstalling the game. Users can try downloading a fresh copy of the uninstaller from the official Valorant website or use third-party uninstaller tools to remove Valorant from the system.
8. System Resource Constraints
Insufficient system resources such as disk space or RAM can also impact the uninstallation process of Valorant on Windows 11. If the system is low on disk space or experiencing high memory usage, it can prevent the uninstaller from completing the removal of Valorant. Users should free up disk space and close any unnecessary applications to ensure that the system has sufficient resources to uninstall Valorant.
9. Outdated Software
Using outdated versions of Valorant or the Windows 11 operating system can lead to compatibility issues that affect the uninstallation process. Users should ensure that they are using the latest version of Valorant and have installed all available updates for Windows 11 to minimize any potential compatibility issues that may be hindering the uninstallation of the game.
10. System Corruption
Finally, system corruption on the Windows 11 operating system can have a significant impact on the uninstallation of Valorant. If the system files or components are corrupted, it can prevent the proper removal of software from the system. Users can use built-in Windows 11 tools such as System File Checker to scan for and repair any system file corruption that may be affecting the uninstallation process.
Precautions to Take While Fixing this Issue
There are some precautions that should be taken while fixing this issue. Some of these precautions are discussed here:
1. Backup Important Data
Before making any changes to your system, it is crucial to back up any important data stored on your computer. This precaution ensures that you can restore your files in case of any unexpected issues that may arise during the uninstallation process.
2. Close Background Processes
When attempting to uninstall Valorant, it is recommended to close any unnecessary background processes and applications running on your system. This precaution can prevent potential conflicts and ensure a smoother uninstallation process.
3. Use Official Uninstall Methods
Riot Games provides an official uninstallation process for Valorant. It is important to follow these methods as they are specifically designed to remove the game and its associated files from your system thoroughly. This typically involves using the Add or Remove Programs feature in Windows 11 to uninstall Valorant.
4. Update Windows 11 and Drivers
Ensuring that your Windows 11 operating system and device drivers are up to date is essential for a smooth uninstallation process. Microsoft frequently releases updates that address system stability and compatibility issues, while updated drivers can provide better support for software removal.
How to Fix Valorant not uninstalling Windows 11
To fix Valorant not uninstalling Windows 11, there are several effective methods. Discussed here are some of these methods:
Method 1: Using Control Panel
This method to fix Valorant not uninstalling Windows 11 involves uninstalling Valorant through the Control Panel in Windows. It is a straightforward and commonly used method for removing applications. Here are the steps for this method:
Step 1: Press the Windows key + X on your keyboard to open the Power User menu.
Step 2: Select “Apps and Features” from the menu to open the list of installed applications.
Step 3: Scroll through the list to locate Valorant and click on it to reveal the uninstall option.
Step 4: Click on the uninstall button and follow the on-screen prompts to complete the uninstallation process.
Step 5: After the process is complete, restart your computer to ensure that any remaining files are removed from the system.
Method 2: Using Windows Settings
Windows Settings provides a user-friendly interface to uninstall applications. This method to remove Valorant completely allows you to locate and remove Valorant from your system easily. Here are the steps for this method:
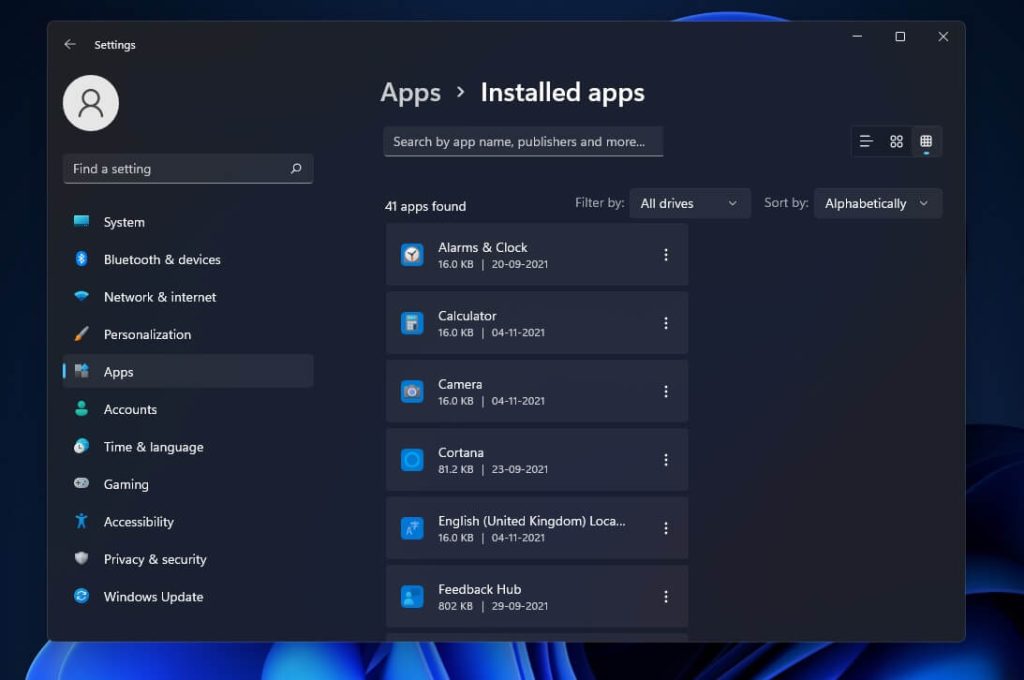
Step 1: Press the Windows key + I to open the Windows Settings menu.
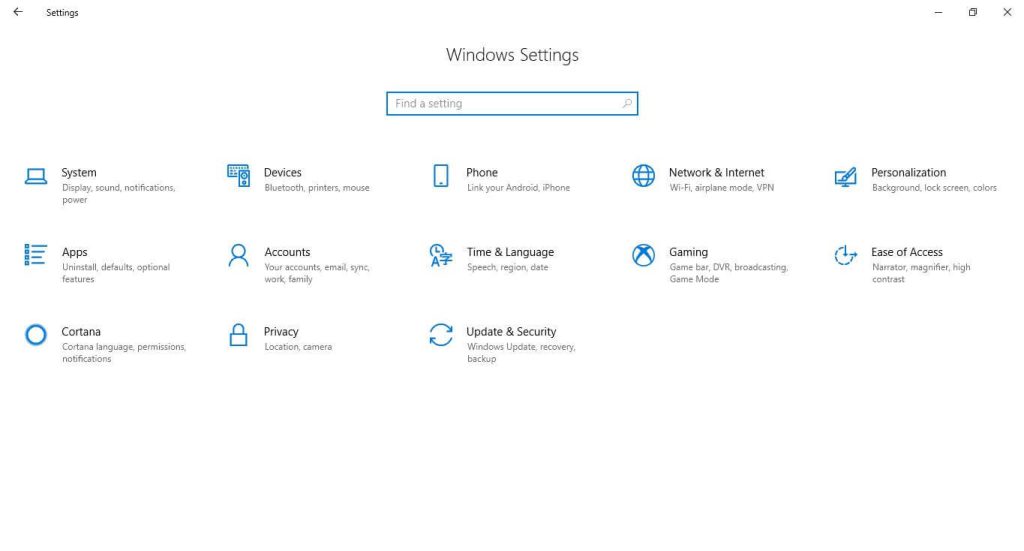
Step 2: Click on “Apps” to access the list of installed applications on your system.
Step 3: Locate Valorant in the list and click on it to reveal the uninstall option.
Step 4: Click on the uninstall button and follow the instructions to uninstall the game from your system.
Step 5: Restart your computer to finalize the uninstallation process.
Method 3: Using Third-Party Uninstaller Software
If you prefer using dedicated uninstaller software, this method to remove Valorant completely provides an alternative option. It offers additional features and can ensure a thorough removal of Valorant. The steps for this method are discussed here:
Step 1: Download and install a reputable third-party uninstaller software from a trusted source.
Step 2: Open the uninstaller software and locate Valorant in the list of installed applications.
Step 3: Select Valorant and initiate the uninstallation process through the third-party software.
Step 4: Follow the on-screen instructions provided by the uninstaller software to remove Valorant from your system completely.
Step 5: Restart your computer to ensure that any residual files are eliminated.
Method 4: Manual Uninstallation
For those comfortable with navigating system files, this method involves manually uninstalling Valorant from the Programs and Features window and deleting any remaining files. Here are the steps for this method:
Step 1: Press the Windows key + R to open the Run dialog box.
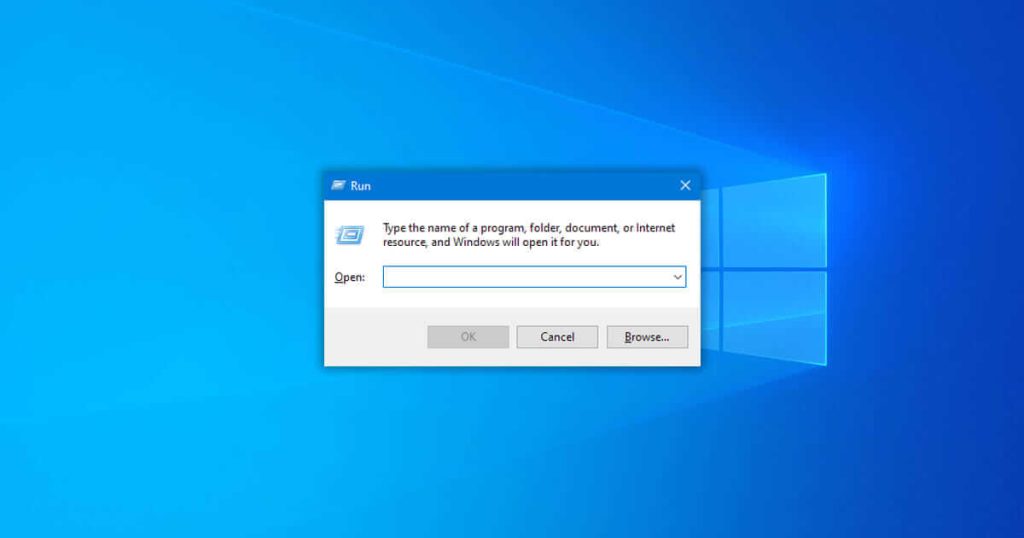
Step 2: Type “appwiz.cpl” into the dialog box and press Enter to open the Programs and Features window.
Step 3: Locate Valorant in the list of installed programs and select it.
Step 4: Click on the uninstall option and follow any additional prompts to initiate the uninstallation process.
Step 5: After the uninstallation is complete, navigate to the installation directory of Valorant and manually delete any remaining files and folders associated with the game.
Step 6: Empty the Recycle Bin to permanently remove the deleted files from your system.
Method 5: Using Command Prompt
Using the Command Prompt allows for a command-line approach to uninstalling Valorant, utilizing the Windows Management Instrumentation Command-line (WMIC) interface. The steps for this method are discussed here:
Step 1: Right-click on the Start button and select “Windows Terminal (Admin)” to open the Command Prompt with administrative privileges.
Step 2: In the Command Prompt window, type “wmic” and press Enter to enter the Windows Management Instrumentation Command-line (WMIC) interface.
Step 3: Type “product where name=’Valorant’ call uninstall” and press Enter to initiate the uninstallation process using WMIC.
Step 4: Follow any on-screen prompts to complete the uninstallation, if applicable.
Step 5: Restart your computer to ensure that the uninstallation is finalized.
Method 6: Using Safe Mode
Uninstalling Valorant in Safe Mode provides a clean environment, which can help resolve any issues that may interfere with the uninstallation process. Here are the steps for this method:
Step 1: Access the Windows Startup Settings menu.
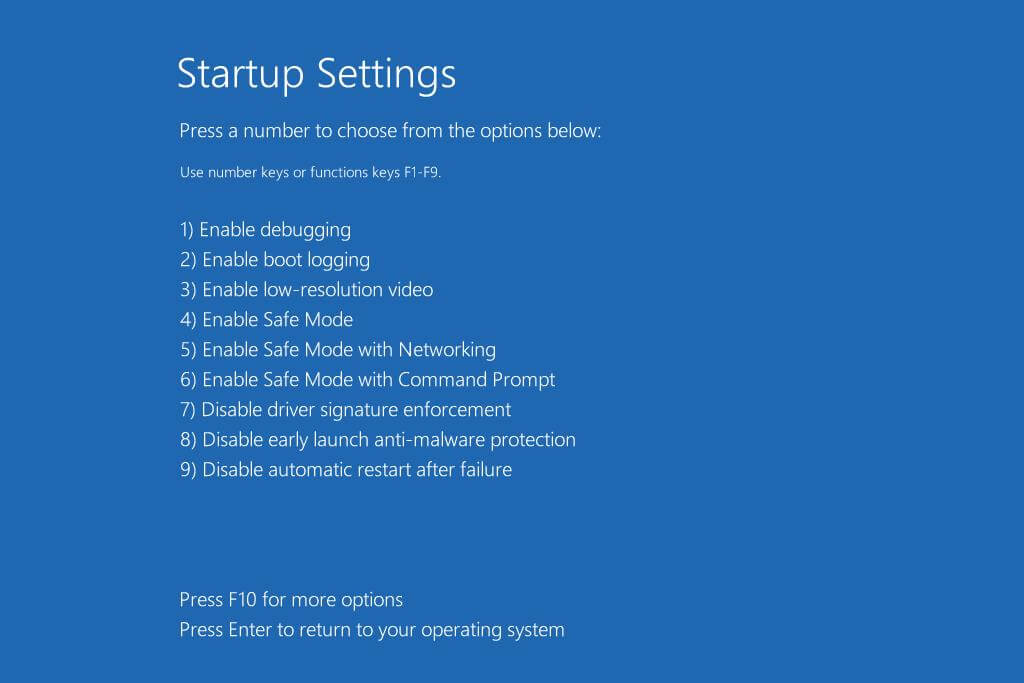
Step 2: Select “Enable Safe Mode” from the menu to boot your computer into Safe Mode.
Step 3: Once in Safe Mode, proceed to uninstall Valorant using any of the previously mentioned methods, such as Control Panel, Windows Settings, or third-party uninstaller software.
Step 4: After the uninstallation is complete, restart your computer to exit Safe Mode and return to normal operation.
Conclusion
The inability to uninstall Valorant on Windows 11 can be a frustrating issue for many gamers. However, by following the methods discussed here, users can effectively troubleshoot and fix Valorant not uninstalling Windows 11.
FAQs
1. What Causes Valorant Not to Uninstall on Windows 11?
There are several potential reasons why Valorant may not uninstall properly on Windows 11. One common cause could be related to corrupted installation files or registry entries, which can prevent the uninstallation process from completing successfully. Additionally, conflicts with other software or system settings, insufficient user permissions, or issues with the Windows 11 operating system itself could also contribute to this problem.
2. How Can I Verify If Valorant Is Not Uninstalling Correctly on Windows 11?
To verify if Valorant is not uninstalling correctly on Windows 11, users can check for error messages or notifications that may indicate a failed uninstallation attempt. Additionally, users can review the list of installed programs in the Control Panel or the Apps & Features section in Windows Settings to see if Valorant is still listed as an installed application. Furthermore, checking the installation directory for any remaining Valorant files or folders can also confirm if the uninstallation process was incomplete.
3. What Are the Initial Steps to Take When Valorant Does Not Uninstall on Windows 11?
When facing difficulties with uninstalling Valorant on Windows 11, users can begin by restarting their computer to ensure that any background processes related to Valorant are terminated. Following this, users can attempt to uninstall Valorant using the standard uninstallation method provided by the game’s developer. If this method fails, users can proceed to more advanced troubleshooting steps.
Popular Post
Recent Post

Advanced SystemCare: Tool To Clean Your PC
Your computer slows down over time. Files pile up, junk builds inside the system, and things start to feel sluggish. You open a browser, and it takes forever. Programs crash without warning. This is a sign that your PC needs a good cleanup. Many users ignore these signs. They think buying a new computer is […]

Top 10 PC Cleaning and Optimization Tools For Windows 11/10
Discover the best PC cleaning and optimization tools for Windows 11 and 10. Remove junk files, improve speed, and keep your PC healthy with trusted cleaners.

Clear Microsoft Teams Cache On Windows PC [Complete Guide]
Learn how to clear Teams cache on Windows PC with 3 easy methods. Fix slowdowns, glitches, and errors fast. A simple guide for every Windows 11 user.

How To Clear Browsing History on PC: Chrome, Edge, Firefox, Opera
Learn how to clear browsing history on PC across Chrome, Edge, Firefox, and Opera with easy steps, tips, pros, and FAQs.

Clear Cache and Cookies: Complete Guide For Windows 11/10
Learn how to clear cache and cookies on Windows 10 and 11. This complete guide covers Chrome, Edge, and Firefox with simple, step-by-step instructions for every user.

How To Clean PC Trackpad/Touchpad Without Damaging It
Learn how to clean PC trackpad and clean PC touchpad safely with simple steps. Improve performance, remove dirt, and keep your laptop surface smooth and responsive.

How To Clean Your GPU/Graphics Card [Complete Guide]
Introduction A graphics card is one of the most important parts of a computer. It handles visuals, gaming, video editing, and design work. Over time, dust builds up inside it. This dust blocks airflow and traps heat. When heat increases, performance drops. In some cases, the system may even crash. That is why learning how […]

How To Clean PC Power Supply Unit Safely Without Damaging
Follow simple, safe steps to clean your computer’s power supply unit. Improve cooling, reduce overheating, and protect your PC’s performance.

How To Clean a CPU Without Damaging It [Complete Guide]
Learn how to clean a CPU safely without damage. Follow simple steps, precautions, and methods to improve cooling, boost performance, and extend your computer’s life.

How To Clear Browser Cache On Windows 11/10 [Chrome, FireFox, Edge]
Learn how to clear browser cache on Windows 11 and 10. Follow simple steps to clean browser cache, fix slow browsing, and improve performance easily.
